How To Remove Chalkboard Paint? (From Wall, Wood, and Glass)

How To Remove Chalkboard Paint

Removing paint work involving chalk paint may not be an easy undertaking, so you may want to learn how to remove chalkboard paint. Read on to learn a few tips and to find out more in detail.

The Meaning Of Chalkboard Paint

Chalkboard paint is applied on surfaces to make them easy to write, while chalk paint is used on surfaces such as furniture to restore and give them a new look.

Removing chalk paint will entirely be influenced by the nature of your surface. On that note, there are many approaches you can employ whenever you want to remove chalkboard paint from a given surface. In this article, we highlight some of the suitable methods you can use.
How To Remove Chalkboard Paint

Method To Remove Chalk Paint : DIY Method

The approach, in this case, is almost similar when removing chalkboard paint. Since chalk paint is commonly applied on furniture surfaces, be sure to follow the following tips whenever you want to remove chalk paint.

Supplies  Needed

  • Sponge
  • Water
  • Sander
  • Suitable Sandpaper
  • Spirit
  • Steel filings
  • Container
  • Rug
  • Suitable Oil
  • Wax

Step 1: Using a Paint Stripper on chalk paint

  • Use a significant amount of your stripper on the surface of your paintwork.
  • Let the stripping agent sit on the chalk paint for up to half an hour until the pain begins to form bubbles. Be sure to go through the application instructions to avoid damaging your material.
  • Use a knife to chip off the already softened paint from the surface of your furniture.

Step 2: Removing Chalk paint using a Homemade agent

  • Vinegar comes in handy in this case. Heat your vinegar over a gentle heat and apply it to your paintwork using a rug.
  • Consider using washing powder because it can also be effective in removing chalk paint.
  • Wash the surface of your paintwork using soap and water.
  • You can also use Acetone chemical in place of your regular remover. Consider these two picks too for your project:

Step 3: Sanding the surface

Use suitable sandpaper on the surface of your paintwork to remove chalk paint. Follow the following tips when sanding off chalk paint from your furniture.

  • Use soapy water to clean your paintwork and allow it enough time to dry.
  • Use both large and small-grained sandpaper on your paintwork.
  • Remember to clean the sanded surface using a clean and damp rag.

Method To Remove Chalkboard Paint From A Wall

Removing chalkboard paint from a wall will require you to follow the necessary step to do a clean job. Here is a step-by-step guide to removing chalkboard paint from a wall.

Step 1: Washing the Wall

Use water and a rag to wash any chalk on your wall, if there is any. Be sure to use enough water because you want a clean well. Allow your wall a sufficient amount of drying time before proceeding to the next step.

 Step 2: Sanding the Wall

Use medium-grained sandpaper to scrub your wall to achieve a smooth and even surface. Note that before you start sanding the wall, ensure it is adequately fried. To achieve a smooth surface, you might consider using elbow grease and fine-grained sandpaper on your wall.

Step 3: Wipe the wall

Be sure to wipe any dust particles on the surface of your wall. Use a damp and then allow the wall enough time to dry.

Step 4: Using a Primer

After cleaning your wall, apply a suitable primer. Be sure to apply up to two layers of an oil-based primer and then give it time to dry. Note that it is important to use a primer that will bond perfectly with your paint of choice.

Step 5: Painting

Start applying your first coat of paint to the wall. Be sure to allow the first layer up to a maximum of one hour drying time before adding a subsequent coat. You might want to add several layers until you conceal chalkboard paint.

Method To Remove Chalkboard Paint from a Wood surface

The following 3 steps can be used to remove chalkboard paint from a wood surface. Check them out.

Step 1 : Paint Stripping

  • Use a suitable paint stripping agent to remove chalk paint. Add a given proportion into a sizeable bucket.
  • After applying the stripper, give enough time to dry out before moving to the next step. Be sure to go through usage instructions to avoid doing shoddy work.
  • Take a Scalpel to chip off the paint from the surface. Be careful with your Scalpel to avoid adding more scratches to the surface.
  • In case of stubborn chalkboard paint, apply another coat of your stripping agent and allow it to react with the chalkboard paint adequately. You may need to reapply the paint stripper to stubborn areas.

Step 2 : Using the Heat Gun

  • Direct your heat gun to the paintwork, and be sure to hold your heat gun at a distance of about 2 inches from the wood surface.
  • Be sure to alter the position of your heat gun to cover the whole surface. Emphasize this exercise on your paintwork until the chalkboard paint begins to develop cracks.
  • Be creative and put both of your hands into work. Use one hand to hold your heat gun and the other to chip off the areas you have applied the heat.

Step 3 : Sanding Method

Sanding is the most suitable method to remove almost any paintwork from your wood surface. Follow these tips to remove chalk paint:

  • Be sure to clean your wood surface using soap and warm water and then allow it to dry.
  • Use large-grained sandpaper to get rid of the thick layers of the paintwork. Do your final sanding using fine-grained sandpaper for a smooth finish.
  • Use a wet rug to clean The surface of your wood material.

Method To Remove Chalkboard Paint From A Glass Surface

  • Just like removing chalkboard paint from a wall, use warm water and soap to wash our glass surface.
  • Dip a rag in the mixture of water and soap and use it to wipe the surface of your glass. Be sure to wipe out any particles from the surface of your glass.
  • Repeat the above stage to remove any trace of dirt completely.
  • Use a Scalpel and scrubby the surface of your glass gently. Be sure to scrap your glass while damp to avoid damaging it.
  • Take a clean cloth and do a final round of wiping to remove traces of dirt and unwanted particles.

How To Paint Particle Board Shelves?

How To Paint Particle Board Shelves

If you find it hard to paint your particle boards, this article is meant for you. Continue reading to find out how to paint particle board shelves.

Supplies needed

  • Chalk paint
  • Paint roller
  • Paintbrush
  • Wrapper
  • Scissors
  • Drop Cloth
  • A towel
  • Container

 Steps to Follow When Painting Particleboards

Particleboards are made of wood particles that are stuck together using a bonding substance. Although particle boards are cheap, you can not use them in many projects because they are much lighter, so they are used in making shelves.

If you paint your particle boards accordingly, you may realize that they have a characteristic appearance of painted wood. Particleboards are made of wood chips that are bonded together with glue, so you should follow the necessary instructions when painting your particle boards due to their nature.

You may want to consider painting your particle boards to give them a new and sparkling look. So, how exactly do you paint your particle boards? Read on to find out.

Step 1 : Place Your Shelves On A Piece To Shield Your Floor Against Paint Drip

 The location you choose for your painting exercise ought to be spacious with proper ventilation. An open space will be an excellent choice to carry out your painting exercise. Be sure to place a drop cloth below your shelves to reduce your project’s chances of being messy.

 Step 2 : Apply Light Sanding On Your Shelves

 Sanding will play a key role in ensuring that the surface of your frames is smooth and clean so that you can apply paint with much ease. Additionally, sanding is known to increase the rate of bonding of your primer on the surface.

 Step 3 : Apply A Light Layer Of Primer On The Surface Of Your Shelves

 A primer is practical in almost all projects involving painting. In this case, you should consider using an oil-based primer because you want to achieve maximum bonding to the surface.

Avoid a water-based primer because it will eventually peel off. You want your shelves to last much longer, so you should apply an appropriate primer.

Ensure you apply the primer on both sides of your shelves and allow your shelves a sufficient amount of time to dry before beginning your painting exercise.

Step 4 : Apply Two Thin Layers Of Paint On Your Shelves

 Apply long and uniform strokes of your paintbrush; Be sure to apply only two coats on your shelves. On that note, be sure to use light coats so that the paint can take less time to dry. Let the first coat dry completely before applying a second coat; in this case, a two-hour interval is appropriate.

Using an oil-based primer will allow you to paint your board with much ease. On that note, obtain latex paints to use on your project.

Step 5 : Apply A Water-Based Finish

 Since you have applied an oil-based primer to the surface of your particle boards, you can now comfortably use water-based finish paint on your boards without any worries.

You want your shelves to last longer, which is why you should consider applying an appropriate finish to shield them from scratches. Purchase a finish that will maintain the color of your hue.

Frequently Asked Questions (FAQs)

Which Paint Do You Use?

Oil-based paints will give you good results on your particle boards. Note that you may use water-based paint if your primer was oil-based. Choose from among different colors available in the market to apply on your particle boards.

How To Deal With Edges And Corners Of Your Particle Boards Shelves?

Like any painting, you are likely to encounter significant problems when painting your particleboards; Painting edges and corners can be challenging, especially if you are a newbie. You will need to close the borders adequately so that they can bond well with the primer. Consider doing a little bit of sanding to enable you to achieve proper sealing.

What is the best way to paint particle boards?

Be sure to start your painting exercise with an appropriate primer; this ensures proper bonding between the surface of your particle boards and the primer. Avoid any primer that is water-based if you wish to protect your board from peeling off. Using an oil-based primer will allow you to paint your board with much ease. On that note, obtain latex paints to use on your project.

Do you need to sand particle board before painting?

Like you would prepare any other piece of painting, be sure to do light sanding on your particle boards. Sanding will improve the bonding and adhesive properties of both your primer paint. It would be best if you determined whether your particle boards have a coating to enable you to decide whether to sand them or not.

How do you seal particle board from moisture?

In this case, you will need to use a single layer of acrylic finish to cover the edges of your particle boards. Consider applying the acrylic paint on other parts of the particleboards where the possibility of moisture build-up is high.

Can you spray paint on particle boards?

You can easily spray paint on particle boards. However, be sure to prepare the surface of your particle boards accordingly and then start with an appropriate primer. Apply a single spray of paint to the particle boards and allow them a significant amount of time to dry before spraying another light coat.

If you paint your particle boards accordingly, you may realize that they have a characteristic appearance of painted wood. Particleboards are made of wood chips that are bonded together with glue, so you should follow the necessary instructions when painting your particle boards due to their nature.

Always be sure to prepare the surface of your particle boards before you begin to paint. Give your particle boards sufficient time to dry before applying subsequent coats to achieve the desired outcome. Consider using the acrylic paint on other parts of the particleboards where the possibility of moisture build-up is high. Enjoy your painting!

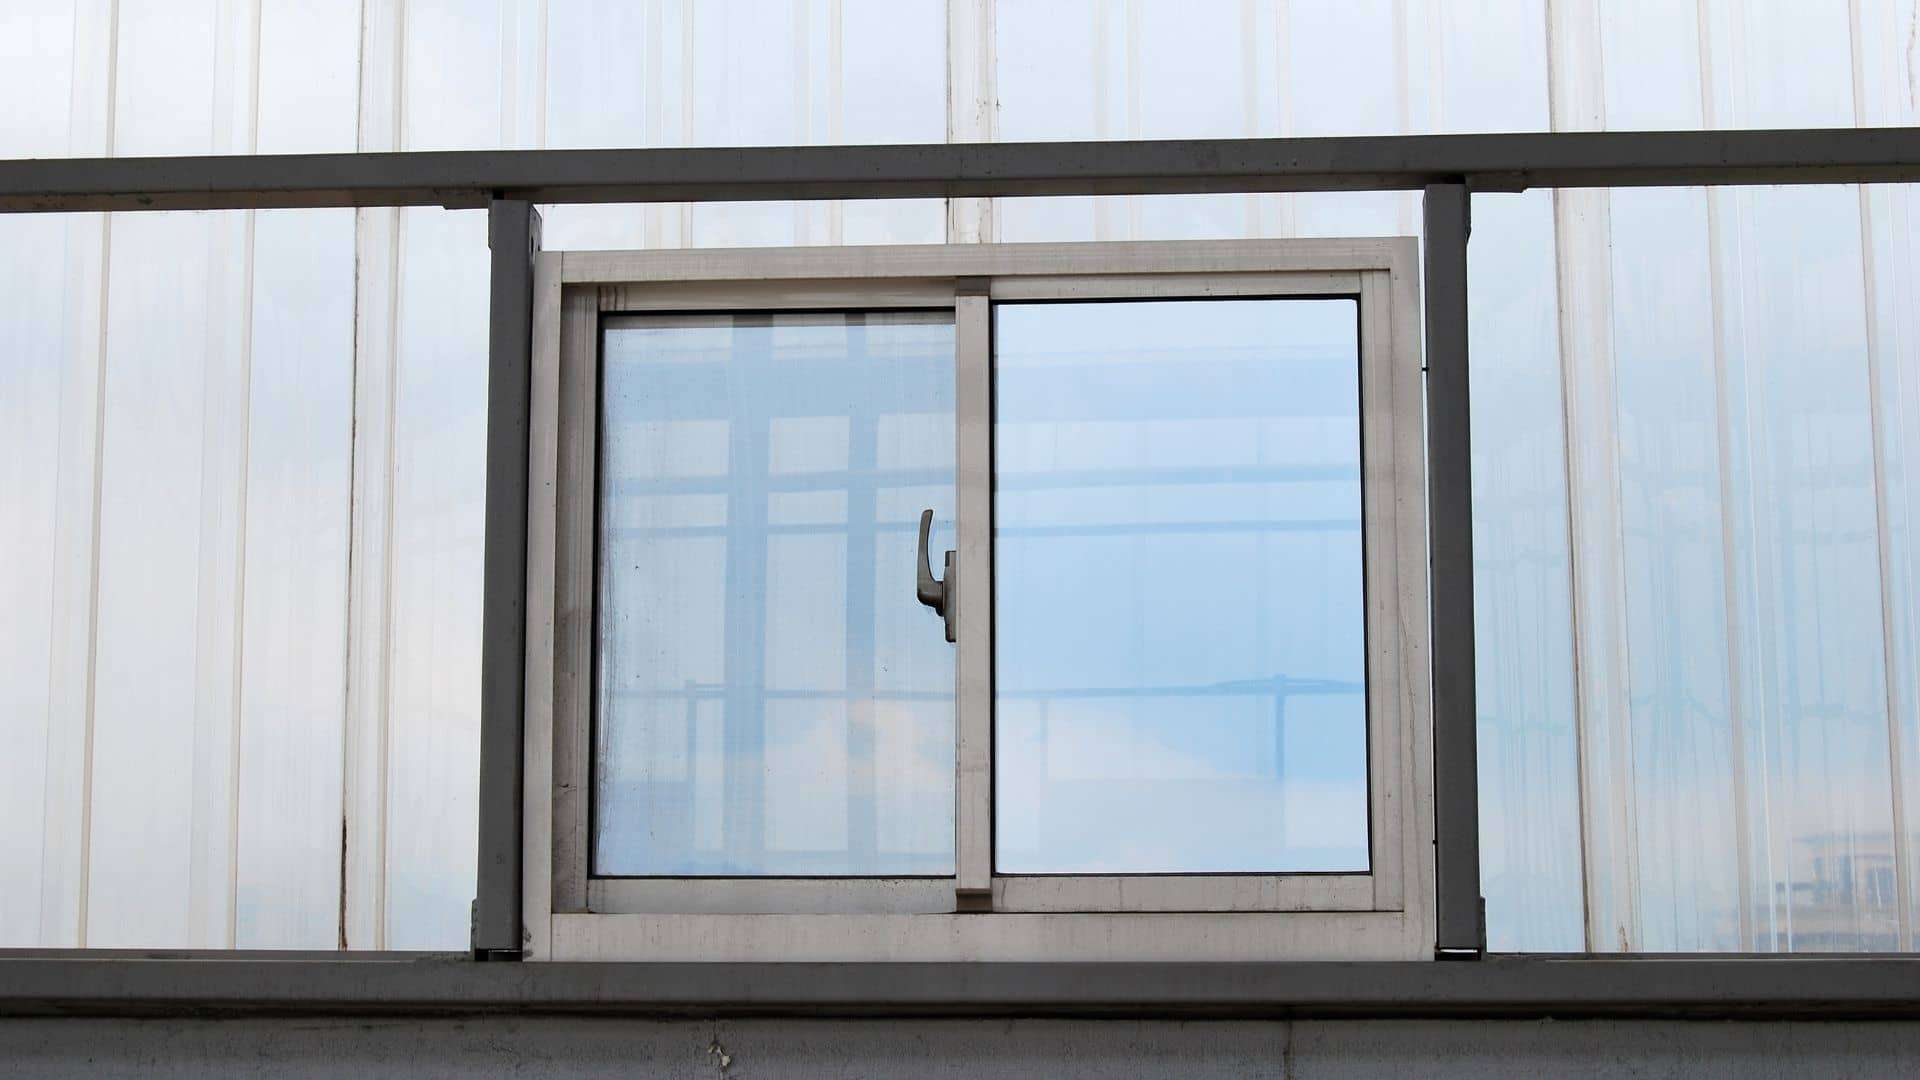
How To Paint Aluminum Windows?

How To Paint Aluminum Windows

Aluminum windows are known for being stronger and more durable than other materials, they offer protection against environmental elements and can last more than 30 years. Aluminum windows are now widely recommended over other types of materials since they are light and easy to clean. There are many ways to protect aluminum windows, first of all, they need to be protected from corrosion or rust, to do so, you can easily clean them with a wet rag and then spray some silicone lubricant which will keep the aluminum shiny and protected.

There may be times when the aluminum gets corroded depending on location, especially if you’re located on the seaside as the salt from the sea can cause aluminum to corrode and you may need to repaint it. If your aluminum windows are somewhat corroded and need some painting, below we list some tips and tricks that can be followed to repaint your aluminum windows.

Cleaning Aluminum Windows

Cleaning your aluminum windows may be a simple task but sometimes it may require more than a simple cleaning to restore its shine especially if it’s corroding and this may also take some time. The good news is that if your aluminum windows are corroding, is it possible to restore them.

First, you will need to start with some metal abrasion which is the task of rubbing away the old metal from your aluminum window so that new paint may be added. This can be achieved with a hand scraper tool or with a wire brush which easily removes the old metal and allows you to prep the surface for the new paint. It can be done with an up and down stroke or from left to right depending on the shape of the aluminum or what you may consider the easier. You can also use a power scraper.

After you’ve finished scraping the old metal off, the next step will be to sand the aluminum windows to a smooth finish, this is to help the new paint adhere to the surface. They are different methods to sand aluminum but in this case, since the goal is to achieve a smooth surface, we will need to use 2 different sizes of sandpaper. The first one is sandpaper of 160 grit, this one will be used to remove deeper scratches and fine scratches also. Second, we use sandpaper of 230 grit, this one is to even out and smooth the surface from mild scratches that may have been created from using the previous sandpaper. Use a cloth or a brush to brush away the resulting dust from the area once finished.

Lightly sand the aluminum windows without adding much pressure to not create additional and unnecessary scratches. A wet sanding technique can also be applied by spraying water on the surface as it helps in removing surface scratches as well. Sand the aluminum window using a back-and-forth motion to easily remove scratches and blemishes. When sanding aluminum is it recommended to use protective gear such as safety goggles and mask as aluminum is considered dangerous to work with, protective gloves should be used as well.

Painting Aluminum Windows

Once you’ve finished scraping and sanding the aluminum windows a primer needs to be added, as this will make your paint durable. First, the windows need to be masked off to prevent the paint from running over to other areas we don’t want paint on and drop sheets can be used to cover the floor as well to prevent paint from dripping on your floor.

There are many brands of primers specifically designed for aluminum surfaces. Priming is considered a very important step as it will create a bond with the new paint for maximum adhesion and make the paint last longer. It will also prevent new paint from peeling and chipping. It is recommended to apply 2-3 thin coats of primer for best results which can be applied with a spray can or with a regular brush and allowing 5 minutes in between coats for it to dry.

The next step will be to apply a top color, meaning painting the aluminum windows with the color of your choice. Some consider aluminum hard to paint since paint won’t stick, you will not have this issue if you use a paint that is specifically designed for aluminum. You can choose a paint in a spray can or choose to paint it with paint and a regular brush although spray cans are the most preferred method used.

It is recommended to apply paint one hour after the primer is added, apply 2-3 coats of paint to ensure full coverage and best results allowing 5 to 10 minutes in between coats depending on the chosen method, normally with spray cans wait time is about 5 minutes. Once the aluminum windows are fully coated it is recommended to allow them to dry for up to 24 hours or more but also check the paint container for additional instructions.

Once the paint is added you can choose to protect the paint with a clear coat to seal and protect the paint from corrosion. This clear coat is also known as the enamel sealer technique which will protect the paint from scratches and chipping although some paints already have the sealer built-in, check instructions on the can to make sure. The clear is also used to add shine to your aluminum windows and provide it with a great aesthetic. Apply 2-3 coats of the clear coat also known as gloss clear allowing 5-10 minutes in between coats for it to dry. Once the aluminum window is fully coated with the gloss, allow 24 hours or more for it to dry. This process is also known as the curing process of the paint which means the paint has hardened enough before handling.

Overall aluminum windows are easy to take care of. It is recommended to clean your aluminum windows once every six months especially if located in rural areas. But if located in seaside areas then it recommended cleaning them every three months at least once. To do so you can use commercial products specifically designed for such or also use natural solutions as well. We hope you find these tips helpful.

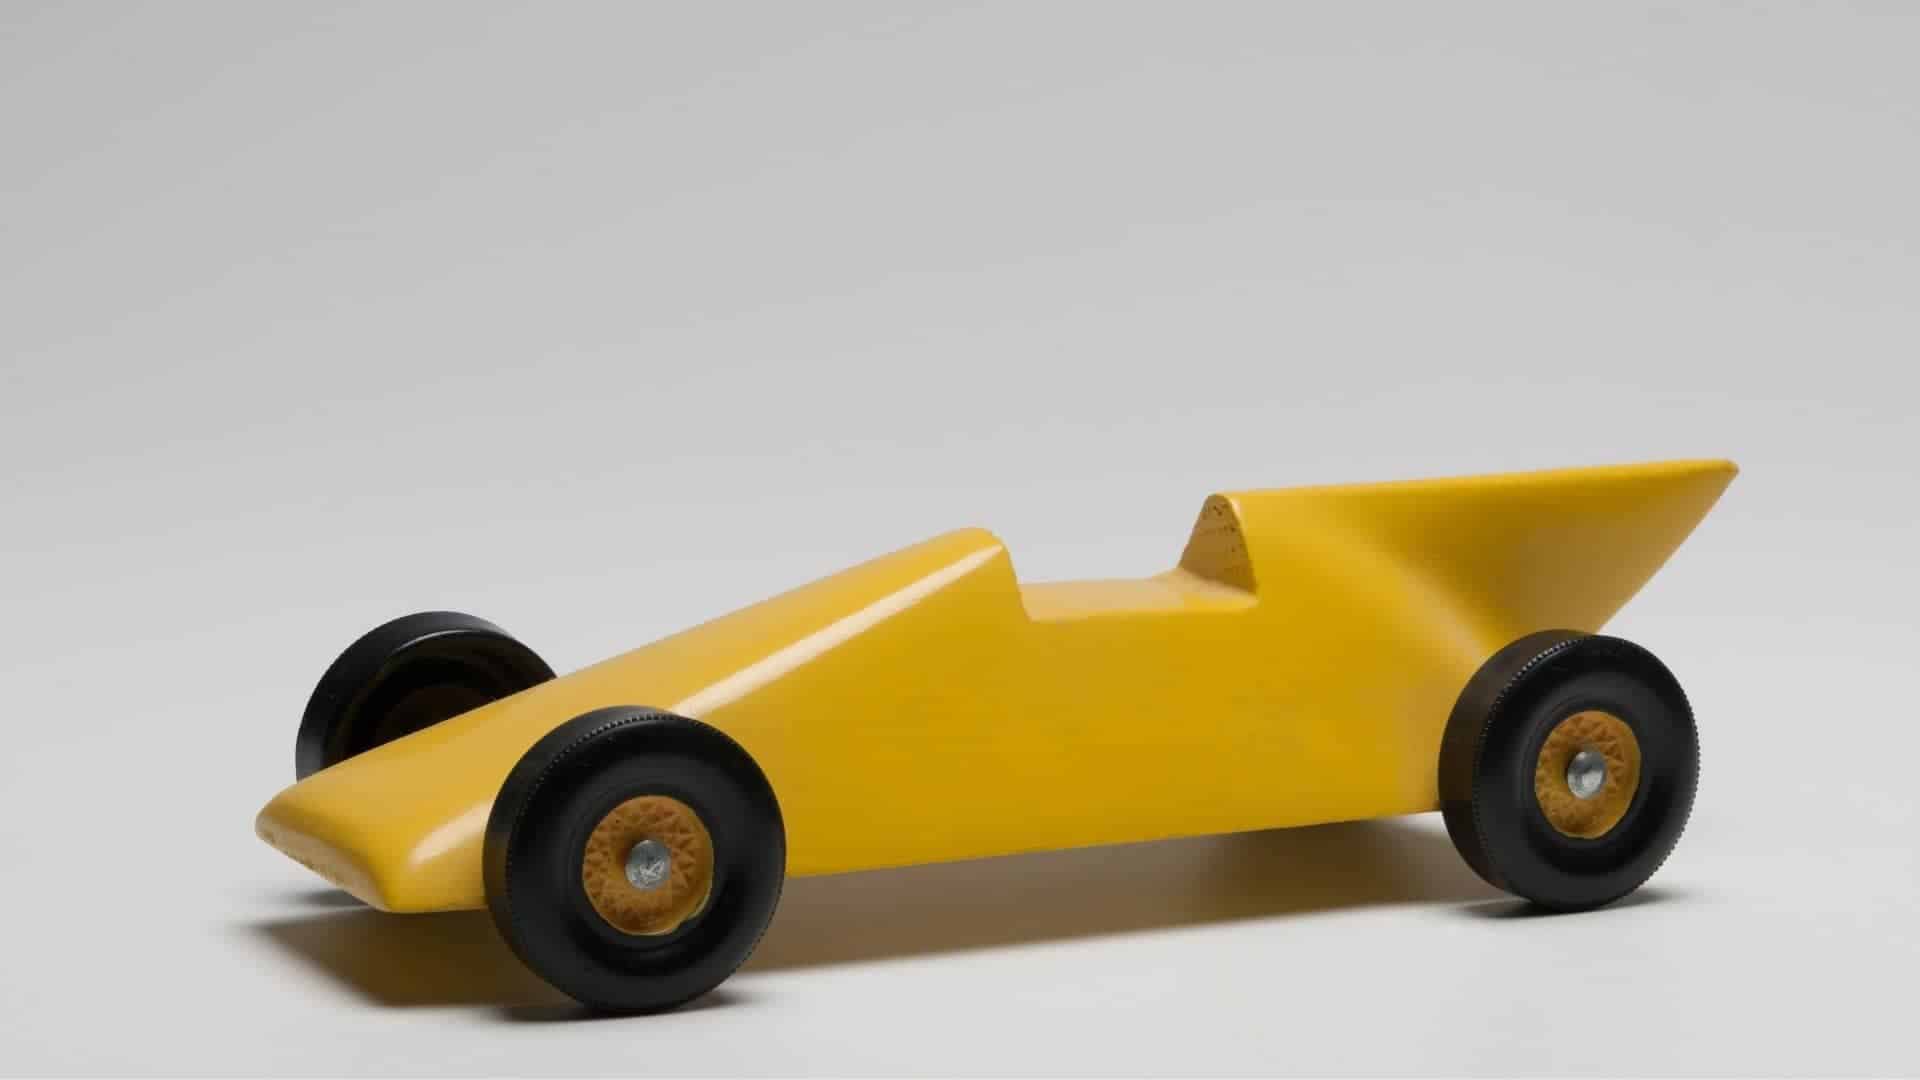
How To Paint A Pinewood Derby Car?

How To Paint A Pinewood Derby Car

After crafting a Derby car for your kid, you may consider painting it to give it a stunning finish. Continue reading to find out how to paint a pinewood derby car.

 Supplies You Need For The Project

  • A suitable-grained sandpaper
  • Sealer
  • Suitable paint (Enamel)
  • Stickers
  • Gloss paint( clear)
  • Wax paste

 Steps To Follow  When You Are Painting Your Pinewood Derby Car

 Step 1: Sanding The Wood

Start by covering your sandpaper on a block of wood with accurate dimensions. You don’t want your sandpaper to leave behind gorges and uneven contours on the surface of your Pinewood Derby car.

Use coarse-grained sandpaper to sand at the corners of your Pinewood chip. Smoothen rough edges using fine-grained sandpaper. Finally, sand the whole surface using fine-grained sandpaper to remove any sanding spots, if there are any.

 Step 2: Applying A Sealant

Note that when you sand your piece of wood, you expose the wood grain, so be sure to apply at least two layers of a suitable sanding sealer to conceal the grains.

Let the sealer dry throughout the night before doing a fine sanding on the surface of your Pinewood Derby car.

Consider reapplying another coat of the sealant in case the grains haven’t been fully concealed.

Step 3: Selecting Your Color

Decide on the most appropriate color for your Pinewood Derby car. Having chosen your preferred color, you can now start applying the first coat of your Enamel paint. Spray up to three coats of paint on your piece of art. Note that it would be good to spray instead of paint using a brush.

If you cannot access a sprayer, you need not worry because you can use your brush, although it consumes more of your time and energy.

When using a brush, be sure to immerse the tip of your brush in paint and then apply the paint in up-down motions. Be more creative when using a brush and ensure the brush marks are concealed completely.

Step 4: Creating Race Numbers

Now comes the stage to be creative. Use stickers to create your race numbers and then cover them with a spray of paint. Consider practicing how to make a race number on another service like plastic before applying your knowledge to your model.

Step 5: Polishing Your Model With Wax

Allow your paint a maximum of one week drying time; Use your wax to cover the Pinewood Derby car and wipe it using a piece of linen until you attain a sparkling finish. Note that the wax will also act as a shield against scratches.

 The Most Suitable Paint To Use On Your Pinewood Derby Cars

There is no specific paint to apply to your model. However, you can research more to

get suitable colors for your piece of art.

Nevertheless, consider using paint that will give you a clear and glossy look. You can use wax to achieve a sparkling finish, but using a clear color will produce excellent results.

 Doing Final Touches On Your Pinewood Derby

Painting: You can select from a range of six acrylic colors to apply to your Pinewood Derby car. Be sure to use the right size of brush for your finishings.

Paintbrush: Consider using smaller brushes in this case to achieve a refined and clear look.

Glossy Sealant: Consider using a clear and shiny sealant to conceal unwanted bumps and contours on the surface of your Pinewood Derby car.

 Steps To Paint The Wheels

  • Wipe your wheels with a piece of a soft cloth.
  • Please get rid of excess polish by wiping it off with a piece of magazine or rug.
  • Apply paint to the wheels of your model as you rotate them. Be sure to maintain the position of your painting tool at the same point.
  • Allow your wheels a maximum of two hours of drying time before fixing the wheels to your model car.

 Important Tips To Note When Painting Your Pinewood Derby Car

  • Consider using acrylic-based paints since they have good adhesive properties. Be sure to sand your model thoroughly before applying paint to achieve a refined and consistent look.
  • After selecting the most suitable paint for your project, you need to decide on the mode of application. On that note, you can spray your model with color. Just be sure to use the right paint.
  • Note that spraying will save you lots of time and energy you would spend if you used a brush to apply paint to your Pinewood Derby car.
  • Note that the paint adds a few grams to your Pinewood Derby car, so you should not be worried about the weight of your model after springing it with color.
  • Note that once you decide to paint your model, it would be wise to paint it fully. Ensure you start your painting from the bottom of your model and continue painting throughout the surface of your model.
  • Note that there is no specific paint to use on your Pinewood. Any color can work just as fine as long as you follow the necessary instructions before painting. Acrylic paints work better because of their adhesive properties.
  • Use coarse-grained sandpaper to sand at the corners of your Pinewood chip. Smoothen rough edges using fine-grained sandpaper. Finally, sand the whole surface using fine-grained sandpaper to remove any sanding spots, if there are any.
  • When using a brush, be sure to immerse the tip of your brush in paint and then apply the paint in up-down motions. Be more creative when using a brush and ensure the brush marks are concealed completely.

There is no specific paint to use on your Pinewood. However, you can research more to get suitable colors for your piece of art. Nevertheless, consider using paint that will give you a clear and neat finish. You can use wax to achieve a sparkling finish, but using colors can also give you the desired results. If you cannot access a sprayer, you need not worry because you can use your brush, although it consumes more of your time and energy.

When using a brush, be sure to immerse the tip of your brush in paint and then apply the paint in up-down motions. Be more creative when using a brush and ensure the brush marks are concealed completely.

How To Paint A Motorcycle Helmet?

How To Paint A Motorcycle Helmet

Painting your motorcycle helmet is not an easy task. Nevertheless, this article will give you a comprehensive guide on how to paint your helmet. Read on to find out.

Steps To Preparing Your Motorcycle Helmet For Painting

Step 1 : Laws And Regulations

Find out if any legislation in your locality might affect your project. Some locations prohibit unauthorized repainting of certain items such as a motorcycle helmet, so be sure of the existence of such laws before you begin your task.

  • You need to understand the laws of the land and their applicability regarding making any changes to your motorcycle parts. You don’t want to find yourself on the wrong side of the law.
  • Ensure the modifications you do on your helmet comply with road safety rules and regulations to avoid problems with law enforcers and incur hefty l fines.

 Step 2 : Select A Suitable Paint

Be sure to use the right color as per the directions from your motorcycle dealer. The shade contains chemicals, so if you don’t choose your paint carefully, you might do more harm than good to your helmet. Read on any labels that might give you a clue on the right color to use on your motorcycle helmet.

  • If you find it hard choosing the right paint, you might as well contact the manufacturer of your helmet to be sure. Additionally, consider seeking a recommendation from certified and professional painters.
  • Examine the outer shell of your helmet to ascertain that there are no cracks. Painting on top of cracks may damage the inner surface of your helmet because the paint will sip through the cracks to reach the internal parts.

Step 3 : Do Not Sand The Helmet

Sanding is commonly done on most surfaces before applying paint to improve the adhesive properties between the texture and the color. However, in this case, you need to sand the helmet because rubbing it will create weak points, and the adverse effects of paint may begin to show up.

  • You might consider repainting your helmet in future, so ensure the helmet you buy is painted with plain color; this will save you any stress of removing paint decorations.

Step 4 : Cleaning The Surface

Just like you would prepare another surface, you will need to thoroughly clean your helmet’s shell using a suitable detergent before you begin applying paint. You want your paint to stick correctly and last for a while, which is why you should get rid of any unwanted particles on the surface of your helmet. Soap and warm water can accomplish this step.

  • Ensure you wipe your helmet with a dry cloth and give it adequate time to dry before proceeding to the next step.

 Steps To Paint a Helmet

There may be areas or parts on your motorcycle helmet that you don’t want to paint. In this case, mask the components with appropriate material before you start painting. Detach any other movable parts, such as the visor. You don’t want to get messy while painting your motorcycle helmet(how to paint a motorcycle helmet) so ensure only parts you want to be painted are exposed. 

  • You will need a mask to cover the inside of your helmet to prevent it from paint splashes.
  • Please don’t remove the inner shell of your helmet, as this might weaken it in the long run.

You want your helmet to have a fantastic look, and one way to get the look your want is by using various designs on the helmet. Make sketches or drawings you might want using a pencil before applying your paint. Make your plan more visible for easy painting.

  • You can make many designs on your helmet and take well-measured cuts of your masking tape to create any design you want.

So which paint should you use in your project? The most suitable color to apply to your helmet had to be water-based acrylic paint. Allow a sufficient amount of drying time between paint applications so that each layer used sticks to the surface properly.

  • Work your way around the helmet by painting the first layers before the final touches on your project.
  • An airbrush will work best if you intend to spray your paint. An airbrush allows for a uniform and even application of paint on your helmet.
  • Avoid spraying any paint on safety markings if there are any on the surface of your helmet.
  • Take off any coverings you made earlier after the paint has dried completely. You don’t want to distort the look of your designs, so be sure to remove the stickers carefully.

Finally, you now have your painting project ready. However, you would need to do a few finishing touches on your helmet to give it a sparkling look. Apply about four layers of a transparent coat on the surface of your helmet to make it more durable. Note that you should make a light application of the finishing coats by holding the sprayer at arm’s length from your project.

  • It would be best to allow the clear coats a maximum of 20 minutes of drying time before applying subsequent coats.
  • Consider using final coats that are meant to be used on plastics. Since there are instruction manuals on the applicability of your paint, be sure to go through them to get the correct information.
  • Before spraying the clear coats, you might consider covering the inner parts of your helmet to shield it from any splashes while spraying your paint.
  • Give the final coat a sufficient amount of time to dry, say a day, before fixing any parts you removed earlier.

Now you have a clue on how to paint a motorcycle helmet. Polishing your motorcycle helmet is such a fulfilling experience because you can customize the whole painting exercise to meet your needs. If you are a do-it-yourself, you can use the tips highlighted in this article to explore various designs you can do for your motorcycle helmet.

Be sure to select the correct paint to apply on your motorcycle helmet; you don’t want to damage your helmet so try to find the proper color to use on your helmet.

You need to understand the laws of the land and their applicability regarding making any changes to your motorcycle parts. You don’t want to find yourself on the wrong side of the law.

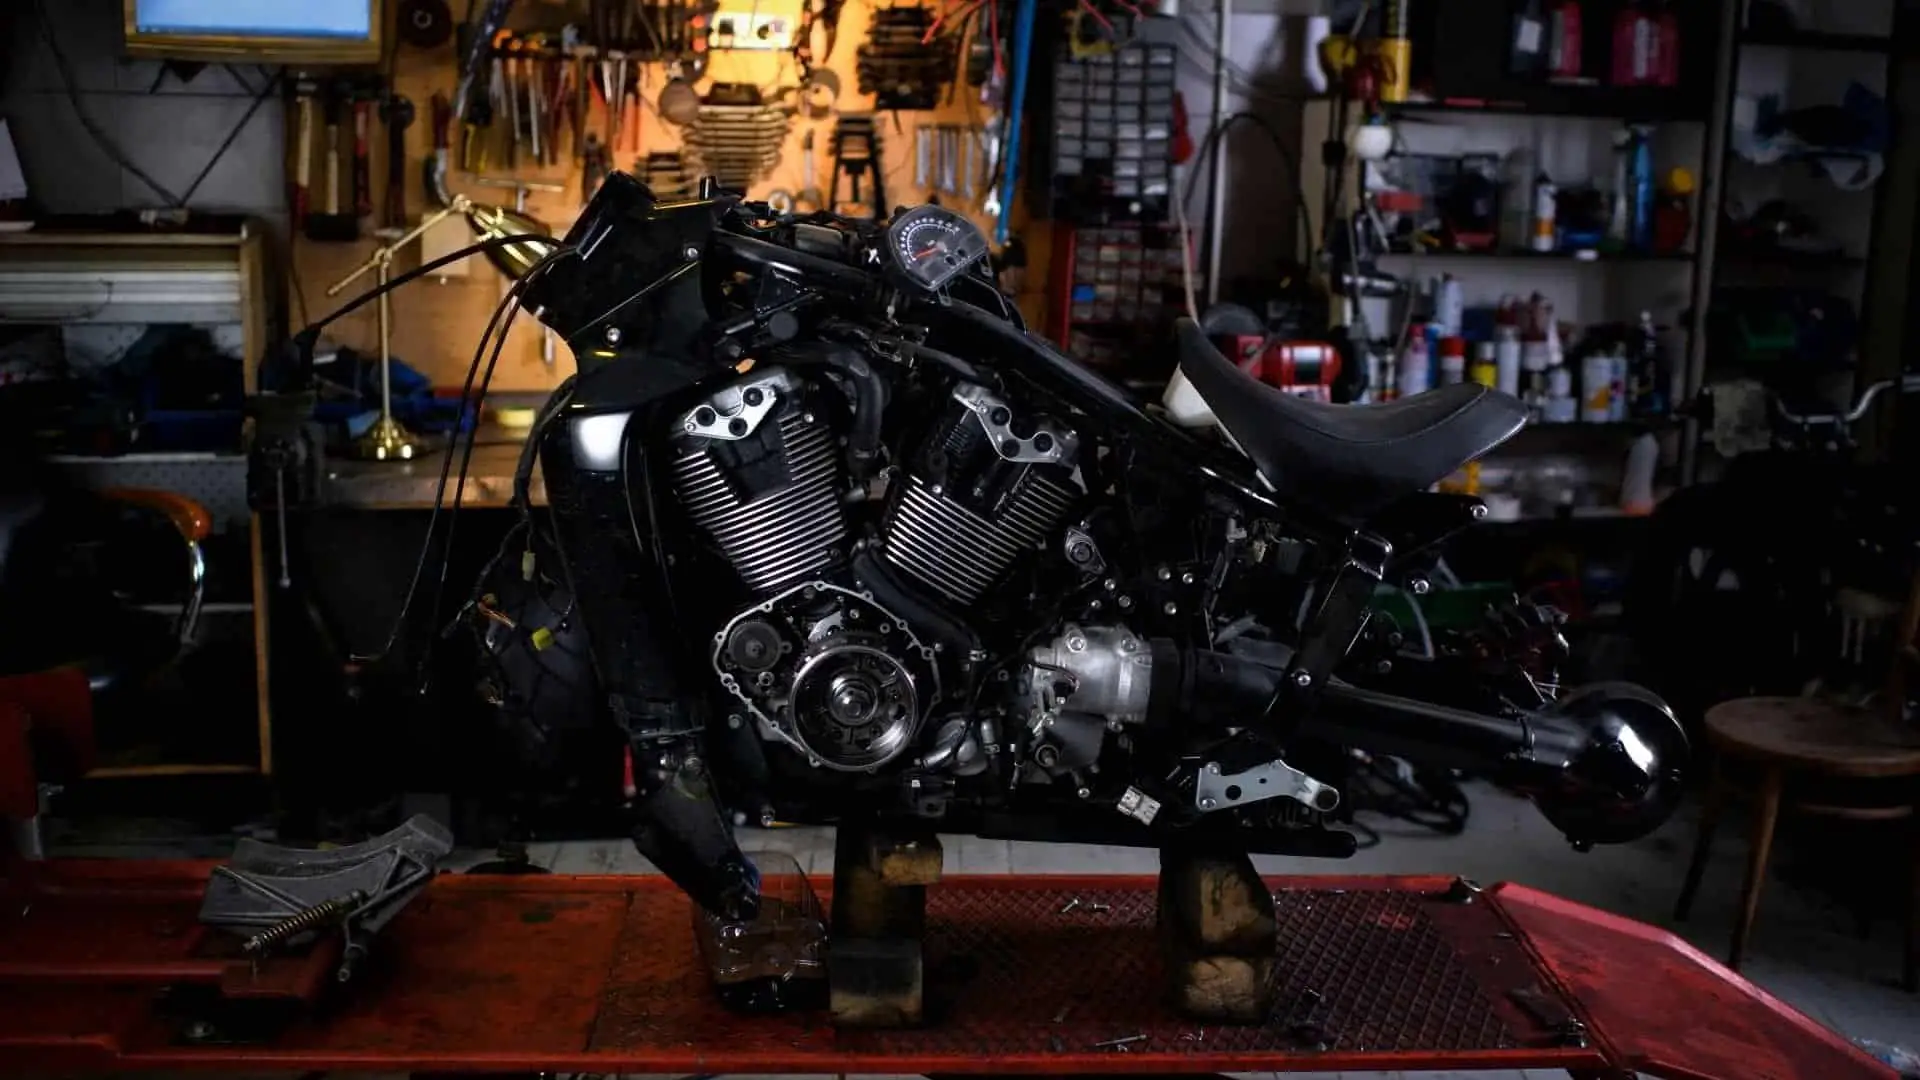
How To Paint A Motorcycle Engine?

How To Paint A Motorcycle Engine

Nowadays, the custom design of motorcycles has become a popular trend. You can paint your old bike in a shiny new and different way. You need to paint the engine of your bike before starting this work. Then you can do other work. There are currently many organizations available that do professional bike modification. You can easily do this yourself. Today we will learn in this article how you can do this whole thing on your own in a very successful way. To paint a motorcycle engine is a very easy assignment. You can paint your old motorcycle engine by yourself. First, you need to collect an old motorcycle that you want to rearrange with your desired style and design or create a completely different look. It is exceptional work that will make your bike special from others.

You should follow the following guidelines for a new design of your bike’s engine. These steps will depend on the years and conditions of your motorcycle. In the case of older bikes, you need to clean and polish the bike properly. The old paint has to be removed. If rust is found in the engine, it should also be cleaned. Care must be taken when removing old paint and rust so that the engine is not damaged.

Now, let’s see how to paint a motorcycle engine safely.

you may also be interested in painting your motorcycle plastic as well like the engine.

Why Should You Paint Your Motorcycle Engine?

It is important to paint the engine of your favorite hobby-old bike to protect it from damage and to make it more durable. You can also paint to change the design and color of the bike. You may also need to paint your bike’s engine to design a new color for your bike.

We have a motorcycle in our house as the last memory of my father. He used to run it regularly when my father was alive. I always want this last memory of my father not to be lost in any way. That’s why I took the initiative to repair and re-paint it. The happiest thing for me is that I have succeeded in this task. Although my father’s motorcycle was 30 years old, its engine did not need much repair. Probably because my dad took good care of it. Before starting the work I researched on the internet on this subject and got the right guidance from many experienced bike lovers people. Then I started working. Although I had some problems with color selection, I was able to finish the job successfully. In today’s article, I will give you complete instructions on how to draw a motorcycle engine from my own experience. I believe you can also create a gorgeous look for your bike engine.

Materials Needed For Painting A Motorcycle Engine

You will need the following components to paint your motorbike engine. The ingredients are given below:

  • A tool kit
  • Spraying Paint
  • Aircraft remover.
  • Soft towel.
  • Wired brush.
  • Rotary tools.
  • Send paper.
  • Spray paint.

Which Automotive Paint Gun Would You Recommend for Painting a Motorcycle Engine?

When it comes to painting a motorcycle engine, there are various best paint gun options to consider. Some popular choices include the HVLP paint gun for its precision and low overspray, as well as the airless paint sprayer known for its high-speed production. Ultimately, the best paint gun option will depend on your specific needs and preferences.

Steps For Painting Your Motorbike Engine

You need to follow a few steps to paint your bike engine. These steps totally rely on the years of your motorcycle and its present condition. Here are the steps to follow:

  • Disassembling Your Bike Engine.
  • Cleaning every part of the Engine.
  • Removing the old paint
  • Polishing them.
  • Painting them.
  • Assembling your Bike Engine.

Step 1: Disassembling Your Bike Engine

First, carefully open the engine of your motorcycle with the toolkit box. After opening the engine, disassemble all the parts attached to it. Every portion of the engine is essential to be separated to paint properly.

Step 2: Cleaning Every Part Of the Engine

Before painting, the engine of the motorcycle should be cleaned well. It is a very significant matter. If your bike is too old, your bike’s engine may rust. You must first remove the rust from the engine. You need to use rust remover to remove rust. Cover the engine with rust remover and wait for 20-30 minutes. Then rub the rust off with an old fabric or piece of cloth.

Be sure to cover all the circuits of the spark plug and engine with masking tape while following this step.

Step 3: Removing The Old Paint

You need to remove the old paint before adding new paint to the engine. You can do this in two ways. First, you can remove the old paint using a corrosive sandblaster. This method is ancient and simple. You can buy it very easily and at a fair price.

The second way is much easier. You can use a rust remover, it is a kind of liquid to remove the old paint. Easily be found in every paint store. However, it is a heavy chemical that can damage your skin. So, you should be aware of it. You can use hand gloves in this regard. Soak the paintbrush in this oil and apply it to the engine. In a few minutes, the pepper will continue to loosen. Do this a few times until the engine looks bright and shiny.

Step 4: Polishing Them

The engine needs polishing to capture color properly. For this, you have to use sandpaper. After cleaning the engine well, the surface should be rubbed with sandpaper to smooth it out. Then apply the color, the color will be more permanent.

If you find rough areas on any surface of the engine, you need to rub the area with sandpaper.

Step 5: Painting Them

This step is the main step in your work. First, you must choose a color for your motorcycle engine. Choosing a color is an important element. For your motorcycle engine, you need to choose a color that will be long-lasting and durable. I will advise you to use spray paint. Once your colors are picked, create at least 2-3 layers of color in the engine. Otherwise, the color is likely to fade after a month or two. The more color layers you create, the more durable your engine color will be. You should ensure painting every part of your engine to maintain quality paint. When the painting is done, wait until the paint is completely dry.

Step 6: Assembling your Bike Engine

Once the painting is completely dry, the engine parts of the motorcycle need to be assembled. The masking tape must be removed. All other plugs and connections, including the spark plug, need to be connected. Assemble the whole engine of your motorcycle in this way.

Safety Guidelines:

  • You should wear protective goggles and hand gloves.
  • You should wear a mask at the time of painting the engine.
  • You must be careful about the forbidden points like spark plug ports, wire ports, etc.
  • You may wear a mechanical apron while working.

Painting the engine of a motorcycle protects the surface of the engine from rust and damage. Moreover, you can design as you wish. Hopefully, you can paint your bike engine through this article.