Nowadays, the custom design of motorcycles has become a popular trend. You can paint your old bike in a shiny new and different way. You need to paint the engine of your bike before starting this work. Then you can do other work. There are currently many organizations available that do professional bike modification. You can easily do this yourself. Today we will learn in this article how you can do this whole thing on your own in a very successful way. To paint a motorcycle engine is a very easy assignment. You can paint your old motorcycle engine by yourself. First, you need to collect an old motorcycle that you want to rearrange with your desired style and design or create a completely different look. It is exceptional work that will make your bike special from others.
You should follow the following guidelines for a new design of your bike’s engine. These steps will depend on the years and conditions of your motorcycle. In the case of older bikes, you need to clean and polish the bike properly. The old paint has to be removed. If rust is found in the engine, it should also be cleaned. Care must be taken when removing old paint and rust so that the engine is not damaged.
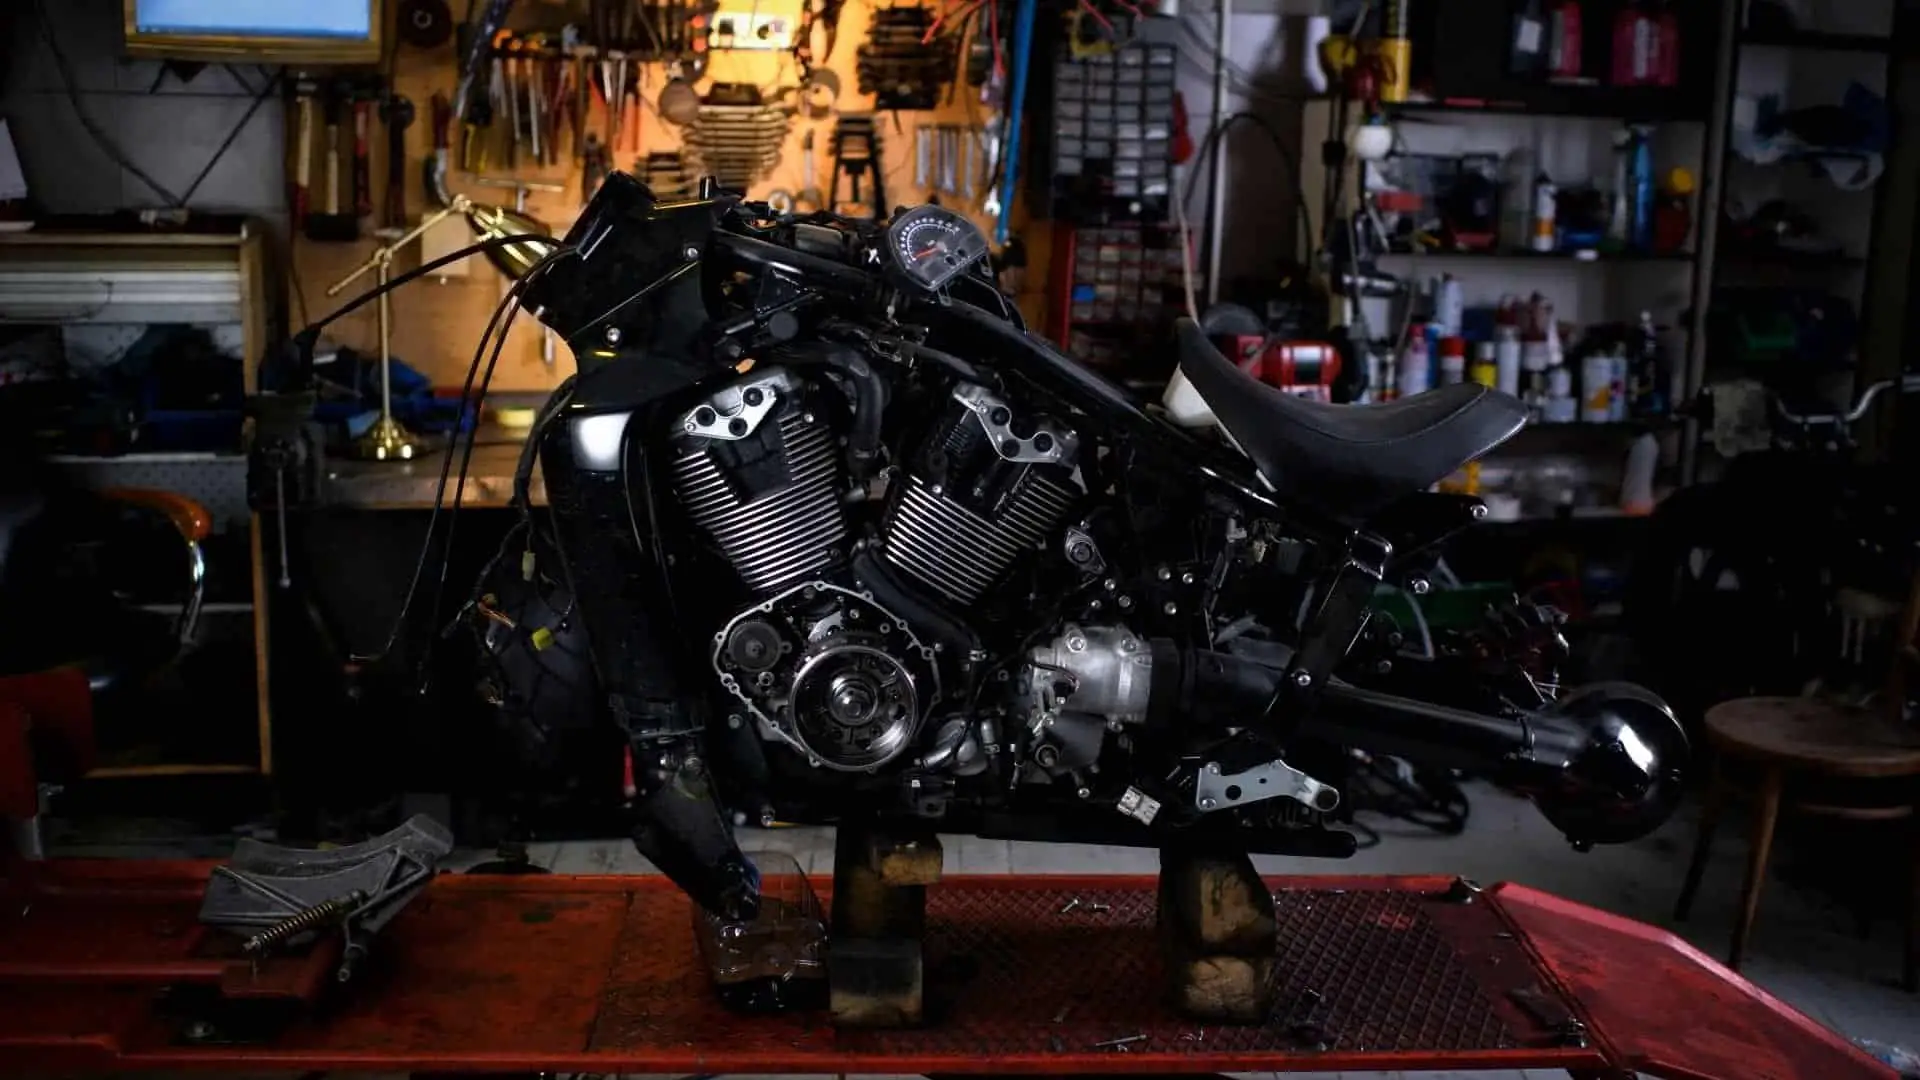
Now, let’s see how to paint a motorcycle engine safely.
you may also be interested in painting your motorcycle plastic as well like the engine.
Why Should You Paint Your Motorcycle Engine?
It is important to paint the engine of your favorite hobby-old bike to protect it from damage and to make it more durable. You can also paint to change the design and color of the bike. You may also need to paint your bike’s engine to design a new color for your bike.
We have a motorcycle in our house as the last memory of my father. He used to run it regularly when my father was alive. I always want this last memory of my father not to be lost in any way. That’s why I took the initiative to repair and re-paint it. The happiest thing for me is that I have succeeded in this task. Although my father’s motorcycle was 30 years old, its engine did not need much repair. Probably because my dad took good care of it. Before starting the work I researched on the internet on this subject and got the right guidance from many experienced bike lovers people. Then I started working. Although I had some problems with color selection, I was able to finish the job successfully. In today’s article, I will give you complete instructions on how to draw a motorcycle engine from my own experience. I believe you can also create a gorgeous look for your bike engine.
Materials Needed For Painting A Motorcycle Engine
You will need the following components to paint your motorbike engine. The ingredients are given below:
- A tool kit
- Spraying Paint
- Aircraft remover.
- Soft towel.
- Wired brush.
- Rotary tools.
- Send paper.
- Spray paint.
Which Automotive Paint Gun Would You Recommend for Painting a Motorcycle Engine?
When it comes to painting a motorcycle engine, there are various best paint gun options to consider. Some popular choices include the HVLP paint gun for its precision and low overspray, as well as the airless paint sprayer known for its high-speed production. Ultimately, the best paint gun option will depend on your specific needs and preferences.
Steps For Painting Your Motorbike Engine
- Disassembling Your Bike Engine.
- Cleaning every part of the Engine.
- Removing the old paint
- Polishing them.
- Painting them.
- Assembling your Bike Engine.
Step 1: Disassembling Your Bike Engine
First, carefully open the engine of your motorcycle with the toolkit box. After opening the engine, disassemble all the parts attached to it. Every portion of the engine is essential to be separated to paint properly.
Step 2: Cleaning Every Part Of the Engine
Before painting, the engine of the motorcycle should be cleaned well. It is a very significant matter. If your bike is too old, your bike’s engine may rust. You must first remove the rust from the engine. You need to use rust remover to remove rust. Cover the engine with rust remover and wait for 20-30 minutes. Then rub the rust off with an old fabric or piece of cloth.
Be sure to cover all the circuits of the spark plug and engine with masking tape while following this step.
Step 3: Removing The Old Paint
You need to remove the old paint before adding new paint to the engine. You can do this in two ways. First, you can remove the old paint using a corrosive sandblaster. This method is ancient and simple. You can buy it very easily and at a fair price.
The second way is much easier. You can use a rust remover, it is a kind of liquid to remove the old paint. Easily be found in every paint store. However, it is a heavy chemical that can damage your skin. So, you should be aware of it. You can use hand gloves in this regard. Soak the paintbrush in this oil and apply it to the engine. In a few minutes, the pepper will continue to loosen. Do this a few times until the engine looks bright and shiny.
Step 4: Polishing Them
The engine needs polishing to capture color properly. For this, you have to use sandpaper. After cleaning the engine well, the surface should be rubbed with sandpaper to smooth it out. Then apply the color, the color will be more permanent.
If you find rough areas on any surface of the engine, you need to rub the area with sandpaper.
Step 5: Painting Them
This step is the main step in your work. First, you must choose a color for your motorcycle engine. Choosing a color is an important element. For your motorcycle engine, you need to choose a color that will be long-lasting and durable. I will advise you to use spray paint. Once your colors are picked, create at least 2-3 layers of color in the engine. Otherwise, the color is likely to fade after a month or two. The more color layers you create, the more durable your engine color will be. You should ensure painting every part of your engine to maintain quality paint. When the painting is done, wait until the paint is completely dry.
Step 6: Assembling your Bike Engine
Once the painting is completely dry, the engine parts of the motorcycle need to be assembled. The masking tape must be removed. All other plugs and connections, including the spark plug, need to be connected. Assemble the whole engine of your motorcycle in this way.
Safety Guidelines:
- You should wear protective goggles and hand gloves.
- You should wear a mask at the time of painting the engine.
- You must be careful about the forbidden points like spark plug ports, wire ports, etc.
- You may wear a mechanical apron while working.
Painting the engine of a motorcycle protects the surface of the engine from rust and damage. Moreover, you can design as you wish. Hopefully, you can paint your bike engine through this article.