Do you want to repaint your old bicycle but don’t know how to start? If you answered yes, this article will give you insightful tips on how to paint your bike.
Introduction: Why Paint Your Bike?
Giving your bike a new coat of paint can refresh your ride, making it a unique reflection of your personality. Painting not only enhances its look but also protects it from rust and wear, keeping it looking good for years. Imagine riding a bike in colors that represent you, it’s more than just transportation it’s a statement.
Additionally, painting your bike can be very rewarding. This creative activity promotes mindfulness and self-expression, boosting your confidence in DIY projects. Completing this task brings a sense of achievement; you’re not just repainting metal, but reclaiming your bike and its story. This connection makes every ride more meaningful, creating lasting memories with each brushstroke or spray. So why not explore this vibrant opportunity? Your bike is ready for a change!
Prepare Your Bike for Painting
Before starting the paint job, it’s important to take apart your bike properly. Removing parts like the wheels, handlebars, and accessories protects them from overspray and gives you a clear area to work. Use this time to check for any wear or damage that needs fixing; small repairs can improve both the look and performance after painting.
After disassembly, preparing the frame is crucial. Clean it thoroughly with soap and water, then scrub gently to remove dirt and grease that could affect the paint. For a smoother finish, sand down any flaws or rusted spots, and remember to wear a mask to avoid inhaling dust! Finally, applying a good primer helps the paint stick better and makes colors stand out while protecting chips and scratches. With these steps done, you’ll be set for an exciting change to your bike!
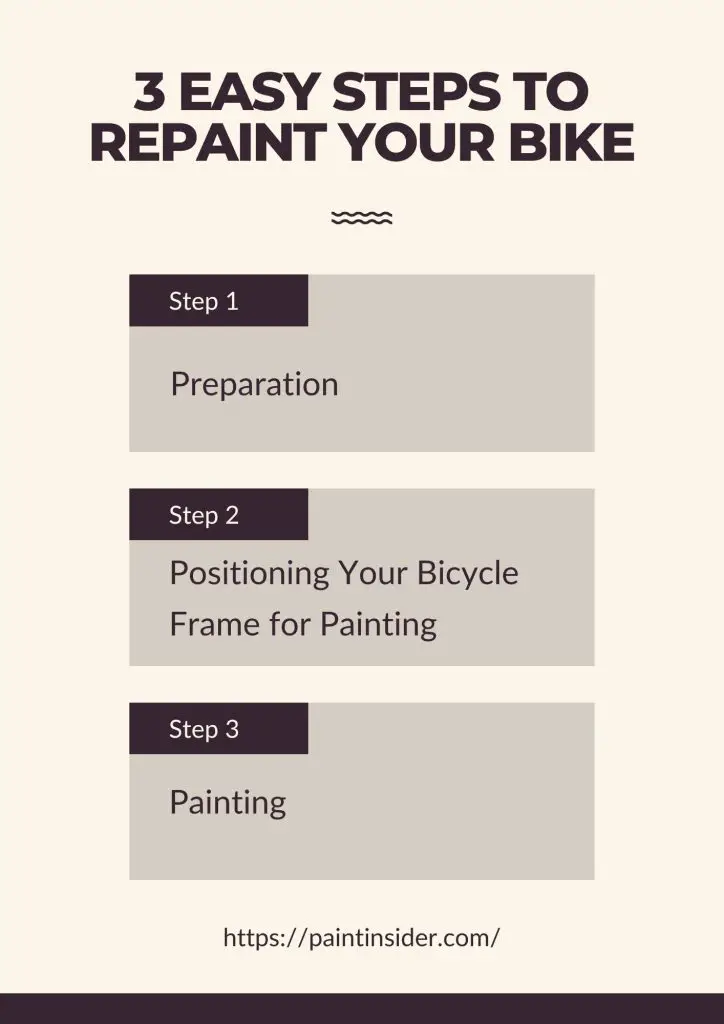
3 Easy Steps To Repaint Your Bike
Supplies needed
- Hand tools, e.g. wrenches and screwdrivers
- sandpaper
- Scalpel
- Painters tape
- Suspender
- Primer
- Paint if desired
- Clear finishing coat
Step 1: Preparation
- Firstly, you need to separate the parts of your bike which you don’t intend to paint. Such parts may include the seat, handlebars, chain, and cables if there are any. Be sure to store your screws properly for use when assembling your bicycle.
- Peel any visible stickers on your bicycle frames. You might consider employing a source of warm air to remove permanent stickers. Use your scalpel to scrape stubborn stickers.
- Use a suitable agent to remove any traces of glue from the surface of your bicycle frames. Use fine-grained sandpaper to remove stubborn stickers, and then wipe your bike frames with a wet cloth.
- Work on your bicycle frames using medium-grained sandpaper. You want your paint to stick properly, so be sure your bicycle frames’ surface is smooth and clean for easy application of your paint.
- After sanding your bicycle frames, wipe any dust particles from the surface of your bicycle frames using a damp cloth. Let the frames dry before you start your painting exercise.
- Be sure to mask any area of your frames which you do not wish to paint. Avoid spraying paint on movable parts such as the ball bearings and parts around your bike’s braking system.
Step 2: Positioning Your Bicycle Frame for Painting
- Pick a suitable location for your project. The place selected should be spacious enough for a free flow of air. If you are working in an enclosed space, be sure to open windows to allow for proper air circulation. The paint contains harmful chemicals which may affect your breathing system.
- Use a suitable drop cloth beneath your painting project. You want to do a professional painting, so be sure to take all the necessary precautions to avoid doing a messy job.
- Suspend your bicycle using a suitable material preferably, a string wire. Since you will be spraying your bicycle with paint ensure, that you position your bike frames to spray every part of the frames comfortably.
- A good alternative would be to place your bicycle frames on a flat surface but be sure the frames are not in close contact with the surface. It will help if you use suitable mountings to fix your bicycle frames on the surface.
Ensure that while positioning your bicycle for painting, you can apply the paint evenly without any obstructions. You want to produce a smooth and consistent finish, so be sure to mount your bicycle frames properly.
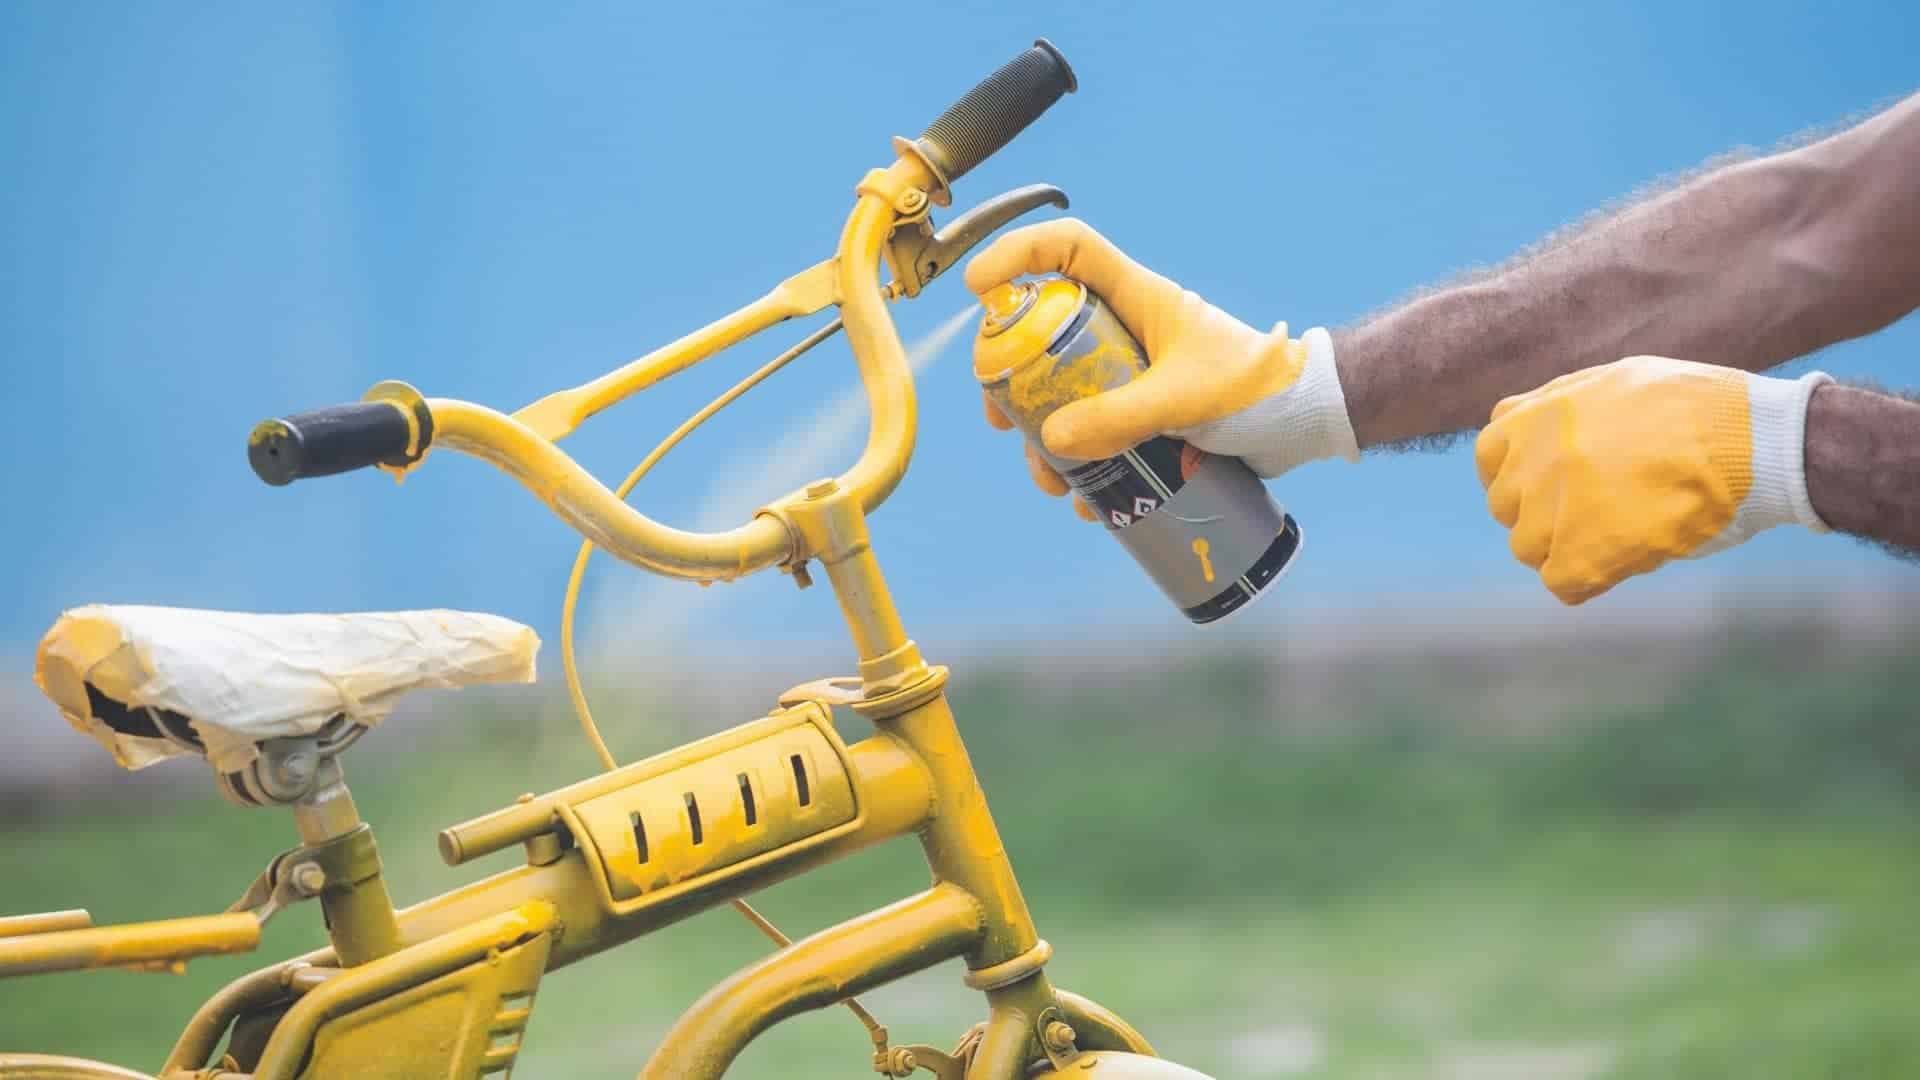
Step 3: Painting
Painting is the most critical part of the whole exercise on how to repaint a bike, so you should follow the necessary instructions to Letter if you want a clean and even finish.
- Note that you can choose to leave your bike intact whenever you are painting it. However, disassembling your bicycle has proved to be a viable approach.
- At this point, be sure to select a paint color of your choice. You don’t want to blame yourself for wrongfully choosing a color you don’t like.
- When choosing suitable paint for your bicycle, you may consider the opinion of experts and professional painters. Alternatively, you can source useful recommendations from paint dealers in your locality.
- Having selected the most suitable color for your bicycle, you can go ahead and start painting. It is advisable to apply a suitable primer before applying the coats of your selected paint. However, if you use quality paint, you may forgo the use of a Primer.
- Spray a thin layer of your paint and let it dry properly before applying subsequent coats. Hold the nozzle of your spray can at an appropriate distance from your bicycle frames. Work your way around the frames with continuous motions of the sprayer to achieve an even look.
- To avoid a bumpy look on the surface, avoid emphasizing the spray on a single point. After applying the first coat, you might notice the initial color beginning to appear. Additional coats of paint will eventually clear away the original color on your frames.
- Allow up to a maximum of a 30-minute interval between coats for proper drying. Be sure to apply thin coats for a consistent and even finish on your bicycle.
- Apply your clear coat on the bicycle frames after ensuring that the last coats of paint are completely dry.
- The clear finish is important because it will shield your bicycle from scratches and other harmful environmental conditions. Be sure to apply at least three coats of protective paint to protect your frames and make them more durable.
- Allow your bicycle a maximum of one day drying time before assembling the parts if you took them apart.
- Remove masks that you put on your frames during the preparation stage and avoid touching the painted parts.
Tips worthy noting
- Allow your bicycle a maximum of one day drying time before assembling the parts if you took them apart.
- Consider the prevailing weather conditions and relocate your bicycle to an appropriate point for proper drying.
- Wipe your bicycle with a dumb cloth and let it dry before you begin painting.
- Remember to cover areas on your bicycle that you don’t want to be polished. Areas you might exclude from painting include brakes, ball bearings, and other movable parts.
- Peel any visible stickers on your bicycle frames. You might consider employing a source of warm air to remove permanent stickers. Use your scalpel to scrape stubborn stickers.
- Be sure to apply at least three coats of protective paint to shield your bicycle frames from scratches and other harmful environmental conditions.
- The clear finish is important because it will shield your bicycle from scratches and other harmful environmental conditions. Be sure to apply at least three coats of protective paint to protect your frames and make them more durable.
Frequently Asked Questions (FAQs)
1. What materials do I need to paint my bike?
You will need spray paint, primer, sandpaper, masking tape, a clear coat, and tools like screwdrivers and a wrench.
2. How do I prepare my bike for painting?
Start by cleaning your bike thoroughly, then disassemble parts you don’t want painted. Use sandpaper to roughen the surface for better paint adhesion.
3. Can I paint my bike without removing the components?
Yes, but removing components like the wheels and chain is best to avoid overspray and ensure clean lines.
4. What type of paint should I use for my bike?
Use enamel or acrylic spray paint designed for metal surfaces; these are durable and can withstand outdoor conditions.
5. How long does it take to paint a bike?
The entire process can take a few hours to a couple of days, depending on the drying times between coats and how intricate your design is.
6. Do I need to apply primer before painting?
Yes! Applying primer helps the paint stick better and improves the overall finish of your bike’s color.
7. How can I protect my bike’s new paint job?
After painting, apply a clear coat for extra protection against scratches and UV rays; store your bike indoors when not in use.
8. Is it safe to use spray paint indoors?
No, it’s not recommended as spray paints can release harmful fumes; always work in a well-ventilated area or outdoors.
Conclusion:
In conclusion, painting your bike is not just about looks; it’s a chance to express yourself and be creative. This DIY project helps you connect with your bike, making it a unique reflection of your personality. The process can also be calming, as each brushstroke improves the bike’s appearance and lets you focus on the moment, turning your creativity into real art.
Custom paintwork can also make your bike last longer by protecting it from rust and wear. Using good materials ensures durability and allows you to try different colors, patterns, or textures that fit your style. This care can create a sense of pride, making every ride a statement as you cruise on your uniquely upgraded bike. Embrace this creative challenge and see how it changes both your bike and your cycling experience!