All stains and paint will finally flake or peel out, regardless of the product quality. The optimal method to keep up the look of one’s stained or painted deck will be to clear away the offending paint. Yeah, we efficiently remove the peeling paint from the deck. Now, it’s not too difficult. Here are a few methods and tips that help you learn how to paint the peeling deck. Let’s make your deck new. Always remember that before proceeding towards the first process, you have all the supplies needed with you. So, there will not be any disturbance later because a short mistake in this process can cause your whole efforts to go in vain by producing unacceptable results.
Introduction: Importance of Deck Maintenance
Deck maintenance is important for safety and longevity, not just looks. A poorly maintained deck can cause hazards like splinters and loose boards. Regular care protects your investment and enhances your outdoor enjoyment.
Peeling paint is a common issue for homeowners, which can be frustrating but also a chance to refresh your deck. Painting a peeling deck requires preparation for lasting results. Fixing this issue restores beauty and prevents moisture damage, keeping your deck inviting for gatherings all year. By treating maintenance as an investment in your home and lifestyle, you can create a lasting outdoor space.
Gathering Necessary Tools and Materials
Before diving into the transformative process of painting a peeling deck, gathering the right tools and materials is essential for ensuring success.
Tools:
- Paint Scraper – To remove loose, peeling paint from the deck surface.
- Wire Brush – For scrubbing off peeling paint, dirt, and debris from wood surfaces.
- Putty Knife – For filling any cracks or gouges in the wood with wood filler.
- Paint Rollers and Extension Pole – For covering large areas of the deck quickly and evenly.
- Angled Paint Brush – For precision work on edges, corners, and between deck boards.
- Drop Cloths or Plastic Sheets – To protect the ground and surrounding surfaces from paint drips.
- Bucket – For mixing cleaning solutions or holding paint supplies.
Materials:
- Deck Cleaner – To remove dirt, mildew, and grime from the deck before painting.
- Wood Filler – For filling cracks, holes, or damaged areas in the deck surface.
- Exterior Primer – A primer designed for outdoor wood surfaces to improve paint adhesion and durability.
- Deck Paint or Stain – Choose a high-quality exterior paint or stain designed specifically for decks. Ensure it is weather-resistant and designed for high-traffic areas.
By gathering these tools and materials, you’ll be ready to properly prepare your peeling deck, ensuring a smooth, durable, and professional-looking finish.
Preparing the Surface before Painting
Preparing the surface before painting is essential, especially when addressing a peeling deck. First and foremost, take your time to assess the condition of the wood. Look for areas where paint has chipped or split and consider how deep these problems go uneven surfaces can lead to an unsightly finish. Using a power sander or scraper can effectively remove loose paint but remember: too much pressure may damage the underlying wood.
Once you’ve stripped away imperfections, it’s essential to clean the surface thoroughly. A simple mixture of water and mild soap will do wonders, but don’t shy away from using a pressure washer for those tough spots; just ensure you allow everything to dry completely after washing. Applying a primer designed for outdoor use helps seal damaged areas and creates an ideal anchor for your topcoat especially if you’re transitioning between different materials like wood and metal railings. This careful preparation not only extends the life of your paint job but also enhances its overall appearance, turning that peeling deck into a stunning outdoor sanctuary!
Method 1 To Paint The Peeling Deck
Before diving into the painting process, it’s essential to address the deck’s peeling paint effectively.
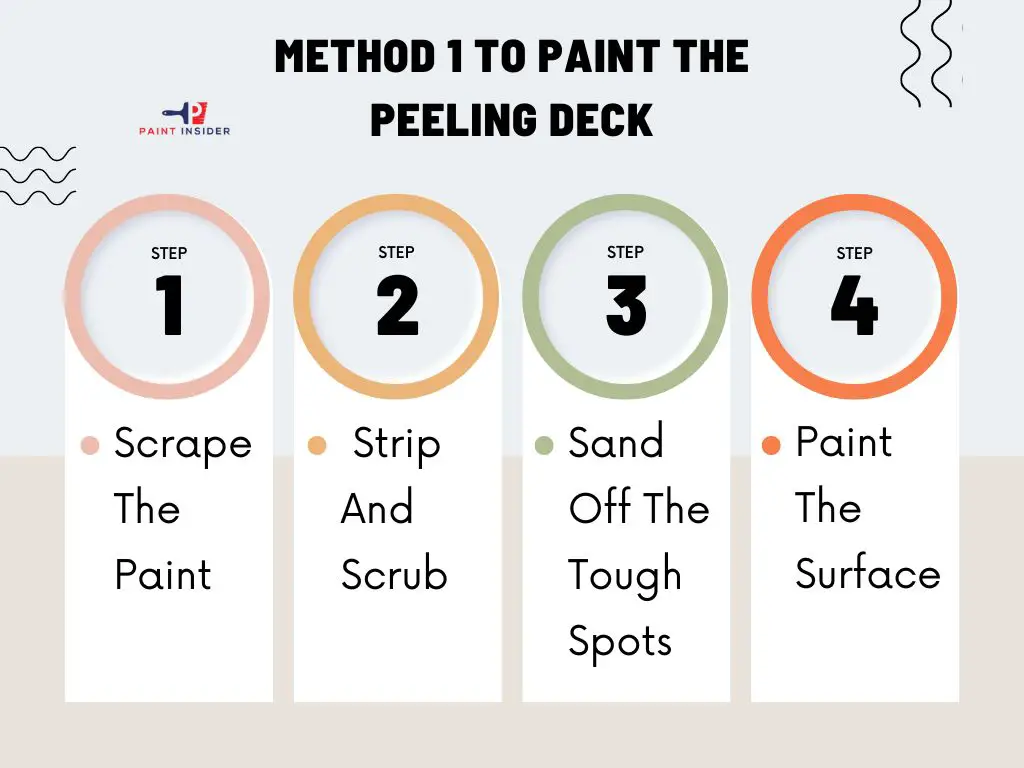
Step 1: Scrape The Paint
The first step is to scrap your aged paint. For removing the old paint, we use the paint scraper. Pick up the paint scraper and start removing the stain or old paint. During this procedure, you can also readjust the nails on the deck.
Step 2: Strip And Scrub
While moving toward the next step, cover the neighboring area of your deck. Suppose you have siding or grass in your nearby areas. At a time, must keep all these areas covered by almost 20 square feet. Make your surface wet, and keep it in this form. By keeping it wet, your surface becomes smooth and also becomes painless to scrub off. Let the remover for 25 -30 minutes. Then use the stiff brush for the scrub. Gently wash out the residue and let them dry.
Step 3: Sand Off The Tough Spots
Now sand off the rough spots by stripping the pad on a grinder.
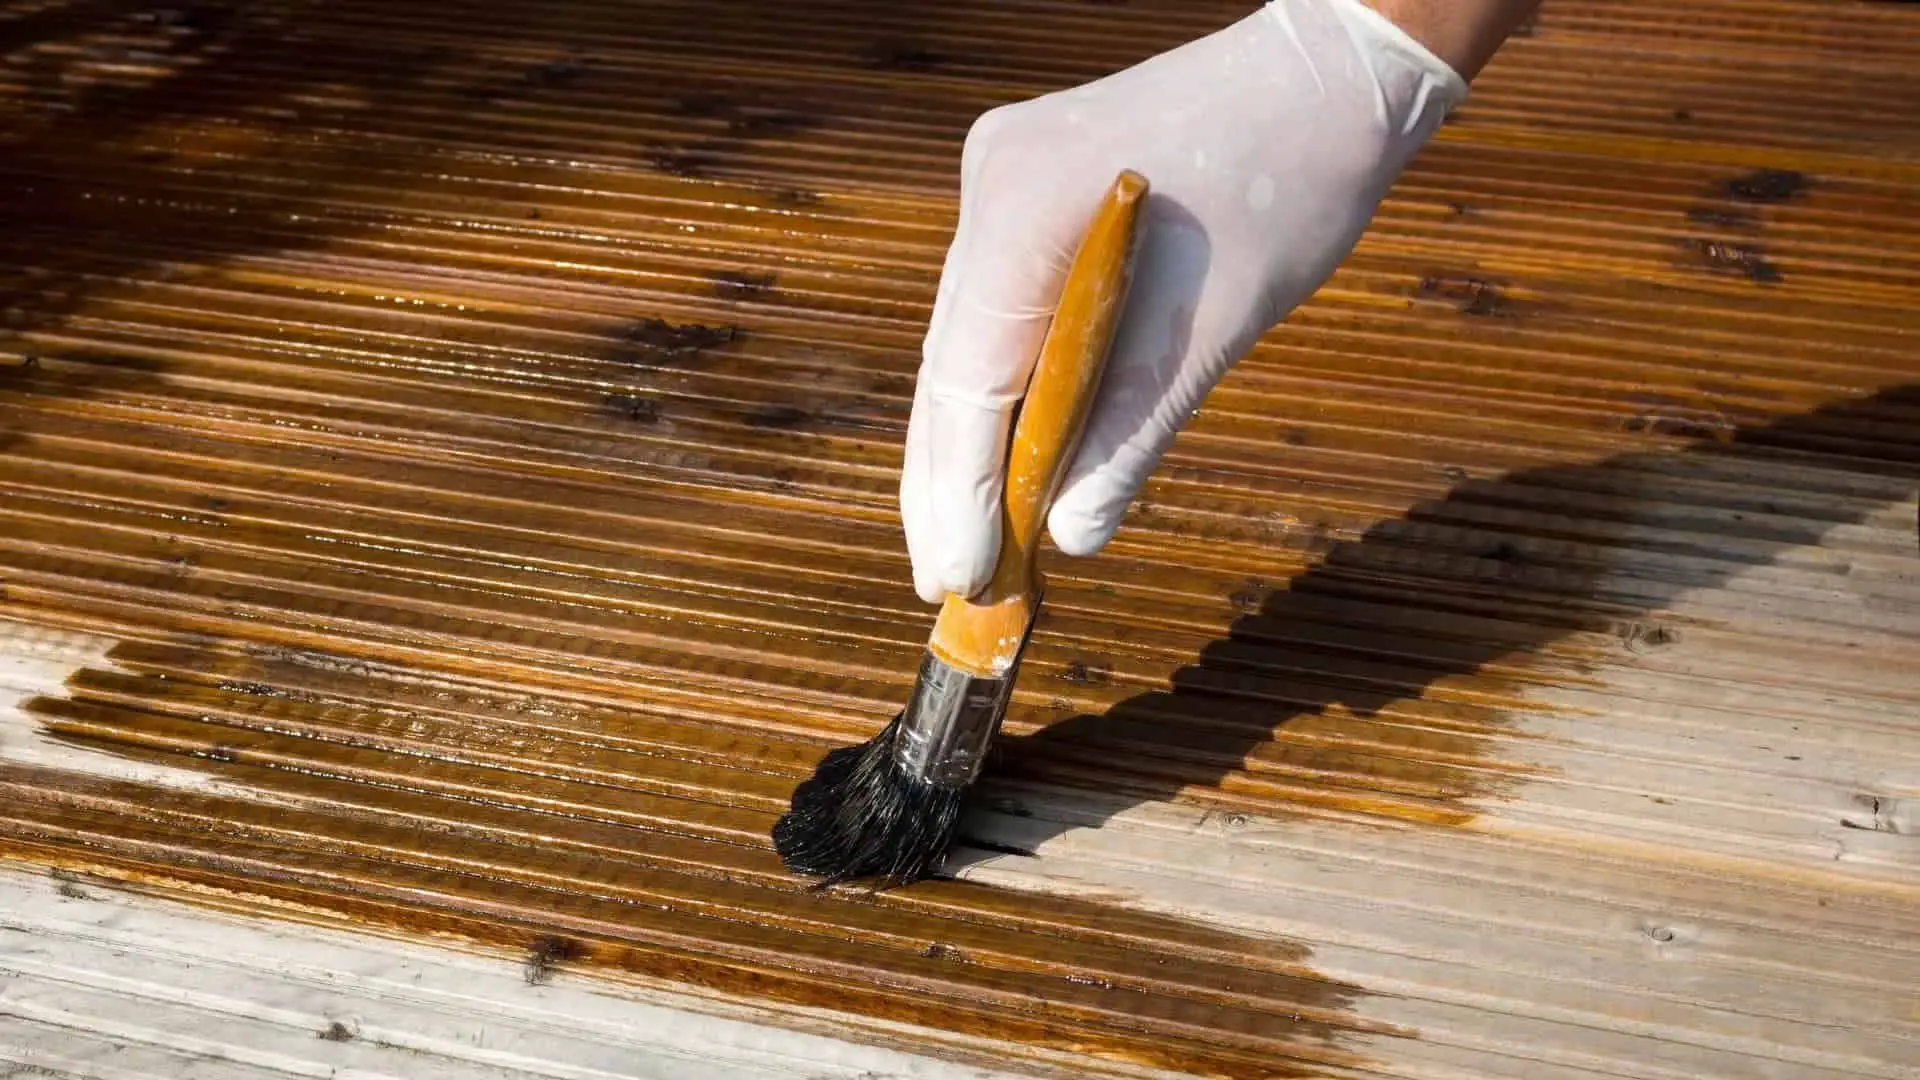
Step 4: Paint The Surface
As your surface is ready, now paint it. You can see gorgeous and delicate paint on the surface now.
Things Must Keep In Your Mind While Painting
Based upon the age of the painting project onto your deck, from where it is damaged, and also along with which color has been utilized on it before, you might well be capable of painting the peeling desk.
Here are some suggestions that proved helpful in painting the peeling desk.
- Take any loose paint out of your deck by working with a rigid brush, or you can also use a scraping tool.
- Gently sand the damaged area unless you feel there is no more roughness and it becomes smooth.
- Verify the top is dry and clean before moving.
Put on the paint using a roller or brush skates. - Let it dry and apply another coat if required.
When you notice that the peeling area is large and much more to treat, then leave out the above tips and thoroughly paint the whole deck. When you repaint the deck, you’ll get more precise results.
For creating the original color of the deck, scrub, and after scrubbing, wash out the surface gently to put back your primary color. To apply the paint on the deck, make sure your deck is completely dry. If you are painting the deck, the use of a primer is a must. Never forget the use of a primer before painting. If you are using water-based paints, then use Latex primer as it gives you the best results.
Method 2 To Paint The Peeling Deck
Now we have another method to deal with the peeling deck. Let’s have a look at this method.
The first one is that we can use the rotary grinder to scratch the peeling paint of the deck, or the other is scraping the peeling paint. After scratching and smoothing the surface, it’s time to paint. Now check how to paint a deck just in 5 steps:
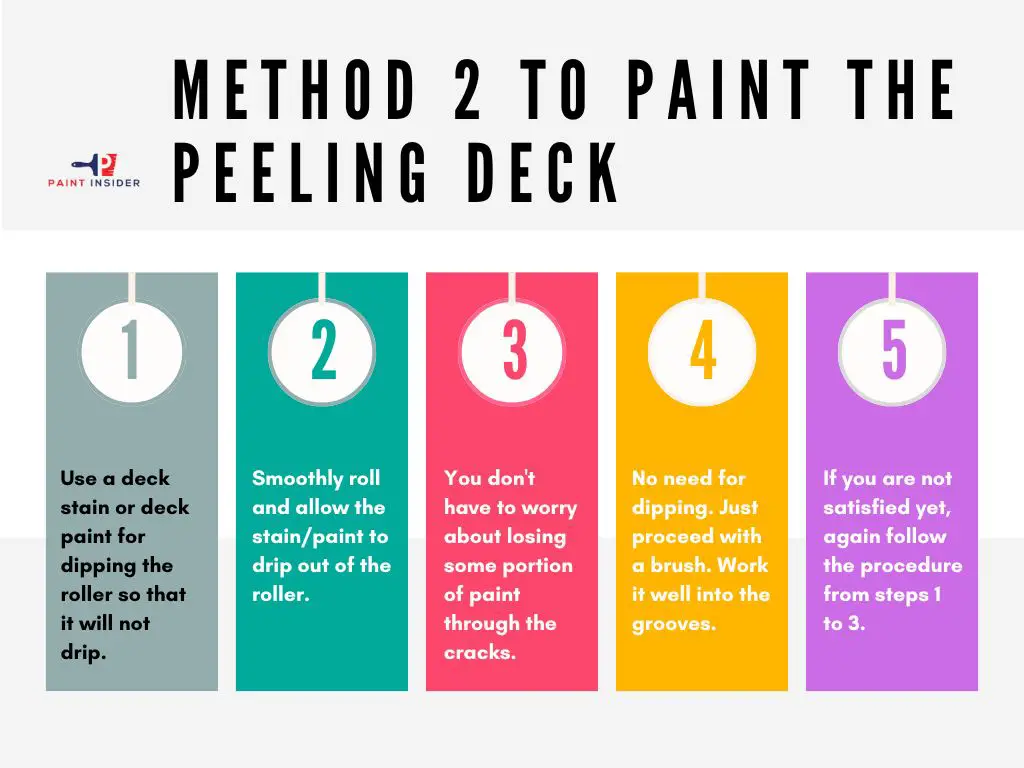
Step 1: Use a deck stain or deck paint for dipping the roller so that it will not drip.
Step 2: Smoothly roll and allow the stain/paint to drip out of the roller. Press firmly for drying out and press more firmly for dying.
Step 3: You don’t have to worry about losing some portion of paint through the cracks. I also have a recommendation for you about this you can use plastic to save paint.
Step 4: No need for dipping. Just proceed with a brush. Work it well into the grooves.
Step 5: If you are not satisfied yet, again follow the procedure from steps 1 to 3.
Important Tips To Paint The Peeling Deck
Now I’m sharing the tips and precautions you need to keep in mind while painting the deck. These tips help you in providing satisfactory results and also keep you safe from any hazards.
Tip 1: Cover The Utilized Area
Cover that area that isn’t becoming painted: utilize canvas or plastic and a great deal of tape. Don’t rush –you are going to spare many more hours in the long run. Work with a razor blade to receive sharp lines and come back after to minimize borders using a brush.
Tip 2: First Check Out The Spray
It would be best if you practiced and then used the spray. Practice the spray at a much visible region or onto a few pieces of cardboard, and then proceed with your sprayer’s hand constantly. Also, should you shift position, you produce a fast image of their wrist; therefore, you never possess paint accumulation.
Tip 3: Dip The Nozzle
Tip 4: Submerging In Warm Water
Submerge the sprayer tip in a bucket of warm water. Once you set it down to accomplish other things than a spray, keep it soaked. Stay it wet because it’ll clog rapidly, especially at the scorching moment like on hot days.
Tip 5: Use The Standard Paint
Try to use valid and high-quality deck paint that’ll provide you with satisfactory results from only one coat.
Congratulations! You have become professional in painting your peeling desk to make it highly attractive using any of the above methods. All the methods have been shown after a high level of observation and research. All these methods help to fix peeling paint on the deck. Keep following all the instructions and steps of the above method, and you will see satisfactory results. So, be creative and smart with the above process, and enjoy being a professional painter.
Conclusion: Enjoying Your Revitalized Outdoor Space
As you step into your revitalized outdoor space, it’s not just about the fresh coat of paint on the peeling deck; it’s about awakening a sanctuary that invites relaxation and connection. Investing time in your deck not only enhances its beauty but also transforms it into an extension of your home where memories are made.
Moreover, the joy of maintaining this space can foster a deeper bond with nature and yourself. The tactile experience of painting, feeling the brush glide over weathered wood, can be meditative, encouraging mindfulness in your daily routine. As each layer dries under the sun’s warm embrace, take a moment to appreciate how this simple task rejuvenates both your outdoor aesthetics and personal well-being. Embrace your new retreat; it’s more than just enhanced curb appeal; it’s an invitation to celebrate life outdoors.