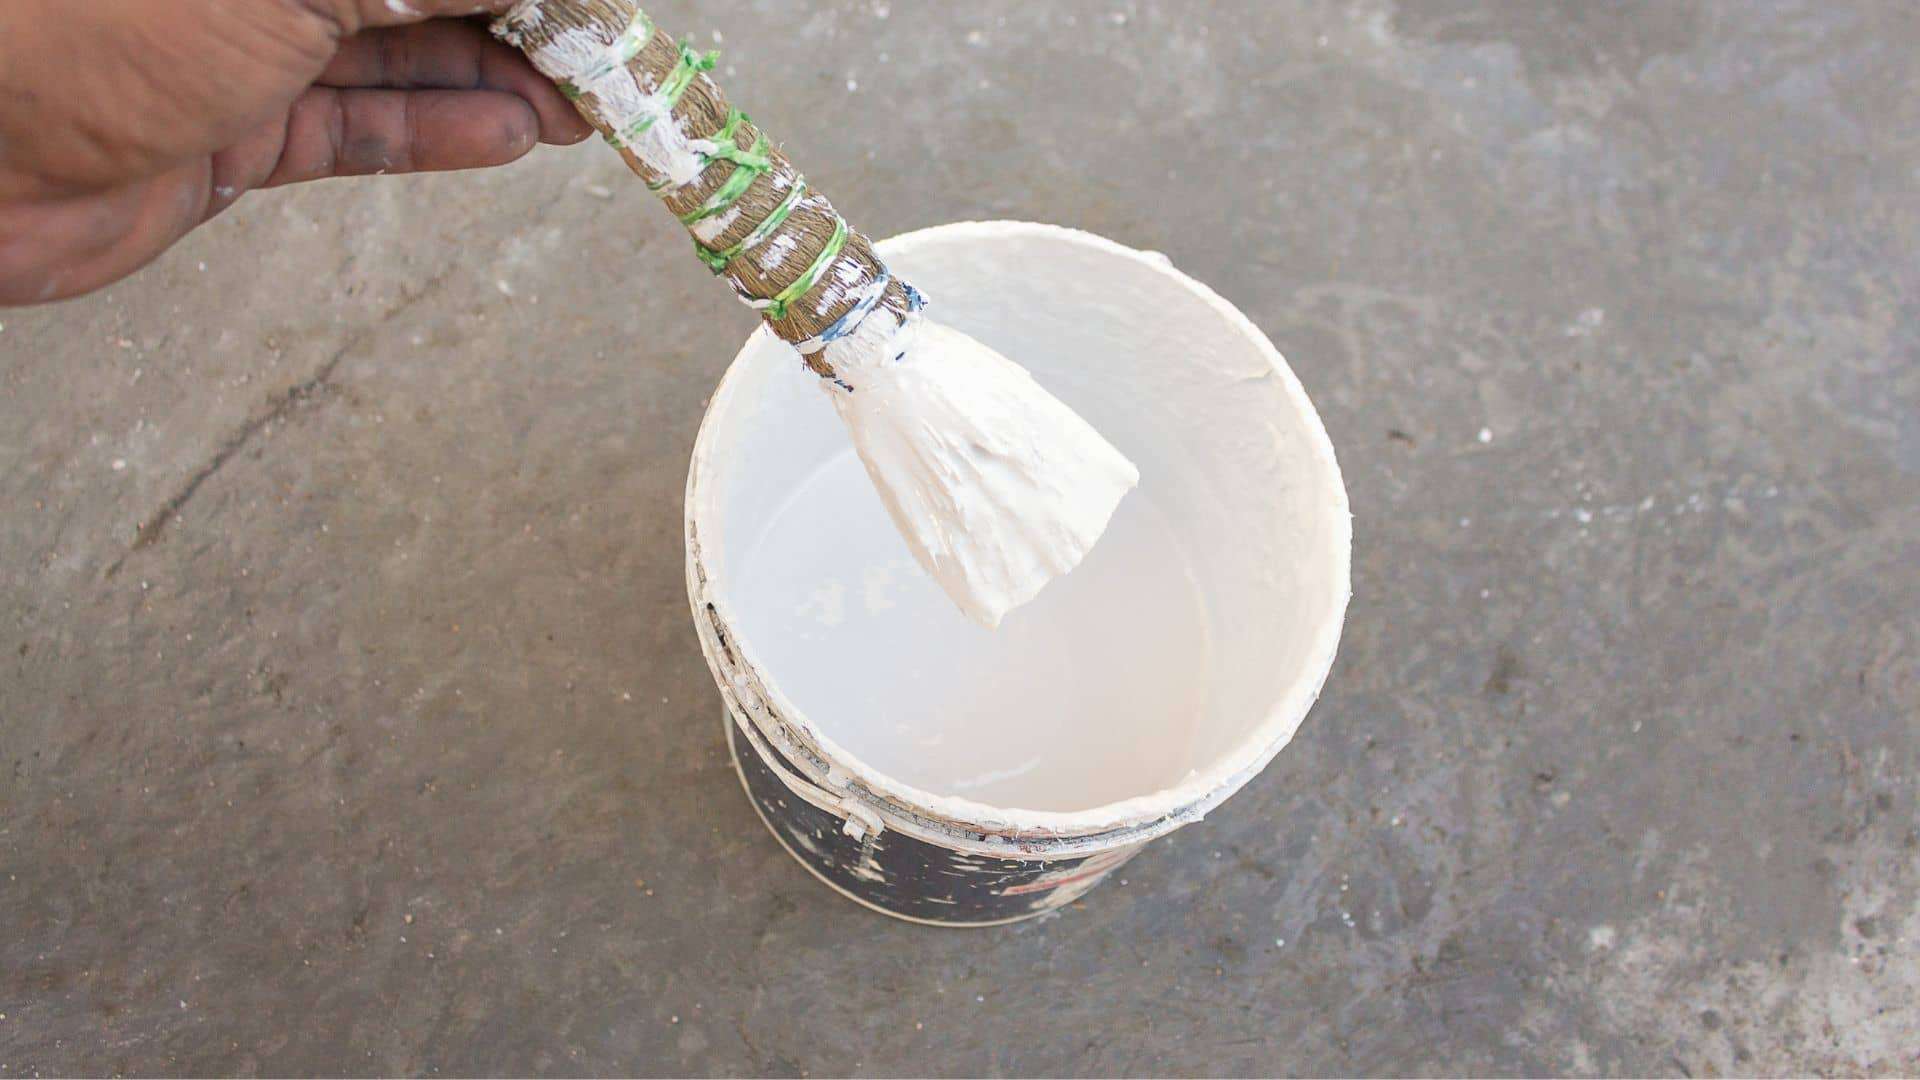
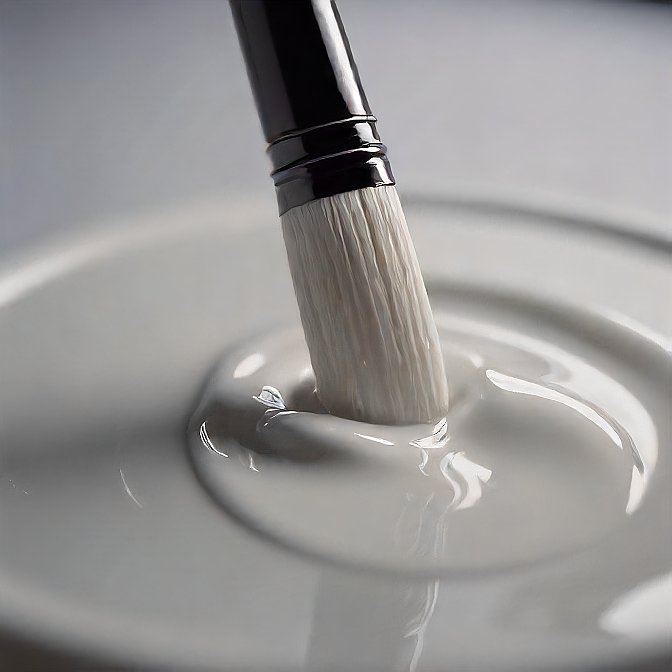
Liquid white is a type of creamy fluid paint that you will get from a tube. This paint is very easy to use. You can blend your own liquid white oil paint with another color. You can use it as the primary layer of a painting to create a surface for painting in a wet place. It is also called Magic Clear paint. The liquid cleaner is used as a base coat before applying any color. After applying these initial several coats, the next color can be applied very easily. It is possible to give different effects in less time.
Paint has two main components: pigment and medium. The paint medium cannot melt pigment particles properly. You can make paint by mixing a hard and liquid material together in a smooth paste.
The process of making paint is easy enough to think of. You can dye the oil using some basic supplies like pigments, linseed oil, and a spoon.
To create enough paint to save for the future, you can use a muller to crush the pigment into pieces. Why should you crush the pigment in the paint? You may see very fine powdered pigment, it is composed of a sum of pigment particles.
Introduction: Overview of Liquid White Oil Paint
Liquid white oil paint, known as a wet-on-wet medium, is a great starting point for many painting techniques. Its unique blend lets artists layer colors easily while keeping them bright and deep. Unlike regular oil paints that need drying time between layers, liquid white provides a perfect surface for blending and softening edges on the canvas.
Making liquid white oil paint at home is quite simple. Just mix titanium white with linseed or safflower oil until you get a smooth, creamy texture. This homemade version saves money and lets artists adjust transparency and thickness to achieve the effects they want. Using this tool encourages painters to explore their creativity and experiment with each stroke.
The Way Of Making Your Own Version Of Liquid White
You can make your own version of liquid white oil paint by mixing white color with oil as a medium. If you need the liquid paint to dry quickly, add some turpentine to your paint. If you want to keep the paint for the future or a year, use a good can and seal the can well.
Necessary Elements for making your own liquid white oil paint:
- Oil and Pigment
- Refined beeswax
- Grindstone and muller
- a porcelain container and a tube
- Flat knife and spoon
- Scale
- Safety equipment
The Process of Grinding Oil Paint
There are dissimilarities in the volume of essential oil for different pigments. The same formula will not apply to different pigments. Few pigments suck more oil compared to other pigments. Again there are some pigments that have low oil absorption capability. The following procedure will allow you to prepare your essential oil paint.
Step 1: Keep a small quantity of pigment in a pile in the middle of the surface. Make a short hole in the middle of the pile.
Step 2: Gently add some drops of oil or a medium of color to the pigment. Add less oil at the beginning. It will easily break down the synthesis of pigment particles.
Step 3: Use a spoon to fold the pigment in the oil. Now, mix the oil thoroughly with the pigment. You should mix the pigment repeatedly. Sometimes later, you will see the hard paste of the mixture. If you add more oil to the pigment, your paste may become softer.
Step 4: Keep the muller on top of your paste. Hold the muller tightly and round it from the middle of the paste. Make a thin layer when grinding. The more you grind, the thinner the paste will be.
Step 5: Spread the paste and collect it back in the middle of the surface. Repeat this process several times.
Step 6: Once the paste has become more liquid, you can thicken it by adding some pigment to the paste mixture. Mix the pigments with a spoon.
Step 7: When you feel that you have achieved the expected thickness of the paste, your paste is ready to use.
Note: With the help of a spoon, remove the excess paint from the ground next to the muller. Often it is quite hard to remove the muller from the grinding surface.
Steps To Store Oil Paints Into Tube

Step 1: Hold the naked part at the bottom of the tube cap. Now fill the paint tube with a spoon or knife.
Step 2: Fill the tube with the remaining paint attached to the knife.
Step 3: Paints might be piled up at the naked part of your tube. Press the and gently flip it sometimes to settle the paint in the tube. Repeat the same process a few times more.
Step 4: Once your tube gets two-thirds full, you should close the tube cap.
Step 5: Place the oil paint tube in a flat place. Then level the verge of the tube with a flat knife.
Step 6: Do the same process once or twice. Fold the end of the tube.
You can wash your tools with thin vegetable oil, hot water, and soap
Spreading of Your Pigment
Some pigments have the natural affection of oil but you will find exceptions. You will find many pigments which are quite difficult to adapt to the oil. The reason is that these pigments are the opposite of oil and have to be completely soaked in pigment oil. For all these pigments you can take the help of a small amount of mineral spirit before soaking in oil.
Use a spoon to blend the arid pigment with little mineral spirits and form an arid pure pile. Its purpose is to soak pigment particles. The paint should be mixed with mineral spirits so that the pigment can evaporate before it continues to be crushed.
Add Beeswax to Oil
You will find some pigments that harden during or after storage. You can crush the pigment into a hard paste before melting. You can improve your pigmentation by mixing a little wax with oil if you want. We will use 2% wax in the following process. You can mix as much wax as you need.
Step 1: At first, heat 0.25 Liter of oil in a double boiler.
Step 2: Mix 30 grams of raw beeswax into the oil and keep stirring well. Stir until the wax melts. Once mixed perfectly, remove from heat and allow to cool.
Step 3: When the mixture cools down, add another 0.75 liters of oil and make 1 liter. White wax oil has been made suitable for your use. Leave it for one more day, then you can use it. Store wax oil in a glass bottle for the future.
Heat the wax-oil medium before mixing with your pigment. Then pour into a porcelain container and add your pigments. Then crush it with a grindstone. Once crushed, you can proceed to the flat surface with a muller.
Grindstone can be heated. When the grindstone gets too hot, remove it and leave it to cool. A slight temperature is required to confirm the regular allocation of beeswax in the oil.
Common Mistakes to Avoid When Mixing
Many artists make the mistake of using too much medium when mixing liquid white oil paint without realizing its effects. Too much medium can create a soupy mix that doesn’t stick well to the canvas, leading to uneven application and dull colors. Start with a small amount of medium and add more only if needed. This helps maintain control over texture and transparency while keeping your colors vibrant.
Another common issue is ignoring temperature and environment while mixing. Oil paints behave differently in varying humidity and temperatures; cold conditions can thicken paints and slow drying times, which may disrupt layered techniques. Always test your mix before applying it to the canvas. This practice not only makes application easier but also helps you discover unique textures by experimenting with different environments, and turning challenges into creative opportunities!
Conclusion: Benefits of Using Liquid White
In conclusion, learning to make liquid white oil paint adds to your artistic skills and opens up new creative options. This flexible medium can improve texture and depth in your art, turning simple strokes into striking visuals. By trying different ratios of linseed oil to white pigment, you’ll find unique variations that match your style and technique.
Additionally, the process helps you connect more with your work, as you learn how different materials interact. Each brushstroke becomes purposeful, allowing for more expression in your art. Embrace this DIY method; it lets you personalize your creations while appreciating the craft behind each color and texture. As you improve your skills, remember that each mix tells the story of your journey as an artist with every drop of paint.