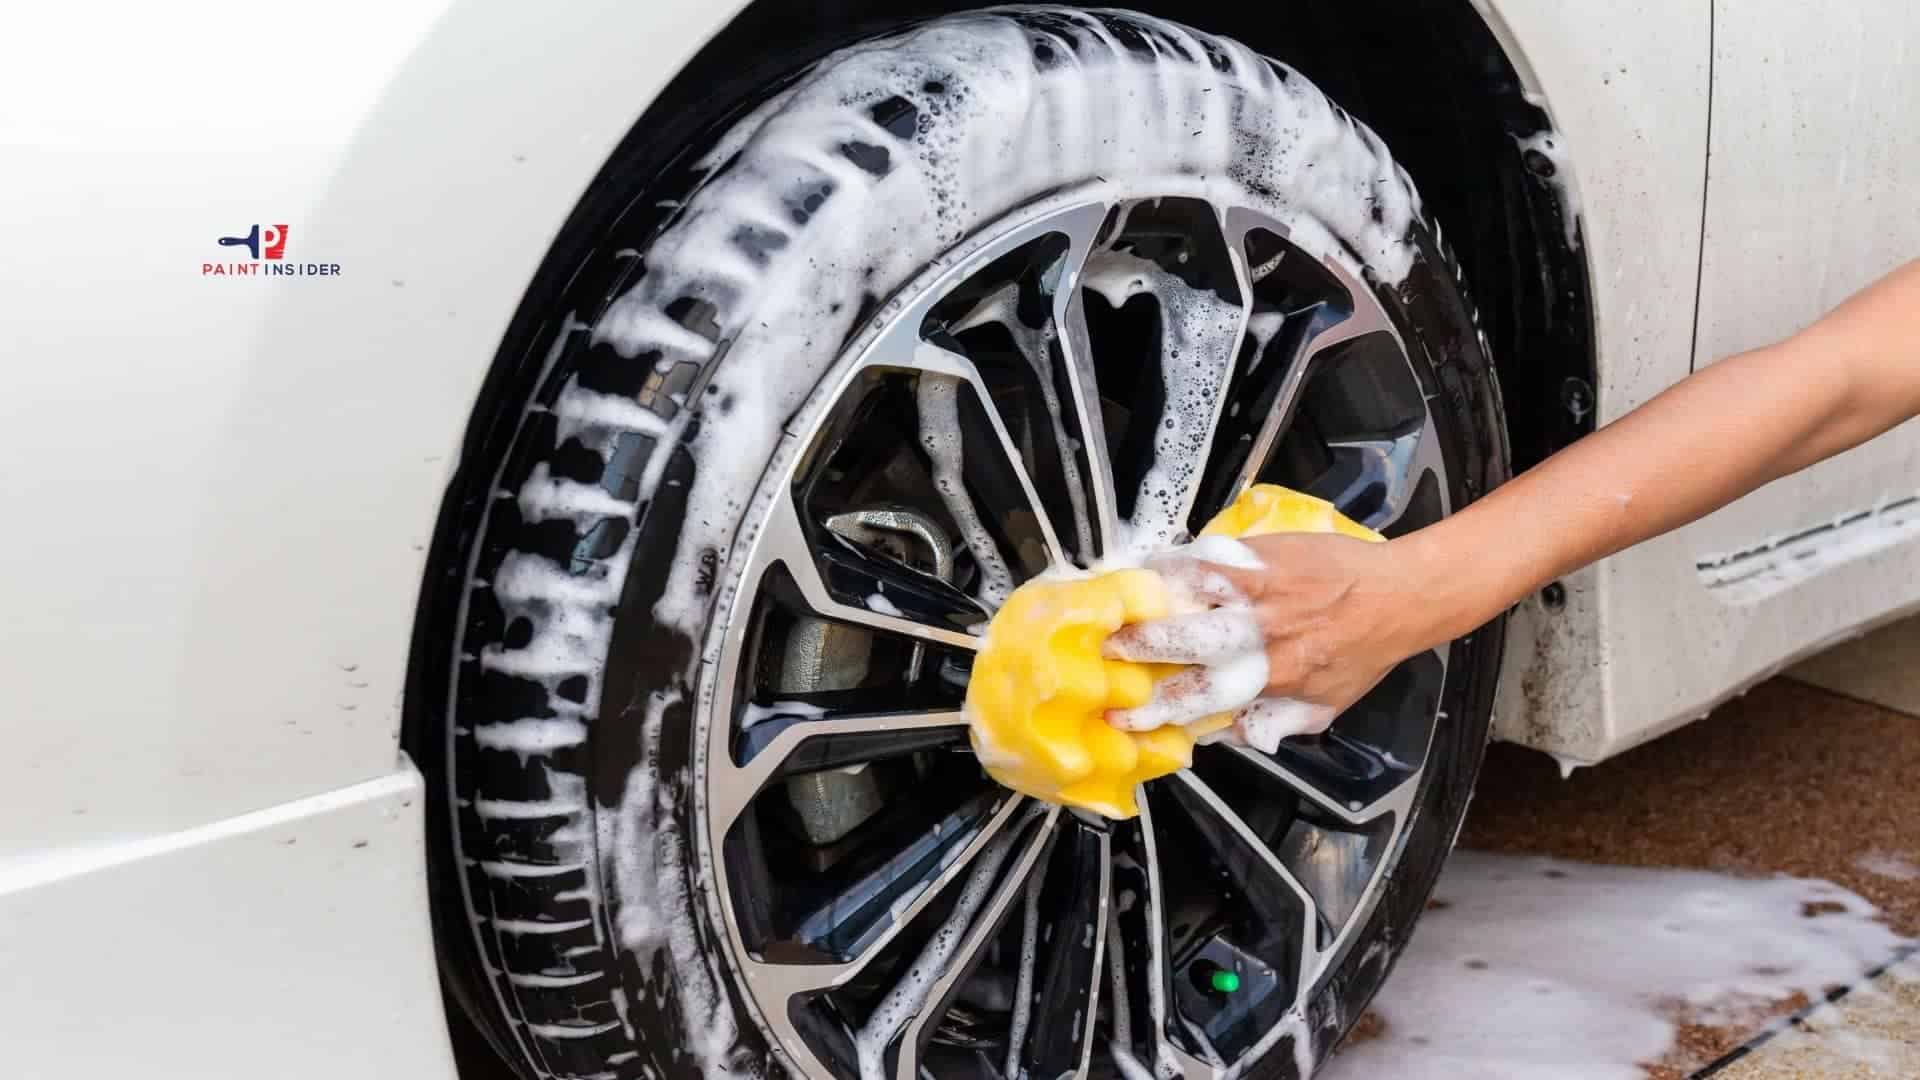
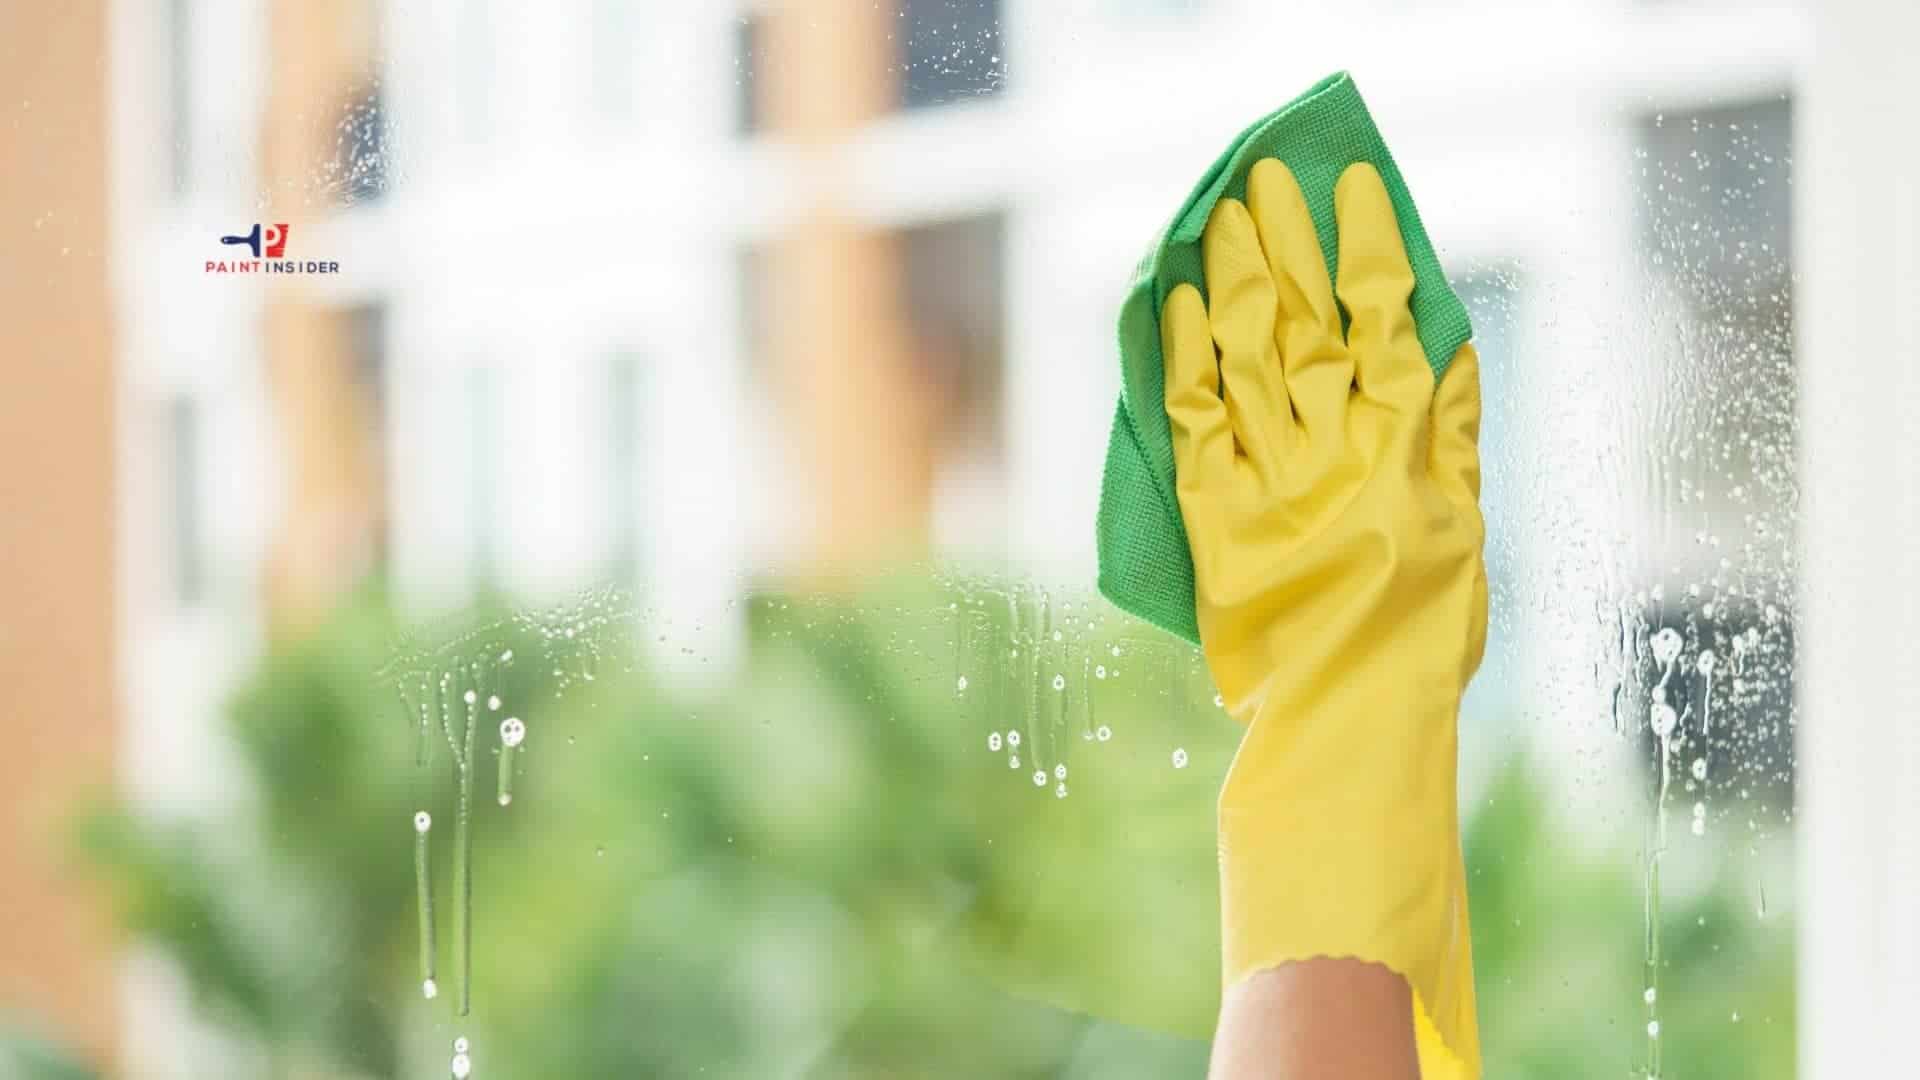
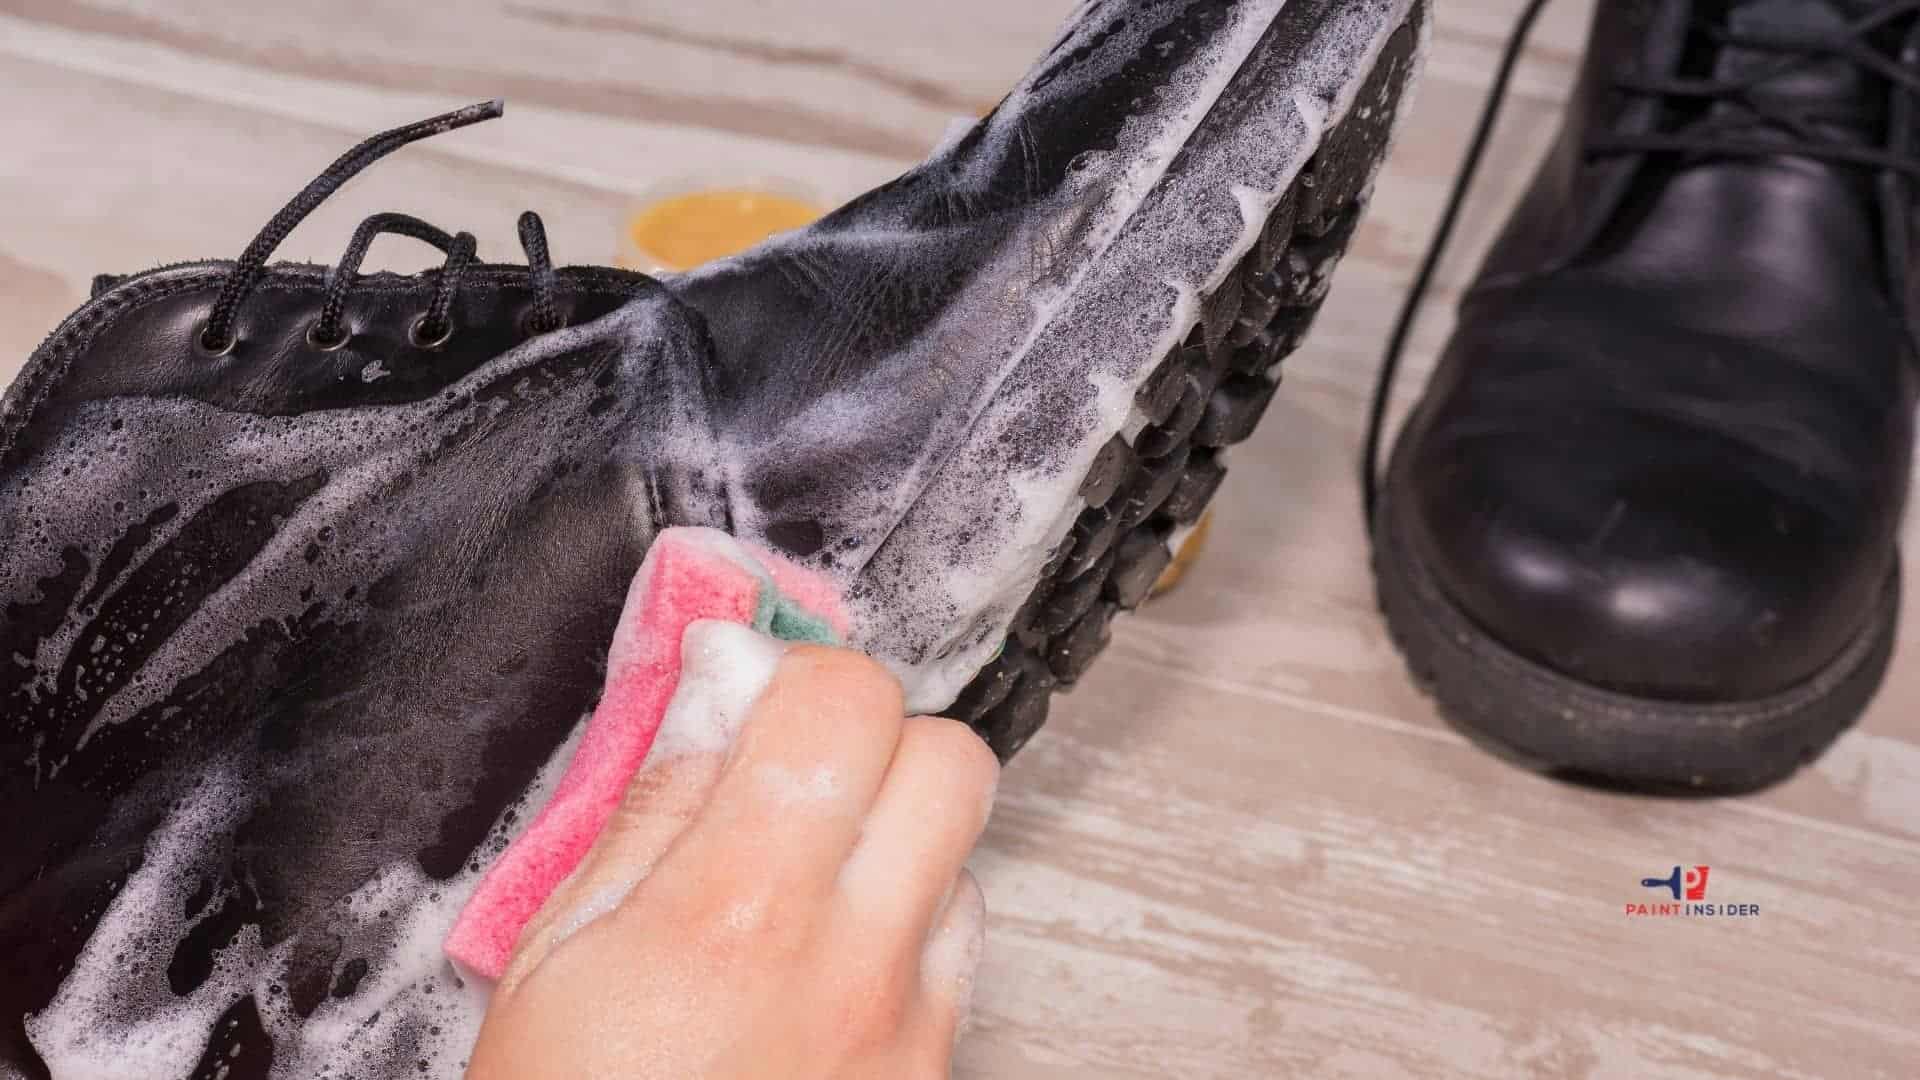
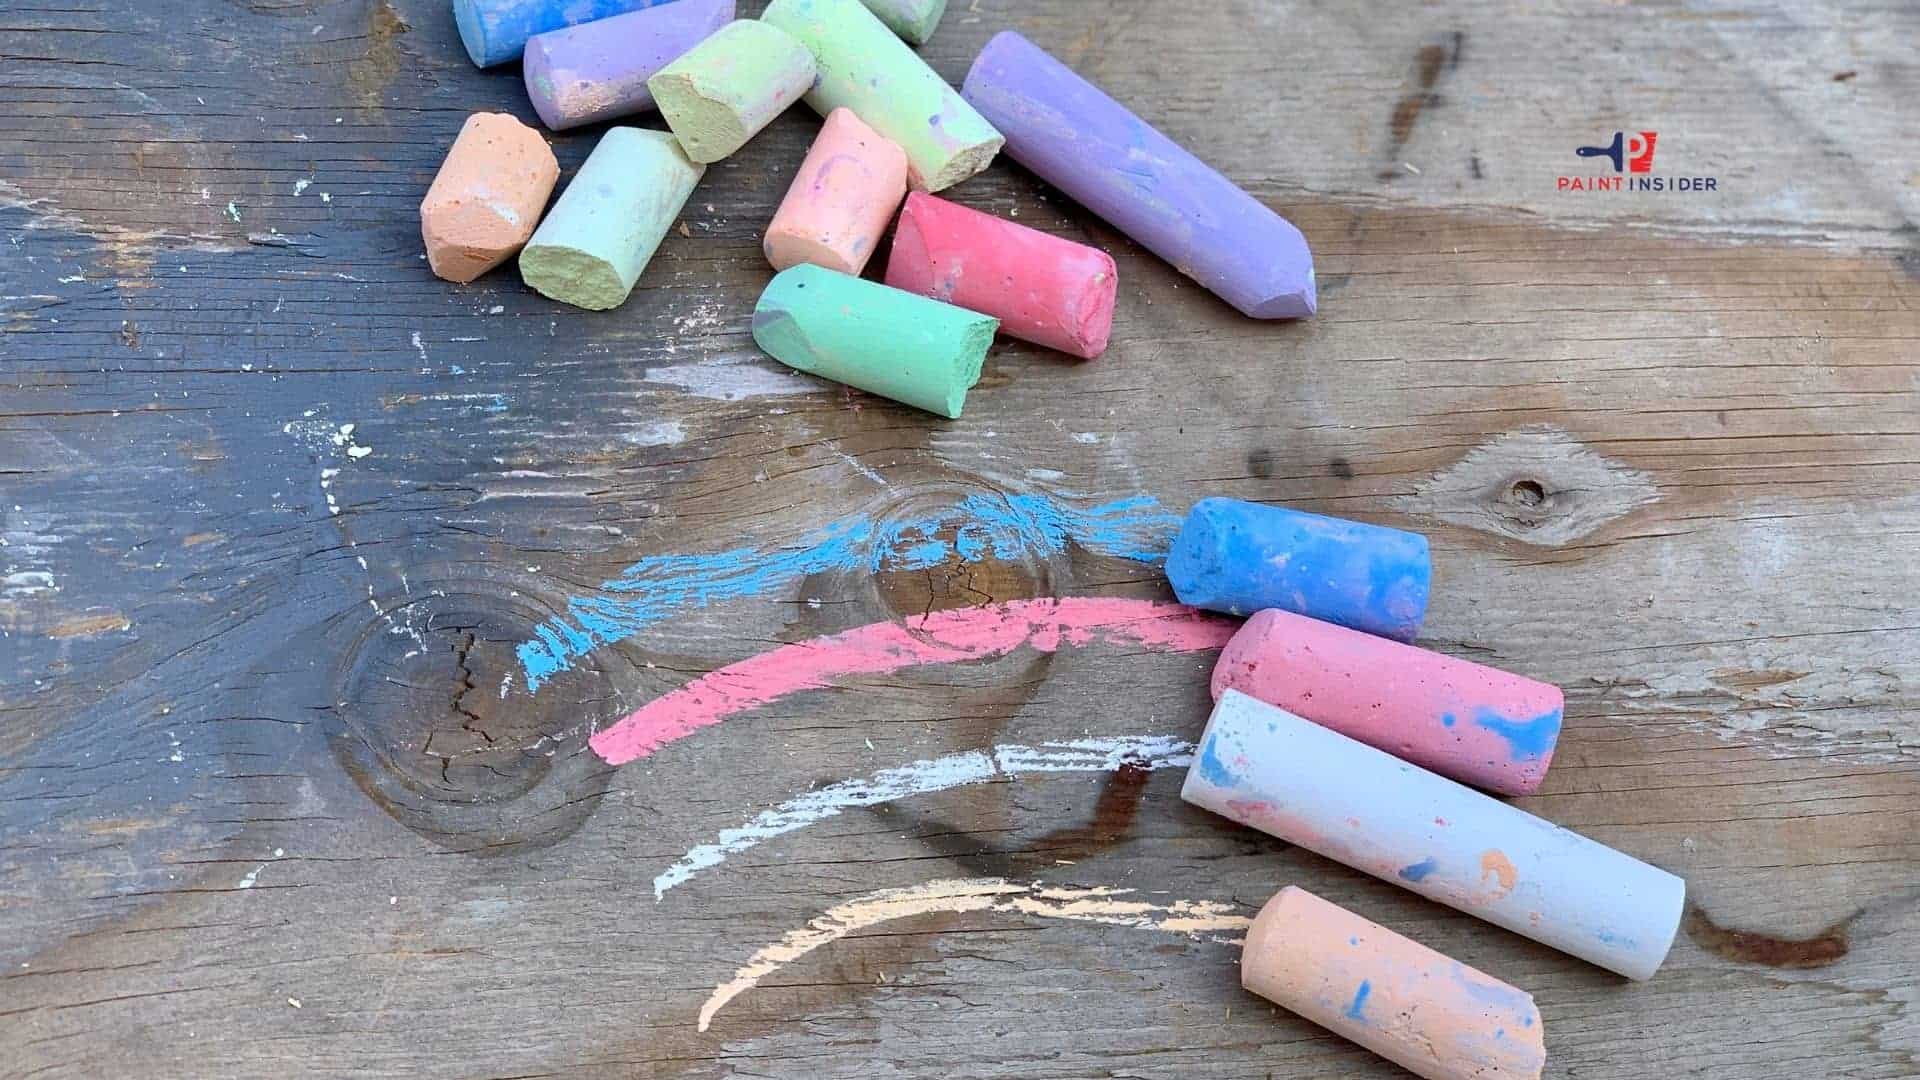
How To Remove Tape From Wall Without Peeling Paint?

How To Remove Tape From Wall Without Peeling Paint

Removing tape from a painted wall can be a daunting task. If done incorrectly, you may end up peeling the paint off your wall in the process! In this guide, we will teach you how to remove the tape from a painted wall without damaging the paint. Follow these simple steps and your walls will be looking good as new in no time!

Introduction: Importance of Proper Tape Removal

Proper tape removal is often an overlooked aspect of home maintenance and DIY projects, yet it plays a crucial role in preserving the integrity of your walls. When we rush through the removal process, we can inadvertently peel paint or damage the surface underneath. This can lead to more extensive repairs and additional costs down the line, making it essential to prioritize careful techniques when tackling tape.

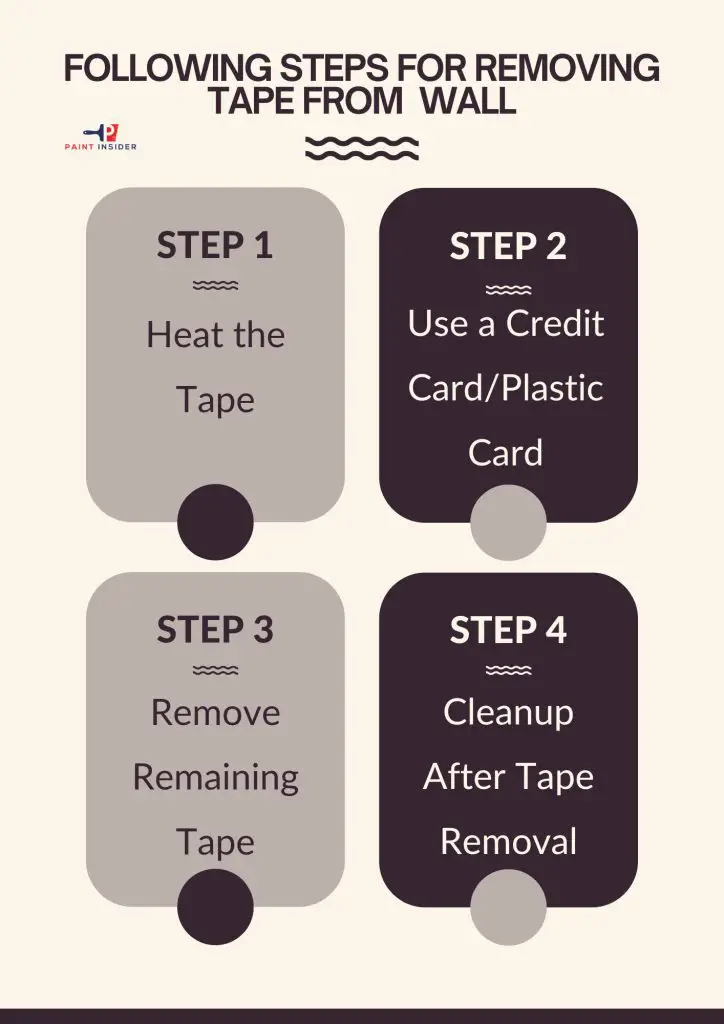
You can remove the tape from your wall with some simple steps:

  1. Heat the Tape
  2. Use a Credit Card/Plastic Card to remove the tape
  3. Remove Remaining Tape
  4. Cleanup After Tape Removal

Gather Necessary Tools and Supplies

To remove tape from a wall without peeling paint, you’ll need to gather the following tools and supplies:

Tools and Supplies:

  • Hair Dryer or Heat Gun
  • Plastic Putty Knife or Credit Card.
  • Tweezers
  • Soft Cloth or Sponge
  • Masking or Painter’s Tape
  • Cotton Balls or Q-tips
How To Remove Tape From Wall Without Peeling Paint 1

Step 1: Heat the Tape

The first step is to heat the tape. This can be done with a hairdryer or by running a hot towel over the area. The heat will help to loosen the adhesive on the back of the tape, making it easier to remove.

Step 2: Use a Credit Card/Plastic Card

Once the tape is heated, use a credit card or similar object to scrape along the edge of the tape. This will help to separate the tape from the wall and should make removal much easier. Be careful not to scrape too hard, as you don’t want to damage the paint underneath.

Step 3: Remove Remaining Tape

If there are still some stubborn pieces of tape remaining, you can try using a solvent like Goo Gone or WD-40. Apply a small amount to a cloth and rub it onto the remaining tape. This should help to dissolve the adhesive and make removal much easier.

Step 4: Cleanup After Tape Removal

Cleanup after tape removal is important to avoid any potential hazards. After removing the tape, dispose of it properly. Clean up any adhesive that is left behind on surfaces. Be sure to clean upholstery and carpeting as well. If there are any instructions on the label of the product being removed, be sure to follow them. Cleaning up after tape removal may seem like a hassle, but it is important to do to keep your home safe and clean.

Factors of Removing Tape From The Wall Without Peeling The Paint

There are some factors, that can affect removing the tape from the wall without peeling the paint, and below we list a few

Using a good painter’s tape

When you are painting a wall, it is important to use a good painter’s tape. This will help you remove the tape easily after you finish painting. If you do not use a good painter’s tape, you may have to scrape off the paint with a putty knife or sandpaper. This can be very time-consuming and frustrating. A good painter’s tape will also help you paint straight lines. If you do not use a good painter’s tape, you may end up with paint on your hands or clothes. Therefore, using a good painter’s tape is essential for anyone who wants to paint a wall correctly.

Removing the tape at the proper time

Removing the tape at the proper time after the painting is important for several reasons. Firstly, if the paint is still wet, the tape will peel off the paint and damage the surface. Secondly, if the paint has dried but the tape is left on for too long, it will be difficult to remove and may cause the paint to crack or chip. Finally, leaving the tape on for an extended period can leave behind a sticky residue that will attract dust and dirt. For these reasons, it is recommended to remove the tape after an hour of painting.

Painting on a clean surface

One way to make the job easier is to paint on a clean surface before applying the tape. This will help to ensure that the paint does not seep under the tape, making it much easier to remove when you are finished painting. In addition, painting on a clean surface will also give you a more even and consistent finish. So, next time you are getting ready to paint, take the extra time to wipe down the surfaces first. It will save you time and hassle in the long run.

Tape is a great way to hang decorations or artwork on a wall, but it can be tricky to remove without damaging the paint. If you’re careful and follow these simple steps, however, you can remove the tape from your walls without any fuss or peeling paint. So what are you waiting for? Get taping!

Repair Any Minor Damage if Needed

Once you’ve successfully removed the tape from your wall, you may notice some minor damage or residues left behind. Addressing these blemishes is key to restoring your wall’s pristine appearance. For any lingering adhesive, a gentle approach works wonders: dab a soft cloth with rubbing alcohol and gently scrub the area in circular motions. This simple trick not only removes residue but also minimizes the risk of peeling paint.

If you’ve uncovered scratches or scuffs during your cleanup, consider using touch-up paint that matches your wall color. A tiny brush can help you carefully blend patchwork with existing paint for an invisible finish. For more textured walls, applying a small amount of spackle can fill in tiny dents and holes; once dry, lightly sand it before painting it over to achieve a seamless look. With just a bit of effort and time, you can bring life back to your walls making them as good as new without the hassle of repainting entire sections!

Conclusion:

In conclusion, removing tape from walls without damaging the paint requires a blend of patience, technique, and the right tools. Instead of yanking it off in haste, consider using a hairdryer on a low setting to gently heat the adhesive. This warmth can soften the glue’s grip and allow for smoother removal. Additionally, using a plastic scraper or an old credit card can help lift the tape away while minimizing potential harm to your wall’s surface.

It’s also essential to understand that every type of wall paint and finish may respond differently to tape removal. For instance, glossy finishes might be more forgiving than matte ones. Therefore, conducting a small test in an inconspicuous area can save you from any unexpected mishaps. With these tips at your disposal, you’ll not only preserve the integrity of your walls but also develop skills for future projects where precision is key. Embracing these methods transforms a mundane task into an opportunity for mastery over crafting your space beautifully.

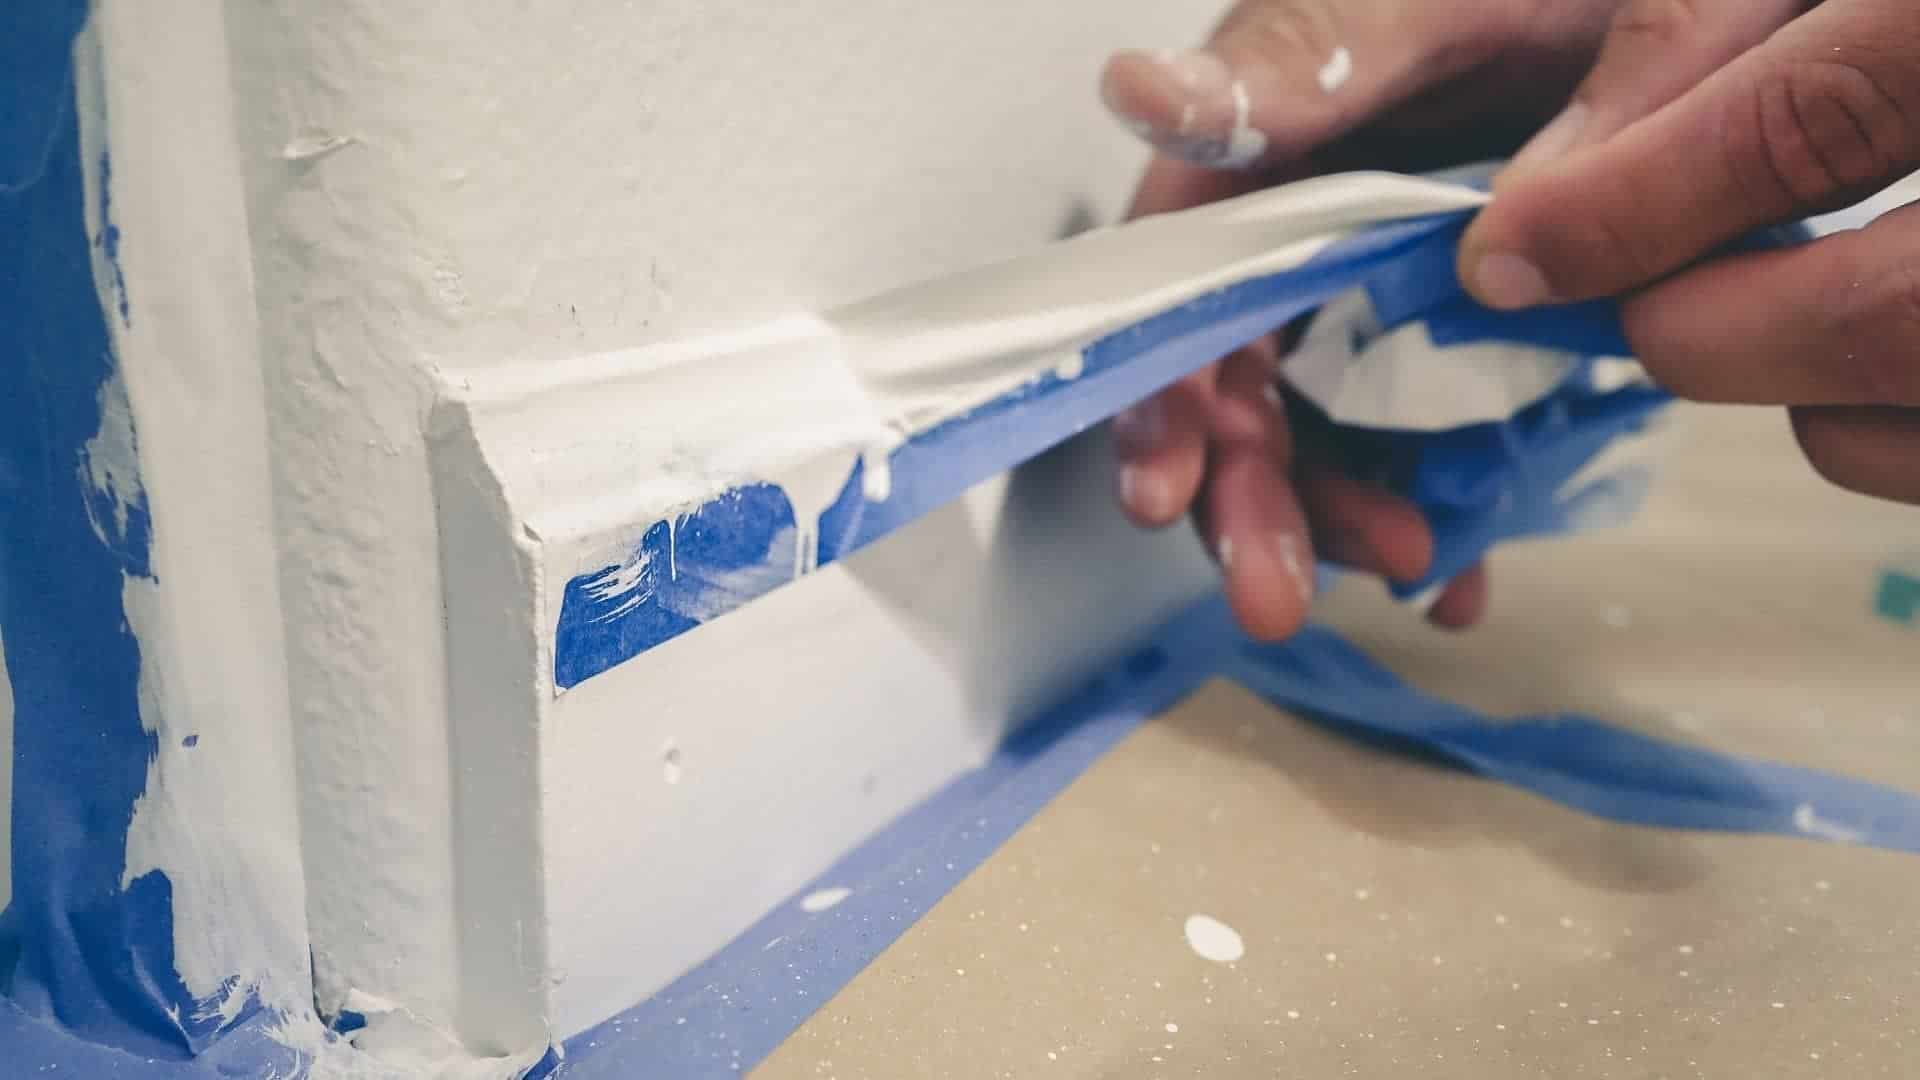
How To Remove Concrete From Car Paint?

How To Remove Concrete From Car Paint

Concrete stains can peel off your car paint if you don’t get rid of them quickly. Read on to learn how to remove concrete from car paint without any damage.

Introduction: The importance of Removing Concrete Safely

Removing concrete safely is not just about restoring your vehicle’s aesthetic appeal, it’s also crucial for maintaining its long-term value. When concrete splatters on car paint, it can cause unsightly stains and, if left untreated, lead to etching that compromises the protective clear coat. Many might be tempted to resort to harsh chemicals or abrasives to clean up the mess quickly, but these methods often inflict more damage than they solve. By using safe and effective techniques, you will ensure your car remains in pristine condition while minimizing potential harm.

The process of removing concrete from car paint requires patience and a strategic approach. Utilizing gentler alternatives such as warm water mixed with soap or even specialized concrete removers can provide a more effective solution without risking damage to the finish. It’s valuable to remember that less aggressive methods can take longer but ultimately preserve not only the appearance of your vehicle but also its marketability down the line. Understanding how concrete interacts with automotive surfaces allows you to make informed choices about how best to tackle this common dilemma protecting both your investment and sanity in the process.

Things You’ll Need

  • Spraying container for use when spraying your vinegar on the concrete stains
  • Dissolving substance, preferably white vinegar or any commercial product
  • Painter’s tape to separate the stained areas from other paint-works
  • Rags to wipe the cement stains
  • Palette knife to scope large debris of concrete stains
  • Clay bar to remove tiny traces of cement stain from your car paint
  • Car wax to apply to the cleaned surface of your car paint
  • Clean pieces of clothes to clean up the cement stains.

Because your car can pick up all sorts of stains while you’re on the road, it is essential to look out for any stains on your car and remove them. Among the common stains, you will encounter on your car paint is concrete.

The most suitable substance to remove concrete from your car paint is concentrated vinegar. You may need to have a little knowledge of how to get rid of concrete stains. However, you can always capitalize on the services of a professional to remove any unwanted stains from your car paint.

3 Effective Steps To Get Rid Of Concrete From Your Car Paint

How To Remove Concrete From Car Paint

Step 1: Chemical Disintegration of Cement Stains

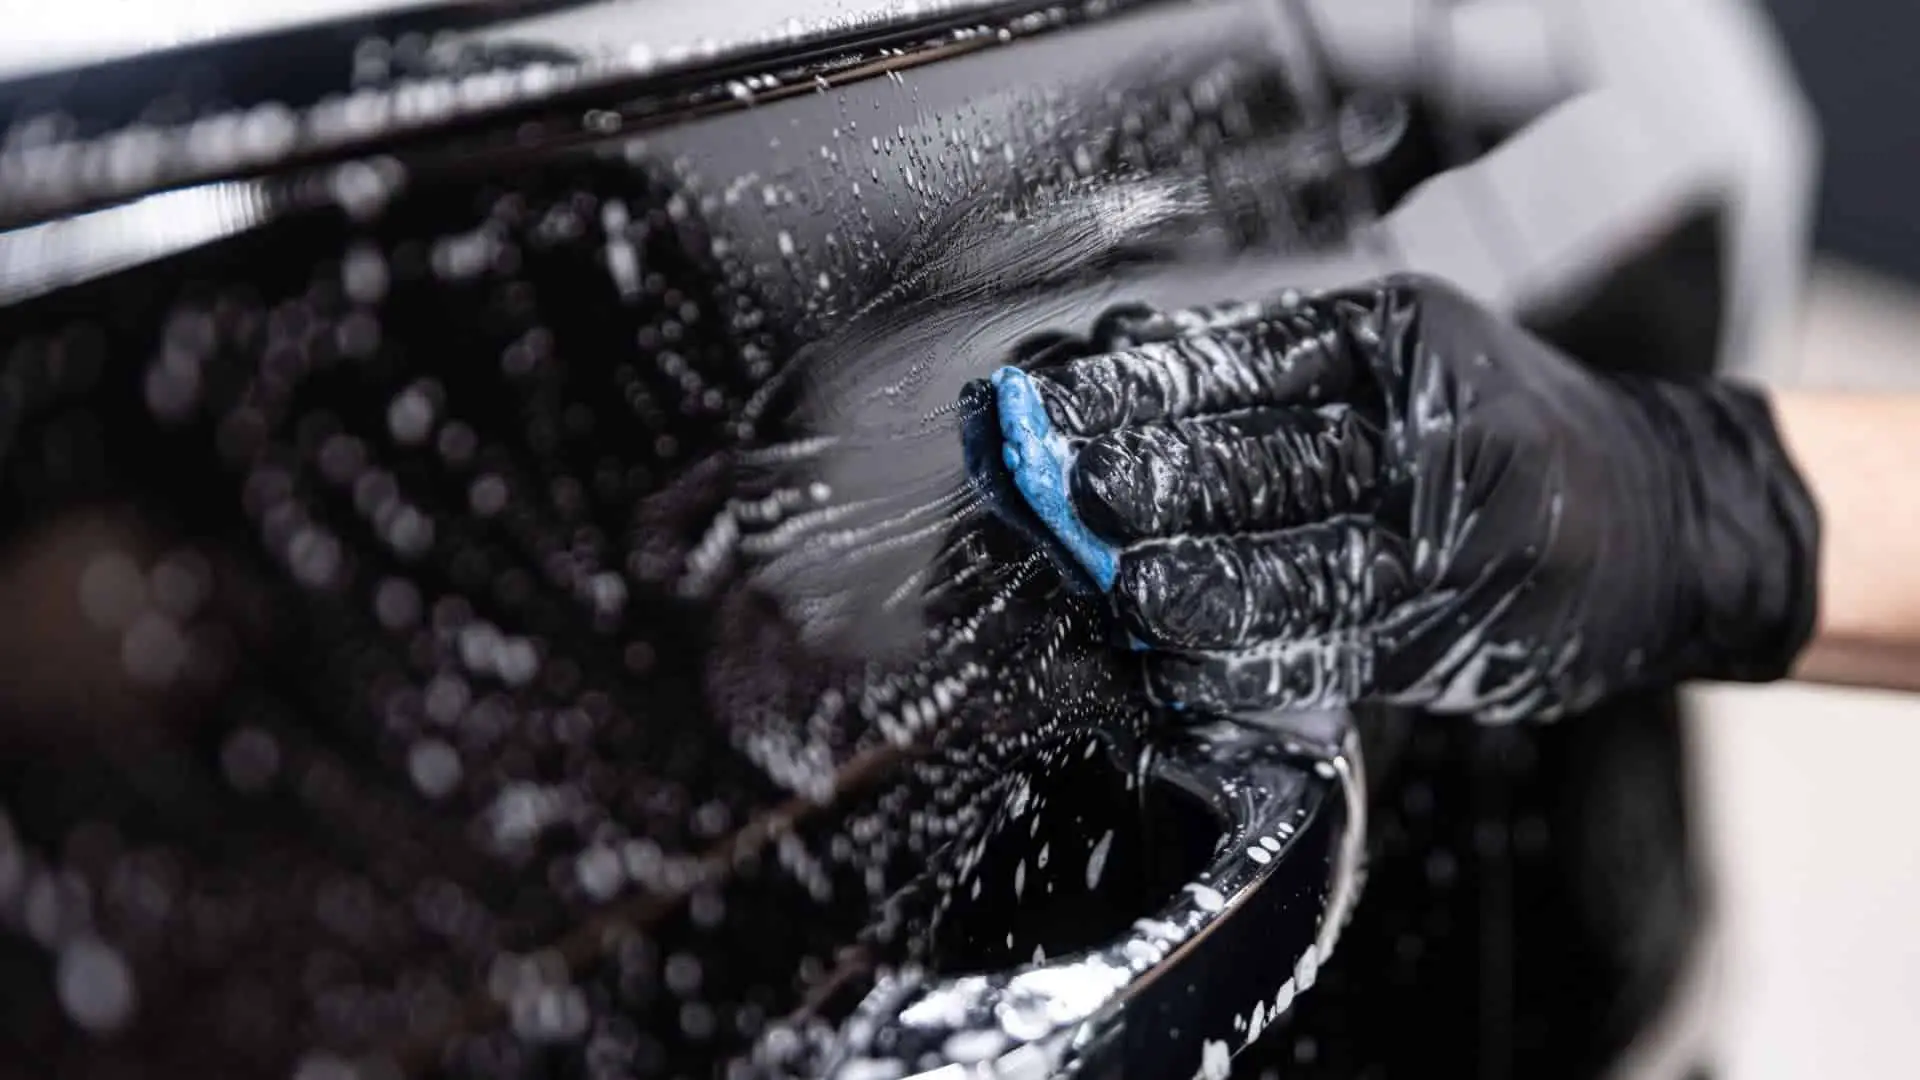
The initial stage of your project will involve cleaning your car. Ensure your car is parked under a shade. Use motor soap to wash your car completely. Consider covering areas you do not want to come into contact with your dissolving agents. Take a significant amount of concentrated vinegar and apply it to the concrete stains. Add more of your vinegar until the compacted concrete stains begin to break down.

Use painter’s tape to cover areas around the stains to prevent the vinegar from spreading to other parts. Note that concentrated vinegar may damage your car paint, so be sure to apply it on the concrete spots. Ensure all the concrete stains are properly separated by masking tape before using your vinegar solution.

Many chemical products can dissolve the cement stains on your car paint, so be sure to buy the most suitable dissolving agent. It would help to read the labels of various agents and go for the one that will react with the calcium in the cement stains.

It is advisable to use a spraying tool for this type of exercise. Fill your sprayer with equal parts of vinegar and warm water. Ensure the vinegar and water mix well before spraying on the cement stains. You will notice the cement stains begin to disintegrate. Since this mixture is less volatile, you can use it to get rid of cement stains on your car windows, if there are any.

Step 2: Spraying Vinegar to The Affected Parts

Be sure to spray a sufficient amount of your solution on the concrete spots if you want spot-free car paint. Allow the solution to sit on the spots for a few minutes, and then spray once more for total dissolution of the stains. Leaving the vinegar solution on the stains for a while will allow it to react with the calcium in cement, thereby breaking down.

Be sure to use a high-pressure sprayer on the stains. You might consider spraying on the stains more than once to dissolve the concrete stains completely. Dried-in concrete stains may not come off easily, so consider using a spray jet on the stains.

After you are sure the stains have dissolved, use a chisel-like tool to remove the spots. Apply more of your concentrated vinegar to break down any stubborn stains. Be sure to use a plastic tool when chipping the stains off the surface.

It is recommended to buy a certified kit specifically meant to remove unwanted stains from your car paints, such as concrete stains. One advantage of using certified products is that they are friendly to your car paint.

 Step 3: Rubbing Off the Concrete Stains

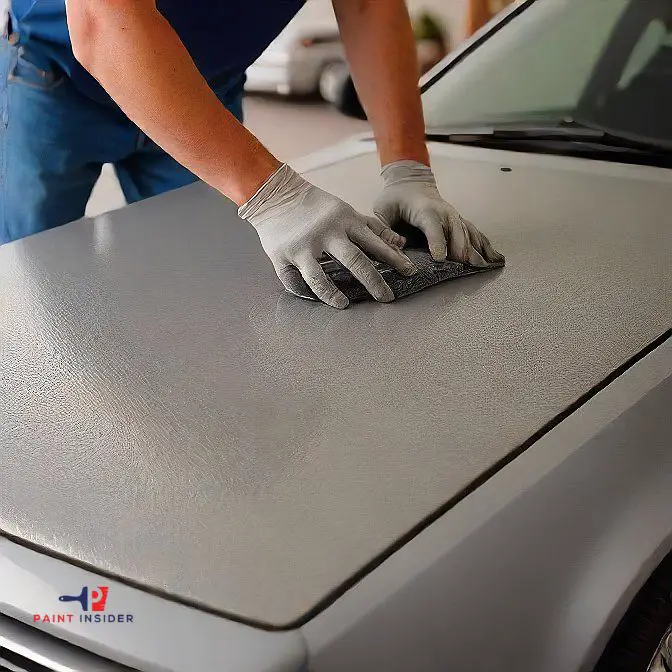
Use a palette knife wrapped in a piece of cloth to remove concrete stains from your car paint. Be sure to lift the stains off the surface of your car paint by performing specific motions on your palette knife. It is worth mentioning that you should wrap the palette knife with a suitable cloth to avoid damaging your paintwork.

Squeeze a piece of cloth around the disintegrated concrete stains gently after removing large junk from the concrete stains. Dip the cloth in your vinegar or any other commercial product and use it to rub around the cement traces on your car paint.

Since you want to remove all concrete and cement stains from your car paint, you might consider repeating the whole process of spraying the vinegar. When wiping the concrete stains, be sure to do it gently because you don’t want to damage the paintwork. Be sure to use different pieces of clothes while wiping the stains to avoid contaminating other areas of your car paint.

Use a clay bar to get rid of tiny traces of cement stains. Be sure to apply water to the traces before using your clay bar. You can rely on professional advice on using your clay bar when removing tiny traces of concrete stains from your car paint.

After finishing up your stain removal exercise, use the appropriate car wax to apply to your working area. Be sure to use a significant quantity of your wax on a piece of cloth and rub it to the worked-on area in circular motions. Ensure the wax covers the entire surface of your car paint by applying a consistent finish.

Tips To Note

Be sure you can handle the whole process to avoid causing more damage to your car paint. If you are unsure how to go about it, it will help you look for a professional to do the job.

Be sure to apply car wax once you have removed the concrete stains. You can purchase car wax online or from your nearest automobile shop.

As always, be sure to apply car wax after the surface of your car is fully dry and no visible traces of cement stains.

Polish and Wax the Affected Area

How To Remove Concrete From Car Paint 2

Once you’ve carefully removed the bulk of concrete debris from your vehicle’s surface, it’s time to polish and wax the affected area for a sleek finish. Polishing not only rejuvenates your car’s paint but also helps eliminate any fine scratches that may have emerged during the removal process. Using a high-quality polish designed for automotive surfaces can make a world of difference; look for one with micro-abrasive technology that gently buffs away imperfections while enhancing shine.

After polishing, applying a protective wax creates a barrier between your freshly restored paint and environmental contaminants. This step is crucial for safeguarding against future damage think of it as an invisible shield that keeps your car looking pristine longer. Opting for a synthetic sealant or natural carnauba wax will yield stunning results while adding depth to the color. Regular maintenance with these products not only combats fading but also makes washing much easier, ensuring that your car’s surfaces remain protected against both everyday grime and unexpected accidents down the road.

Conclusion: Maintain Your Car’s Appearance Effectively

Maintaining your car’s appearance goes beyond the occasional wash, it requires a commitment to regular care and attention. One common yet frustrating issue many car owners face is concrete splatters on their vehicle’s paint. Instead of resorting to harmful chemicals or neglecting the problem, consider using a gentle approach that protects both your car’s surface and its shine. A mix of warm, soapy water and a soft cloth can effectively break down concrete deposits without causing scratches, allowing you to maintain that polished look.

Incorporating protective measures like wax or ceramic coatings after you’ve successfully removed any blemishes can work wonders for your vehicle’s longevity. These products create a barrier against future contaminants while enhancing your car’s luster. Additionally, scheduling regular detailing sessions not only addresses aesthetic concerns but also serves as an opportunity to catch smaller issues before they escalate into costly repairs. By embracing these proactive measures, you’re not only preserving your investment but also enhancing the overall driving experience every time you hit the road.

How To Remove Spray Paint From Bricks?

How To Remove Spray Paint From Bricks

If you have been racking your brain on how to remove spray paint from bricks, then you are in the right place. Read through the article to learn more.

Introduction: Understanding Spray Paint on Bricks

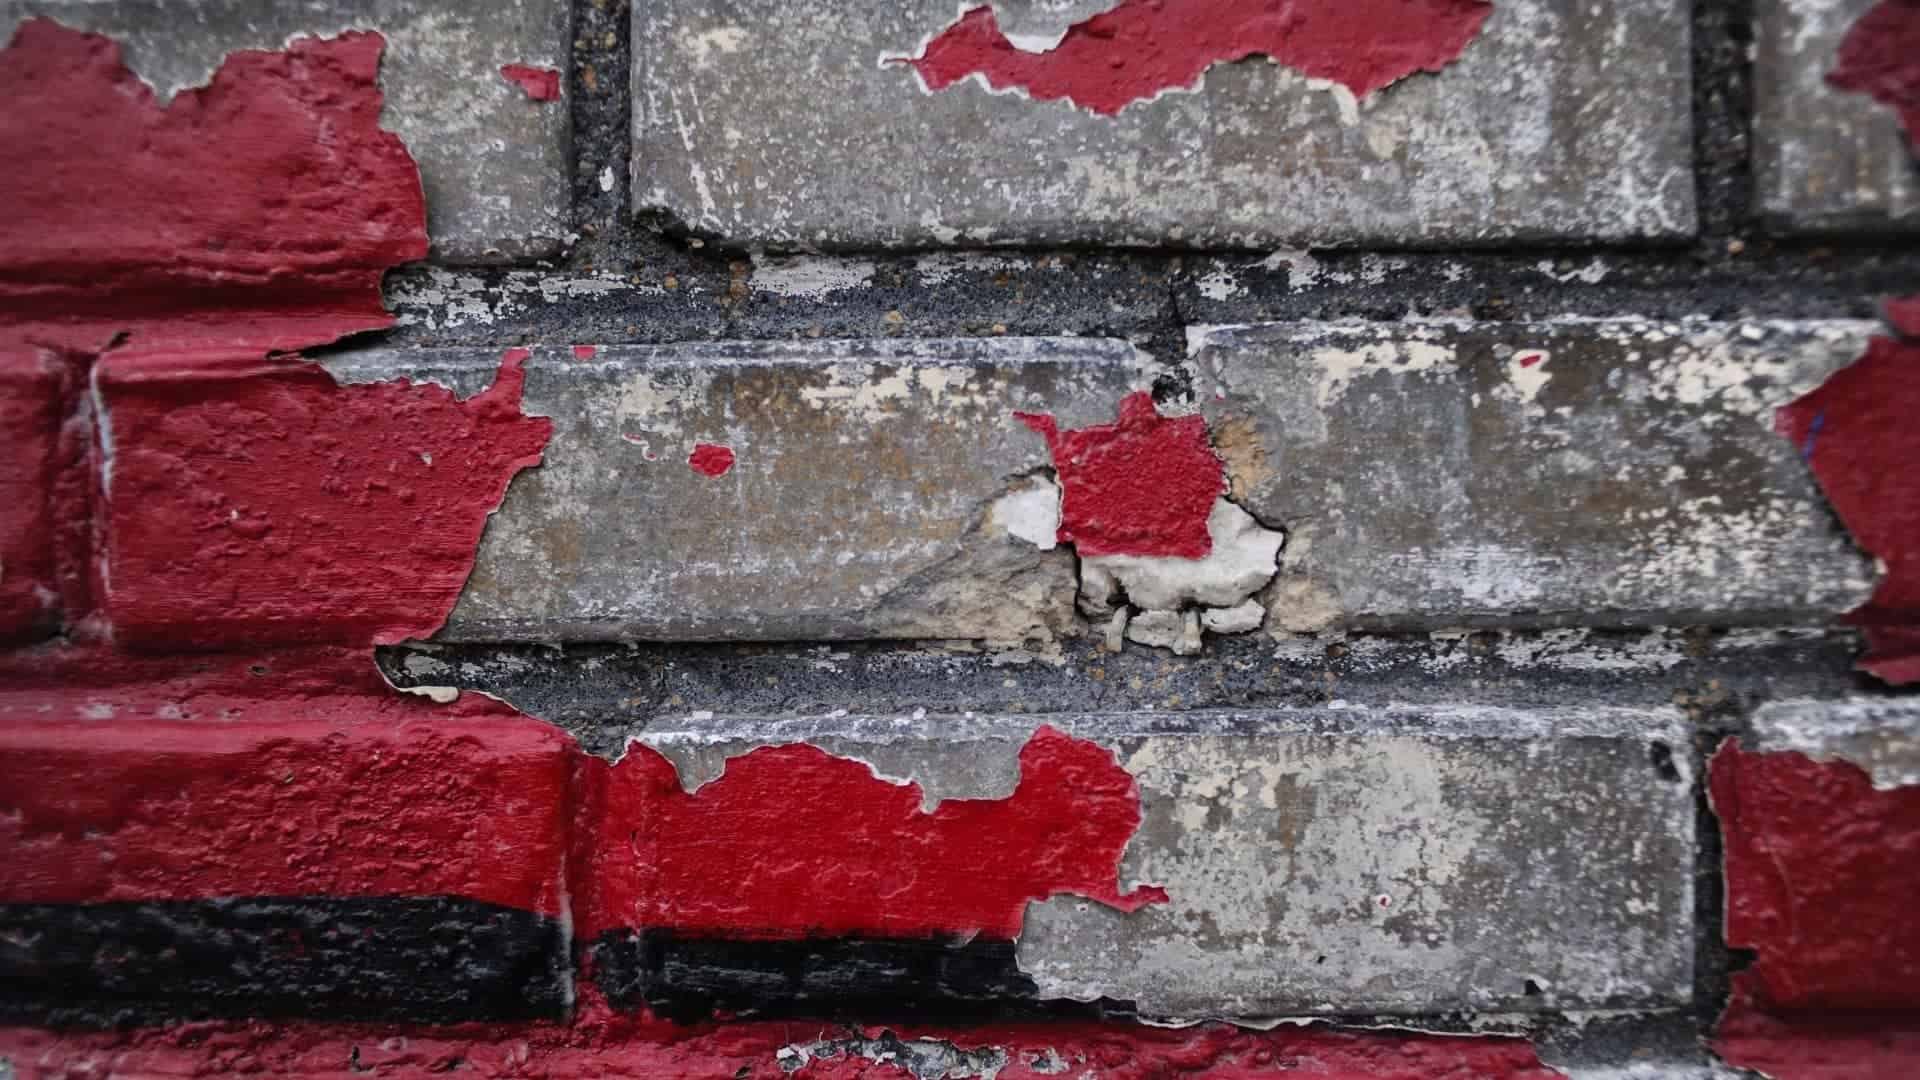
Spray paint on bricks can transform a dull surface into a vibrant canvas, but it’s not without its challenges. Bricks, with their porous texture and rugged surfaces, absorb paint differently than smoother materials like wood or drywall. This means that while spray painting can offer a quick makeover for your brick walls or outdoor spaces, it may also lead to unsightly overspray or unwanted colors clinging stubbornly to the surface. Understanding how spray paint interacts with brick is crucial it’s not just about aesthetics; it’s about preparation and technique.

When it comes time to remove that spray paint from bricks, knowing the right method is essential. The porous nature of brick can trap paint deep within its crevices, making traditional cleaning solutions less effective. Homeowners often find themselves facing the dilemma of either adopting heavy-duty chemicals or considering more eco-friendly options like vinegar and baking soda solutions. Each method has its pros and cons depending on the extent of adhesion and the desired outcome. Ultimately, embracing this challenge requires both creativity in application techniques and strategic decision-making when it’s time for cleanup.

Gather the Necessary Tools and Materials

Before embarking on the task of removing spray paint from bricks, it’s essential to assemble the right tools and materials.

Here are the necessary tools and materials you’ll need to remove spray paint from bricks effectively:

Tools:

  1. Wire Brush – Helps scrub away paint without damaging the brick surface.
  2. Paint Scraper or Putty Knife – To manually scrape off layers of paint.
  3. Stiff-Bristle Brush – For scrubbing tough spots and intricate brick areas.
  4. Sponge – For wiping off residue after scrubbing.
  5. Drop Cloth or Plastic Sheets – To protect surrounding areas from debris or chemical spills.
  6. Bucket – For mixing cleaning solutions and rinsing tools.
  7. Safety Gear – Gloves, safety goggles, and a mask to protect from chemicals and dust.

Materials:

  1. Paint Stripper (specifically for masonry) – A chemical solution designed to break down spray paint on porous surfaces like brick.
  2. Masonry Cleaner – For cleaning brick surfaces after paint removal to restore their original look.
  3. Vinegar or Baking Soda Solution – As a non-toxic alternative for light paint stains.
  4. Acetone or Rubbing Alcohol – For small spots or touch-ups.
  5. Pressure Washer Detergent – For use with a power washer to enhance cleaning effectiveness.
  6. Garden Hose – For rinsing the surface after cleaning.
  7. Protective Sealant – Apply after cleaning to prevent future paint from adhering to the brick.

With the right tools and materials, you can effectively remove spray paint from bricks while maintaining the integrity of the brick surface.

Detailed Steps On How To Remove Spray Paint From Bricks

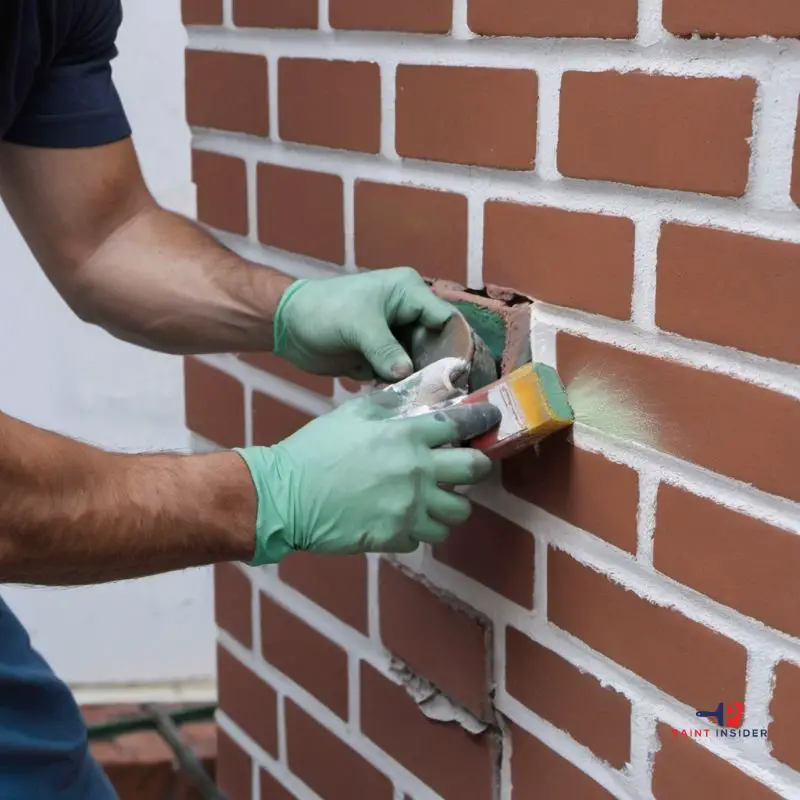
Removing spray paint from bricks can be a stressful process if you are completely green on the steps involved. The procedure gets cumbersome if your brick surface is well-textured.

Note that spray paint has excellent sticking properties, so removing it may consume more energy and time than you might expect. Are you still reading? This article examines detailed steps on (how to remove spray paint from brick walls.

How To Remove Spray Paint From Bricks

Step 1: Use a suitable Graffiti Remover

  • There are many graffiti removal solutions you can choose from. Consider shopping online for the most suitable and recommended Remover. Be sure that the Remover you decide to use will not damage your bricks in any way. Read through the instructions on the label to be sure how to apply it.
  • Even when you have read the usage instructions, always ensure you carry out a patch test to find out the reactivity level of your spray paint removal.
  • Spray your removal product on the spayed paint and allow it to settle for a moment. Note that you must ensure that your removal product will not cause any damage to the surface of your bricks.
  • The Remover may contain active chemical ingredients that might erode your bricks, so be sure the product does not overstay on the bricks. It would be best if you considered leaving it on the surface for a maximum of thirty seconds.
  • After the recommended time elapses, use a clean rag to clean the removal from the brick surface. It would help to use a tiny amount of elbow grease to wipe the paint stains.
  • Prepare a soapy solution using warm water. Dip your Soft-bristled brush into the solution and brush off paint residue on the surface of your brick wall. Consider using a high-pressure water source to wash away stubborn debris.

 Step 2: Using Suitable SafeWipes

  • The good news is that you can use the recommended Safewipes on your brick wall to remove spray paint. Be sure to follow usage instructions for a clean job.
  • Note that using wipes is an excellent way to get rid of paint stains. After applying the wipes, Ensure you clean the affected parts of your brick surface; You should notice the paint stains come off in the process.
  • It would be best to carry out a patch test to observe whether the product you are using will damage your bricks.
  • At this point, your pressure washer will come in handy; direct the nozzle of your high-pressure water to the surface of your brick wall to get rid of paint residues.

 Step 3: Using Appropriate Wipe Outs

  • If you want to remove spray over a wide area, it will help to use suitable wipeouts. Note that half a container of your preferred Wipeout should be able to do the job.
  • Use a tag to smear the wipe out onto the sprayed parts of your brick wall. Be sure to apply your Wipeout to the paint stains and allow them to blend in with your Wipeout. Be sure to carry out a small patch test to see if the product will eat through the bricks.
  • Take a clean rag and clean up the excess Wipeout. You should notice traces of paint stains begin to come off at this point.
  • Consider using soap and water to clean the brick surface. If necessary, use a high-pressure water source to carry out this exercise. If you are not satisfied with the result, it would be helpful to repeat the procedure to achieve desired results.

 Step 4: Use a Suitable thinner

  • One of the best products to use in stripping out spray paint is Goof Off. It is excellent in terms of paint removal due to its aerosol properties. Ensure you shield yourself from the harmful effects of this product.
  • As always, carry out a patch test on a small part of your brick wall to be sure that it won’t damage your bricks if applied. Although it has excellent paint removal properties, it can also corrode and damage your bricks.
  • Let the product sit on the surface of your bricks for a period not exceeding thirty seconds. Goof Off is known to be a potent reducing agent, and as such, it can fade out the original color of your bricks.
  • Consider having you ready to wipe out the product from the surface as soon as possible to avoid any damage to your bricks. At this point, you should notice paint stains come off.

 Step 5: Using Citristrip to remove spray paint

  • Although it works as the other products discussed earlier, it is not very effective. Nevertheless, it is less volatile, and it can not damage your bricks. If you are looking for a gentle product, consider using CitristripGel to work on the spray paint.
  • Consider using a piece of towel when applying this gel. Squeeze a sizable amount of the cloth and lay it on the affected parts of your brick wall. Be sure to use a thick coat before letting it react with the paint stains.
  • Take a clean towel and wipe out any excess gel on the surface of your bricks. Use your brush to remove residue from the surface. It would be helpful to use high-pressure water to wash the surface clean.

Getting rid of spray paint is not an easy task. It would be helpful to learn a few tips on removing spray paint from bricks without causing any damage. That said, be sure to select the right product for your project.

If you follow the steps highlighted above, the whole exercise of removing spray paint from bricks should be a walk in the park. Since you are dealing with chemical products, be sure to guard yourself properly.

Prevent Future Spray Paint Accidents

To prevent future spray paint accidents, it’s essential to create a dedicated workspace that minimizes risk. Start by setting up a well-ventilated area away from high-traffic zones, preferably outdoors or in a garage with doors open. Consider using drop cloths and protective coverings not only for the ground but also for nearby surfaces that could inadvertently catch stray paint. This simple act can save you hours of scrubbing later and keep your creative process flowing without interruptions.

How To Remove Spray Paint From Bricks 2

Additionally, investing in good-quality spray nozzles can make all the difference. These allow for better control, reducing the likelihood of overspray that inevitably leads to messes on unintended surfaces like bricks. When it comes time to clean up after your project, knowing how to remove spray paint from bricks effectively can be incredibly useful; use a combination of scraping methods and chemical removers designed specifically for masonry surfaces. Always test any solution on a small section first to ensure it won’t damage the brick’s integrity or appearance preparation is key! By taking these proactive steps, you’ll cultivate an environment where creativity doesn’t come at the cost of chaos.

Conclusion: Restoring Your Brick Surfaces Successfully

Restoring your brick surfaces doesn’t have to feel overwhelming, it can be a rewarding experience that breathes new life into your outdoor spaces. After effectively navigating the challenges of removing unwanted spray paint, you may find that a deeper clean or sealing process enhances not only the appearance but also the longevity of your brickwork. Consider using eco-friendly cleaning solutions as these often provide powerful results without damaging the environment or your bricks.

As you finish your restoration project, don’t forget about regular maintenance. Regularly inspecting for signs of wear and tear can prevent more substantial issues down the line and help preserve the vibrant look you’ve achieved. Additionally, expanding your knowledge on preventive measures like weather-resistant sealants can give you an upper hand in protecting those beautifully restored surfaces from future mishaps. Celebrate your efforts and enjoy those revitalized bricks; they’re not just material but a testament to care and craftsmanship!

How To Remove Spray Paint From Mirror?

How To Remove Spray Paint From Mirror

Whether you are a professional painter or a newbie, accidents involving paint sprays are inevitable. Keep reading to discover how to remove spray paint from a mirror.

Introduction: Importance of Clean Mirrors

Clean mirrors are more than just a reflection, they significantly impact the ambiance and aesthetic of any space. A spotless mirror can enhance natural light, making rooms feel larger and brighter, whereas smudges and grime can create an atmosphere that feels cramped and uninviting. Most importantly, clean mirrors promote clarity not just in our reflections but also in our day-to-day lives by providing a clear view of ourselves as we navigate the world.

Moreover, maintaining clean mirrors is essential for their longevity. Over time, residue buildup can create permanent damage or scratches on the surface if not addressed promptly. Knowing how to remove spray paint from mirrors or any stubborn stains can be a game changer for homeowners inclined to upcycle or repurpose furniture nearby. Creating an effective mirror cleaning routine not only ensures a polished look but also safeguards your investment, keeping them functional and reflective for years to come. In this way, mirrors serve as both practical tools and key components of interior decor that deserve our attention and care.

How To Remove Spray Paint From Mirror

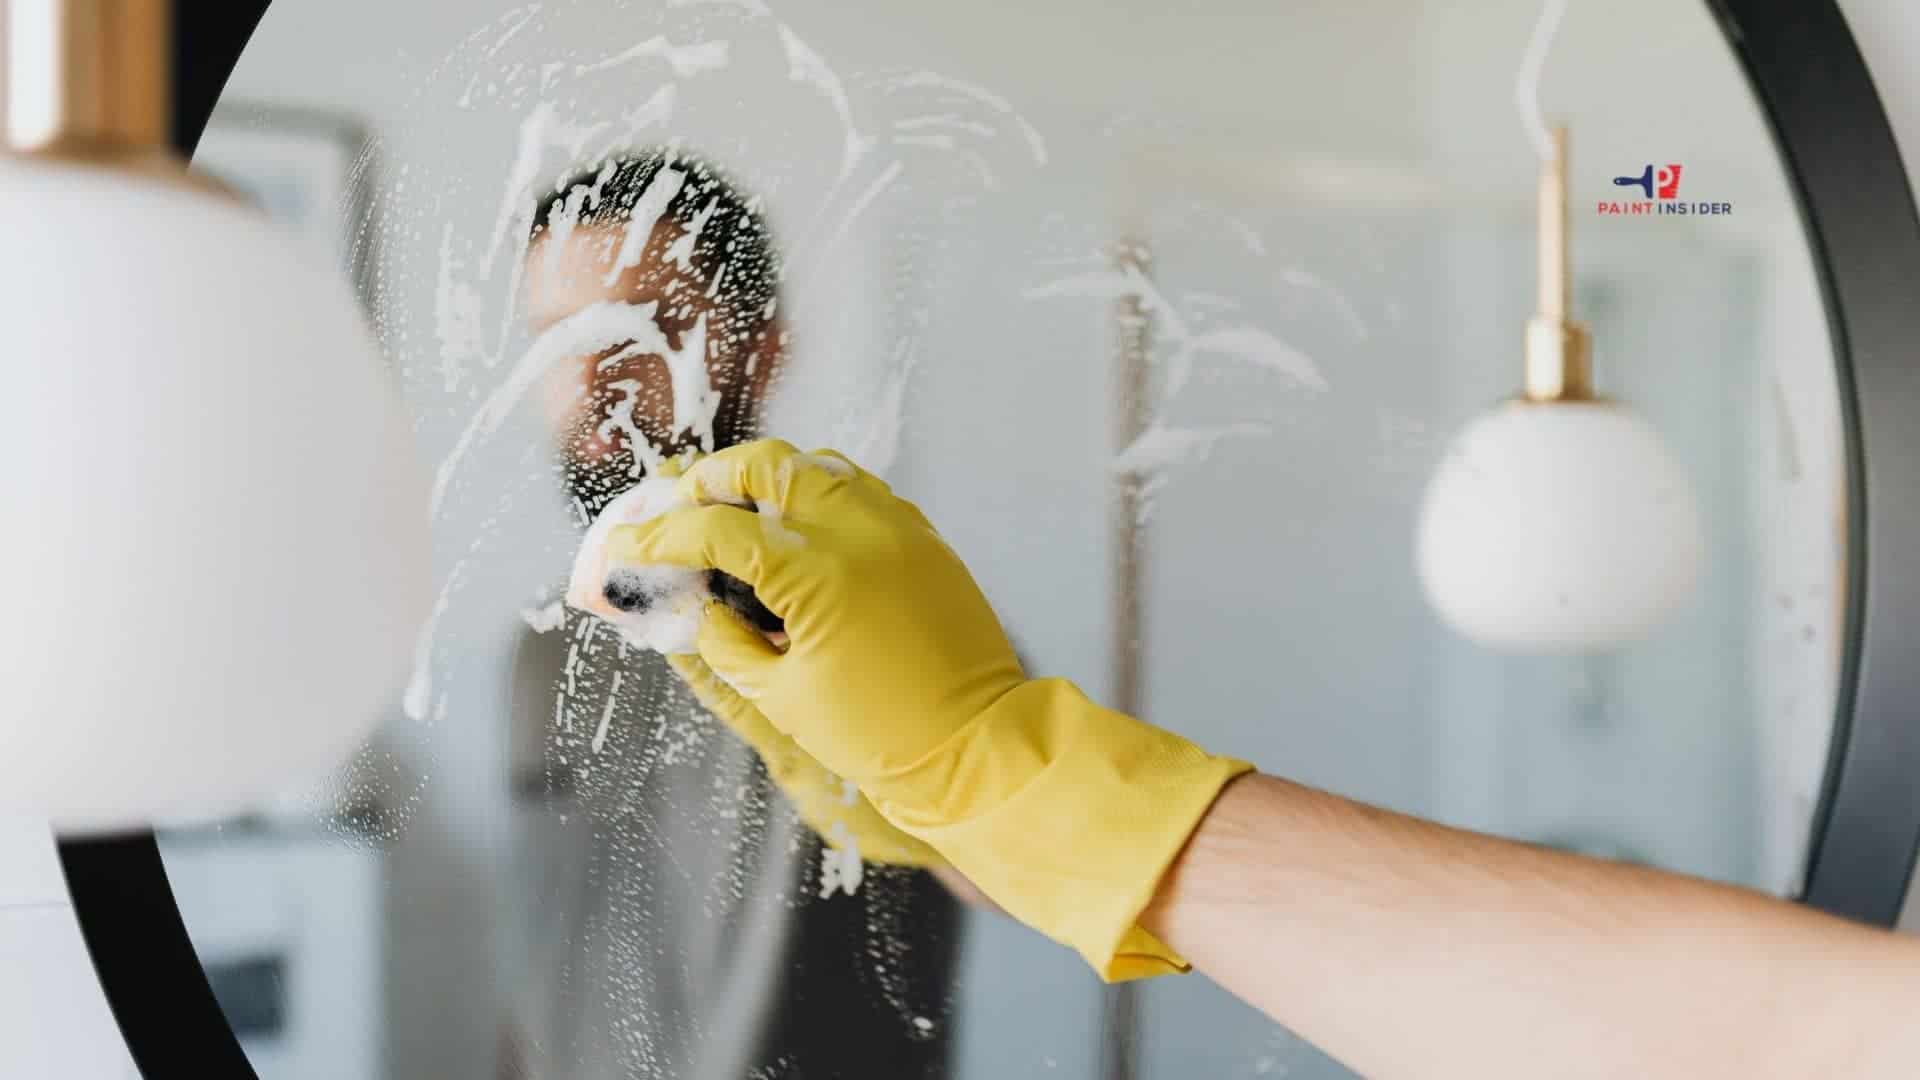
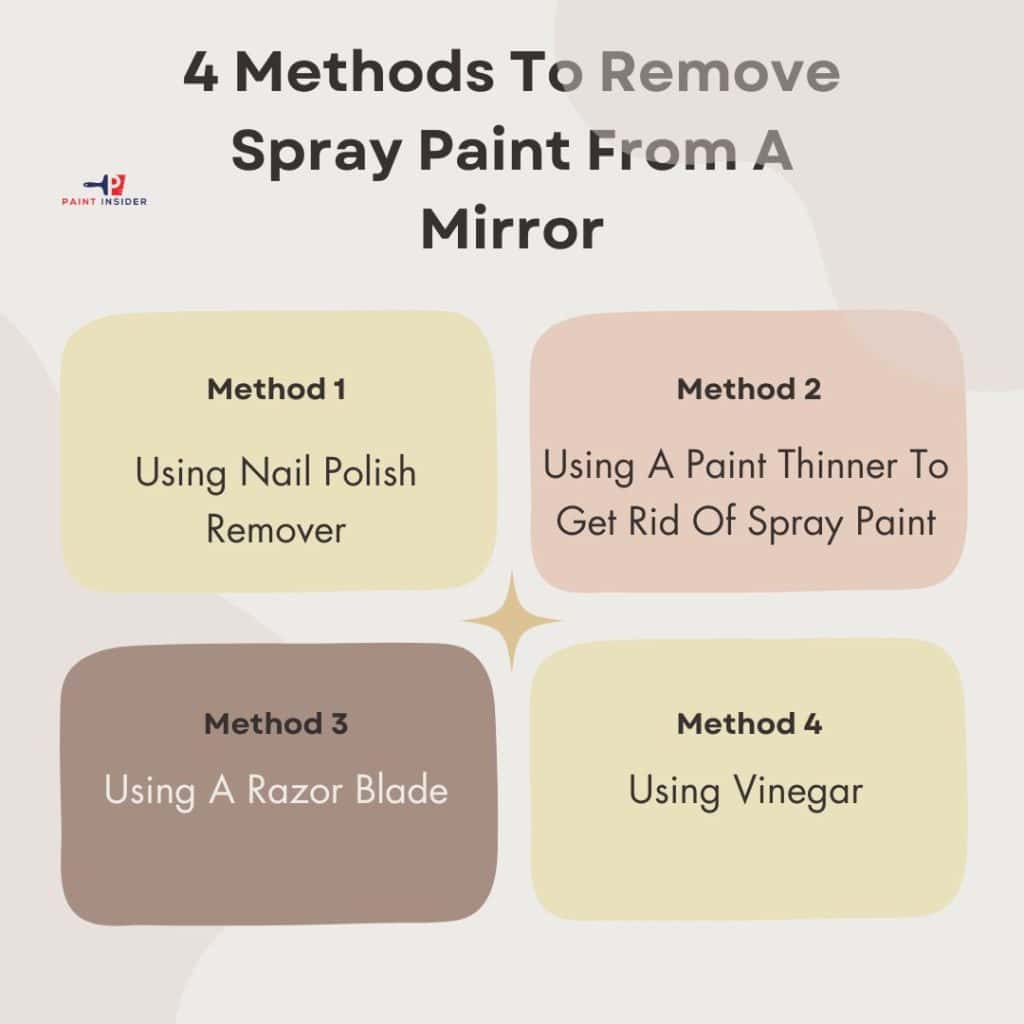
4 Sure Methods To Remove Spray Paint From A Mirror

In painting your house, the possibility of spraying paint on objects around your workspace is high. If you are completely clueless as to how to remove paint sprays from your mirror, you may end up doing a shoddy job or, at worst, damage your mirror. Nevertheless, there are proven methods you can employ to remove spray paint from the glass effortlessly. In the previous sections, we highlighted various ways to get spray paint off the mirror.

Supplies Needed

  • Gloves
  • Eye protection
  • Scraper
  • Cleaning towels
  • Bucket
  • Scouring pad
  • Drop cloth

Method 1: Using Nail Polish Remover

Nail polish remover (also known as Acetone) effectively gets rid of a variety of stains. Note that nail polish remover is cost-effective, so you should consider it over other solvents if you are not willing to spend more. Below are steps you should follow when using Acetone to remove spray paint from a glass.

  • Immerse your piece of towel in a bucket containing your preferred acetone solvent and rub it onto the paint stains on the mirror. Be sure to let the solvent react with the stains before wiping it off the surface of your mirror.
  • Take a wet towel and remove any paint stains that may be remaining on the mirror. Finish off by washing your mirror surface with a soapy solution. Make sure to use warm water to get rid of any greasy residue on the surface of your mirror. To achieve a clean finish, use another dry towel or paper towel to wipe the mirror’s surface.

 Method 2: Using A Paint Thinner To Get Rid Of Spray Paint

  • The method described earlier is almost the same as the one described here. If the paint spray on your mirror is dry, you should consider using turpentine to remove the paint stains.
  • Immerse your piece of towel in turpentine and apply the thinner over the spray paint on your mirror. You might consider applying the thinner repeatedly for the paint stains to be properly dissolved.
  • Be sure to shield yourself from harmful fumes by wearing suitable protective gear. There may be instances where the paint stains are hard to remove; in that case, consider leaving the thinner a significant amount of time to react with the stains for moving on to the next step.
  • Pat the soaked towel onto the spray paint. Let the turpentine dissolve the paint stains, and then wipe it off the surface of your mirror.
  • Scrub your mirror surface in gentle and circular motions until the paint stains begin to come off. Ensure all the stains have come off the surface before washing the affected areas with soap and warm water. Dry your mirror using a clean and dry rag.

Method 3: Using A Razor Blade

At times, you may want to get things done quickly, so you should think out of the box and improvise. Note that you want to try out the other methods described above before resorting to using a razor blade. A razor blade is effective when you want to remove tough and dried stains on your mirror surface. However, be sure to use it in the right way to avoid damaging your mirror.

After using a suitable solvent to clean the paint stains off your mirror, you may notice traces of tough stains on the surface. Use your razor blade to chip off the paint stains but remember to do it carefully. Check out the steps highlighted below on how to get rid of paint from your mirror. It is always a good idea to replace your mirror if you think removing the spray paint may damage your mirror.

  • On the off chance that there are traces of paint stains remaining on your mirror surface, it would be helpful to use a razor blade to chip off the stains.
  • Be sure to hold your razor blade at an appropriate angle to avoid adding more scratches to your mirror surface.
  • It would be helpful for you to use your razor blade on a dried mirror surface to avoid doing more harm to your mirror surface.
  • Ensure you clean your mirror surface using warm water and soap, then wipe it dry using a dry towel or a piece of clean and dry cloth.
  • At this point, use your drop cloth to prevent any paint splatter as you wipe your mirror surface.

 Method 4: Using Vinegar

Supplies Needed

  • 1 cup of vinegar
  • Two tablespoons of dish soap
  • Warm water

Note that you can use readily available household cleaning agents to eliminate paint stains from any surface. Vinegar is effective on paint stains, so you should consider using it. Read on for more content.

  • Being an acidic substance, you can use vinegar to dissolve paint stains on your mirror and get rid of them in no time. You should also consider using vinegar to get rid of paint from building glass without any worries.
  • Be sure to boil your vinegar in a suitable metal. Dip a clean piece of cloth in the vinegar solution and rub it onto the paint stains on your mirror service.
  • It would be helpful for you to let your vinegar sit on the paint stains for a few minutes before moving on to the next phase. At this point, you can use the rag dipped in vinegar to rub on the paint spots.
  • Use your dish soap to clean your mirror surface thoroughly. Be sure to use warm water to enable you to remove stubborn and sticky stains. Take a dry cloth and wipe your mirror surface dry.

Removing getting rid of spray paint from your mirror can be a challenging affair if you are clueless about how to go about it. The tips highlighted in this article will come in handy whenever you want to remove spray paint from your mirror surface. Be sure to clean your glass surface using warm water and soap at all times to remove greasy residue.

Safety Precautions During Removal Process

When embarking on the process of removing spray paint from a mirror, safety should be your top priority. Start by ensuring you work in a well-ventilated area to avoid inhaling any harmful fumes from solvents or chemicals that may be used during the removal process. Consider wearing protective gear such as gloves and goggles; not only do these protect your skin and eyes from irritating substances, but they also provide peace of mind while you tackle this potentially messy job.

Be mindful of surface integrity during removal. Mirrors can shatter easily, so apply gentle pressure whether you’re scraping off paint or using chemical solutions. Always test any chosen solvent on a small, inconspicuous area first to gauge its impact on the mirror’s reflective surface. This precaution helps prevent unforeseen damage while equipping you with insights into which method is most effective for stripping away unwanted paint without harming the underlying glass. With proper precautions in place, you’ll enhance both your safety and the likelihood of restoring your mirror to its original brilliance.

Tips for Preventing Future Damage

One effective way to prevent future damage is through regular inspections and maintenance of your mirrors. Taking a few moments every month to check for wear, chips, or areas where spray paint may linger can save you from the hassle of significant restoration later on. When maintaining your mirrors, ensure they are in a well-lit area and free from excessive humidity this prevents deterioration of both the glass and its frame.

In addition, smart placement is key. Position your mirrors away from high-traffic areas to avoid accidental bumps or scratches that could lead to larger issues down the line. Consider applying a protective film designed for glass surfaces; this can provide an extra layer against debris that might inadvertently cause damage during cleaning. Remember, proactive care not only keeps your mirrors looking pristine but also prolongs their lifespan significantly saving you time and money in the long run!

Conclusion: Restoring Your Mirror to Perfection

Restoring your mirror to perfection after an unfortunate spray paint mishap isn’t just about cleaning, it’s an opportunity to rejuvenate and breathe new life into a cherished piece. Begin by understanding that patience is key rushing the removal process might lead to scratches or worse, damaging the reflective surface irreparably. Instead, approach it with caution and care, using gentle solutions like rubbing alcohol or vinegar mixed with warm water for effective removal without harsh chemicals.

As you meticulously work on your mirror’s revival, let each step inspire a moment of reflection both literally and figuratively. A newly restored mirror can serve as more than just a functional object, it becomes a canvas showcasing your attention to detail and commitment to preservation. Thus, while you may initially seek guidance on how to remove spray paint from mirror glass, remember that this process can transform not only the item itself but also reinforce an appreciation for the art of maintenance in our everyday lives. Ultimately, when your mirror gleams anew, it’s not merely about restoration; it’s about celebrating resilience in both materials and moments alike.

How To Remove Dried Polyurethane From A Paintbrush?

How to remove dried Polyurethane from a paintbrush

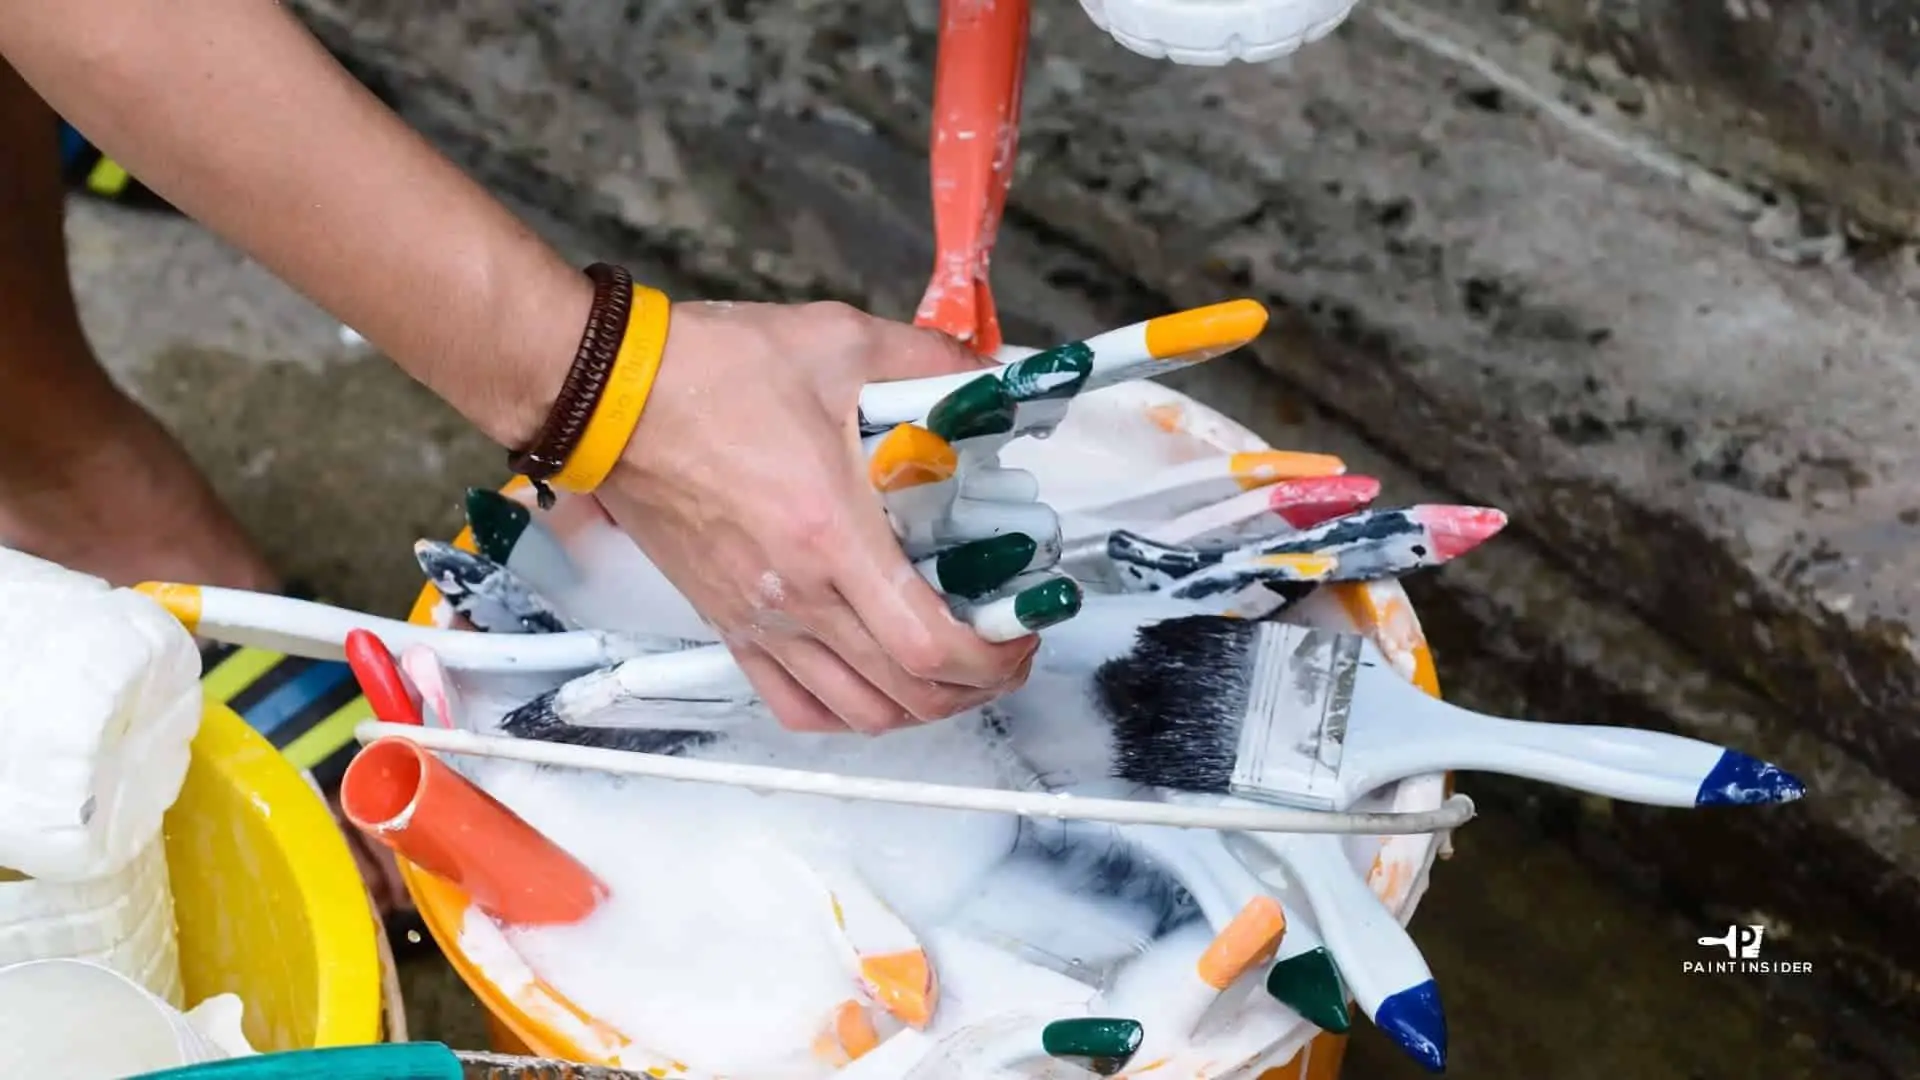
It always feels satisfying to complete your DIY painting projects on time. But it feels disheartening after seeing the mess you have created while accomplishing your painting tasks. Now, you must have experienced the pain of cleaning or taking off the dried paint from your paintbrush. Getting off anything from a dried paintbrush sounds too complicated and tedious to you. Especially when you have to remove dried Polyurethane from a paintbrush.

I this guide, we’ll tell you about the easiest methods on “How to remove dried polyurethane from a paintbrush?”

How to remove dried Polyurethane from a paintbrush

Understanding the Basics of Polyurethane

Before we move further, it is important to understand the types of Polyurethane you are aiming to remove completely. Polyurethane is an organic polymer or layer that protects the surfaces from direct sunlight, heat, or other sources when applied. You can use Polyurethane on various surfaces such as sealants, varnishes, bookcases, bedding, and other protective coatings.

Due to the dynamic nature of Polyurethane, it dries faster once you apply it in liquid form. Also, it doesn’t go back to its original condition even when heated.

Generally, Polyurethane is categorized into two types:

  • Water-Based Polyurethane
  • Oil-Based Polyurethane

Let us explain the two types of Polyurethane in detail:

Water-Based Polyurethane

Water-based Polyurethane has gained momentum and massive popularity over the years. The qualities like low odor, no toxicity, environmental friendliness, and ease of use make it the desirable Polyurethane for many. Plus, you can take off the Polyurethane using tap water only.

Oil-Based Polyurethane

Unlike water-based Polyurethane, oil-based Polyurethane is slightly durable, cheaper, and usually complex in nature. You need to have a chemical in case you’re cleaning the oil-based Polyurethane smoothly. You must keep your windows and doors open for a few days after applying Oil-Based Polyurethane. Because it produces bothersome odors that might settle into your curtains, cover sheets, and clothing.

On the flip side, the Polyurethane still takes longer with some efforts to remove from the paintbrush. However, you can effortlessly remove Polyurethane from your paintbrush using the right methods and procedures.

Now, you must be curious to know about how to remove dried Polyurethane from a paintbrush?.

Well, the excellent news is there are still some practical ways that can help you clean off hard-to-remove Polyurethane from the paintbrush easily.

How to Remove Water-Based Polyurethane from Paint Brush?

Before beginning the process of cleaning the water-based Polyurethane from a paintbrush, you need essential tools. And these are:

  • A pair of gloves
  • Cups (Two or three)
  • Tap water
  • Dish soap

How to Start the Cleaning Process?

  • Simply submerge the paintbrush in the water
  • Rinse the paintbrush thoroughly
  • Take out the brush and soak again in freshwater
  • Repeat the process until the water-based Polyurethane loosens itself

How to Clean Oil-Based Polyurethane from Paint Brush?

Taking off oil-based Polyurethane is a bit complicated and needs more effort than water-based Polyurethane. But, you still remove the Polyurethane using good-quality paint thinner or white spirit. Here are the steps that you should follow to achieve the desired results:

  • Just our right quantity of mineral spirit or paint thinner in the cup
  • Dip the paintbrush directly in the solution and wait for a few minutes
  • Turn the sides of the brush to soften the dried part
  • Wait for only 15 minutes or even less
  • Massage gently if the Polyurethane is too dry or hard
  • Take out the brush and rinse the same using lukewarm water
  • Allow the paintbrush to dry using a towel or rag

It is recommended to wear protective gloves and a dust mask to protect yourself as well as the surroundings. The toxicity of the oil-based Polyurethane and the chemicals used might get you in trouble. So, use the necessary tools to remove the oil-based Polyurethane from the paintbrush.

How to Clean Polyurethane Like a Professional?

On average, a good-quality paintbrush can last up to 4 to 5 years and even more if maintained properly. To protect your investment, maximize the performance, and keep the paintbrush in shape, you must follow the proper cleaning methods before, during, or after every use. Having said that, let us take you through a comprehensive guide where you will learn about How to remove dried Polyurethane from a paintbrush?

Which is the Best Way to Use Comb for Cleaning Polyurethane?

Have you ever thought of using a comb to clean Polyurethane from a paintbrush like a pro? If not, then we would suggest you take advantage of the comb to take out varnish or paint from the bristles. Here is the cleaning thorough cleaning method:

  • Hold the paintbrush and insert comb gently into the bristles
  • Apply the right stoke motion and speed for the varnish, paint, and residue to come out effortlessly
  • Move the comb in different directions for speeding up the task

Does Using Turpentine Make the Polyurethane Go Away?

Turpentine is another effective method that can magically enhance the quality of your paintbrush. Using a turpentine solution not only cleans the bristles professionally but also makes your paintbrush look appealing.

  • Pour the right amount of turpentine into a plastic container
  • Immerse the brush into the solution
  • Put little pressure on both sides of the bristles and the brush alike
  • Keep doing that until the paint is completely removed
  • Take out the brush and wash the brush using soap water
  • Squeeze the excess water using a paper towel

You May also like: how to use paint thinner to clean brushes.

Is Mineral Spirits the Better Option?

Mineral spirits have potentially hazardous qualities and come with a strong odor that can make things worse. So, use protective masks, rubber-made hand gloves, and goggles before beginning the cleaning process.

  • Fill the plastic container halfway with mineral spirit
  • Soak the paintbrush into the solution
  • Swish the brush around for two to three minutes
  • Clean the brush using tap water and dish soap

How to Clean Polyurethane from the Paint Brush with Fabric Softener?

A fabric softener is an excellent way for cleaning water-based paints only and not oil-based paints. For cleaning dried Polyurethane brushed, you need to:

  • Take a bucket off gallon warm water
  • Add a cup of fabric softener into it
  • Mix the two solutions thoroughly
  • Drop your paintbrush into the liquid
  • Stir your paintbrush vigorously every minute until the color lift off naturally
  • Lift the paintbrush from the water and let it dry

Is Baby Oil Suitable for the Polyurethane Cleaning Process?

Who would have imagined that baby oil could help you clean the unattractive Polyurethane from the paintbrush? Thankfully, baby oil also acts as a cleaning agent that can positively remove dried paint from the brush.

  • Just like mineral spirits, you need to pour baby oil into the container
  • Drop the paintbrush in
  • Allow the baby oil to sit into the brush for a few minutes
  • After that, take out the brush and wash out the left oil using dish soap water
  • Dry the brush using a rag or paper towel

Can I Use Dish Soap Instead of Toxic Chemicals?

Dish soap is supposed to be one of the primary ingredients available in every household. For those who are worrying about the harmful effects of using chemicals and having sensitive skin, this is the safest solution you can opt for. To clean the delicate paintbrush bristles:

  • Take a small amount of dish soap in a container
  • Dip the paintbrush to remove the oil-based Polyurethane from the bush
  • Wait for a few minutes
  • Take the brush out and massage thoroughly
  • Now, raise the brush using lukewarm water
  • Keep outside to air dry

Can I Use White Vinegar for Taking Off Polyurethane from the Brush?

If you’re afraid of using harsh chemicals, then white vinegar might work in your favor. To restore the condition of your dried paintbrush, use the following methods:

  • Pour the right quantity of white vinegar in a wider pot or container
  • Please bring it to boil or a little simmer
  • After heating up, dip the paintbrush in the white vinegar
  • Let the brush soak for around 20 minutes or even more, depending on the hardness and severity of the Polyurethane
  • Next, take out the brush and wash it using warm and soapy water
  • Use the comb to remove the extra resize or particles from the paintbrush

Can I Use Acetone for Making the Bristles Look Polyurethane-free?

The acetone has the finest quality and comes with solvent strength that can clean off dried-up Polyurethane from the brush magically. Simply soak the paintbrush in the acetone-based solution. Please wait for the paint to come off and rinse it using soap water. Repeat the procedure until the bristles get soft.

In most cases, a professional painter uses a paint thinner before using acetone to clean out the thinner traces from the brush. After that, you can rise off the varnish using soap and water to remove the acetone. Why soap? Because the soap acts as a bristle softener to make the bristles look cleaner, softer, and ready to use again.

No matter whether you are a professional painter or a beginner, you aim to preserve the paintbrush quality for a longer duration. With these practical methods, you can quickly keep your paintbrush neat, clean, and away from Polyurethane.

How to Store Paint Brush for Future Use?

Cleaning unnecessary polyurethane is as important as storing them in the right safe place. After you have done applying the right techniques, it is time to use the proper storing techniques for your brush longevity. Here are the things you can do to maximize the efficiency and longevity of your brush with ease:

  • Always store your paintbrush carefully in a plastic bag or wrap after every use
  • Make sure to keep the neck of the brush airtight using masking tape in a cool area or refrigerator to avoid moisture
  • After completing your painting-related project, do a practice of using the comb to keep the shapeless bristles in shape
  • Hanging the brush vertically with the bristles facing downwards can make a great difference

There is no greater satisfaction than taking off the toughest as well as dried Polyurethane from brush professionally. This joy can reach its peak while giving you optimal results if you apply the right tips and techniques.

It is now crystal clear that cleaning a polyurethane brush isn’t all that difficult. All you need is to try these easy-to-follow methods to make your brush look in shape and order. The most common thing you can do is use water, dish soap or paint thinner, depending on the type of Polyurethane you used, and comfortably water to rinse it off.

The key is to keep your brush polyurethane-free and try any of the above steps. Trust me, your brush will last forever while giving you the performance that you have never imagined before.

Key Takeaways

It will be much safer to restore your brushes in the upcoming years. Now that you know the procedure for removing Polyurethane,

Hence, follow these painting tips on Removing dried Polyurethane from a paintbrush now. We hope that you can clean your brushes smartly after completing your every DIY project.

How To Remove Spray Paint From Wheels?

How To Remove Spray Paint From Wheels

It is enjoyable to move your car here and there. Unfortunately, when you’re moving here and there, your car wheels are getting in touch with various materials. You can even observe that, and even you can’t. You can try painting your wheels for cleaning and a better appearance. However, it’ll be so disappointing if you’ll find your wheels damaged with spray paint. Yes, they will look damaged entirely and wasted. 

Are you facing the same problem? Let’s move towards the solution. Do you wanna know how to remove spray paint from wheels without damaging the paint underneath? Then, don’t worry. The answer always stays very close to the problem. We just have to focus on it. You can also learn the procedure to remove spray paint from rims here

We’re here to completely guide you about how to remove spray paint from wheels. The considered process will be simple that even a fully inexperienced person will do within a short time. The material we will suggest will be easier to access, unlike those that professionals could only access. 

In this article, you’ll learn the method in the easiest way to remove paint from alloy wheels through basic steps. You’ll learn:

● How do wheels get undesirable spray paint?

● Important information regarding removing spray paint from the wheel.

● Materials you’ll need before starting the process.

● A 5-step simple guide in removing the spray paint.

● Final thoughts and ideas about the process.

You may also like: Best Spray Paint for Metal

How do wheels get undesirable spray paint?

Before we move towards the ways to remove spray paint, you must have a basic idea about how this happens. So, you cannot do it in the future. It happens when people try to paint their wheels or rims jet black. However, there are numerous times when they will have to regret their choice or mess up everything. First of all, try to avoid that kind of situation to have an easy life.

Have you already been stuck somewhere during the process? You can simply resolve the problem with a simple guide about how to remove spray paint from wheels. You must know every step clearly to avoid sticking again. The actual issue is that the spray paint bonds efficiently with plastic. The paint remover or stripper sometimes causes damage to the tires. So, these were the reasons why an ordinary paint thinner doesn’t always prove good. You have to be determined to preserve your tires and not damage your wheels. The process discussed is amazing for everyone. Actually, it’ll be an undoing job with minute elbow grease and a small number of tools. So, the next time you’ll return to the road with a set of refreshing, attractive wheels. 

What must you know about removing spray paint from the wheel?

Spray paint is considered a great product in the paint and designing industry. By using just a single can, anyone can change the color of his aluminum wheels. You can make original and unique paint designs to enhance the appearance and allow the old paint to appear brand new. However, some people face problems. They get spray paint perfectly on the tires and the points they didn’t want on the rims.  

If you type in the search bar, you’ll only learn repetitive things. They will show something like removing spray paint from wheels requires heavy elbow grease and effort more than anything else. However, advanced methods and tools have made it an easier and entertaining job. You’ll enjoy doing this and feel too expert after completing the task.

You may be interested in Best Spray Paint for Plastic

Materials you’ll need to remove the spray paint from wheels:

There are some essential tools to have on your hands when removing the stubborn spray paint from your wheels.

● Towel or Rag – It’s a basic thing accessible to everyone anytime at home. Just you’ll have to remember to keep this with you during the process. It’ll help clean the paint once you have freely applied it. You may desire to have much on hand, especially if a large project is going on. 

● Toothbrush-Have a toothbrush so close to your bedroom? Get it now and use it in the different activities. It’ll work similarly to a rag, but it’ll also help clean between the tiny spaces.

● Drill with brush attachment or sandpaper as alternative-Drill with a brush will help bluff the surface more rapidly. However, it’s more expensive than sandpaper. Sandpaper is also easy to use. So, if you’re doing it for the first time, we recommend you do this.

● Goof Off or related product -. This product works for paint thinner, or you may say as a remover. It’ll work effectively by efficiently cutting via the paint and making it clean away so easily.

Precaution: Be careful while using this. It can damage the tires if it gets in contact with tires for a long time.

● Water-Water will help clean the surface and make sure that it is thoroughly neat.

● Pressure washer (not necessary; it totally depends upon your choice)-It’s risky for this task. It can damage both tire and rim if improperly used or considered for a long time. However, if you face a hard time and want excellent results, using it can be helpful. Keep in mind that you must be experienced using it to avoid undesirable results.

A 5-step simple guide to know how to remove spray paint from wheels

1. Spray the considered area using Goof Off

2. Clean the paint with rags.

3. Use a toothbrush to access tiny spaces

4. Wash it with water

5. Use the buffer drill or sandpaper to clean up the alloy wheels

Step 1: Spray the considered area using Goof Off.

First of all, you’ll have to specify the area where you’ll work. In this way, you’ll be able to set boundaries and work with proper settings. After considering the specific area, use a rattle can of Goof Off and cover the place. It can efficiently deal with the chemicals and make the job easier for you. While dealing with the tire, be attentive and focused on using Goof Off.  

You can test this paint remover on a small unnecessary surface. It’ll ensure that it’ll not cause any problems while working. So, if the test proves it to be reliable, then apply it to the considered area of your tire. Remember that you must remove it so quickly. The long-term exposure will cause considerable damage to the plastic in the tire. 

Step 2: Clean the paint using rags.

The next step should be very simple and easy to perform. It’s simple to clean the paint with rags. The original finish will begin coming off quickly. The dried paint will begin chipping when you’ll apply the Goof Off because it’s an extremely powerful paint stripper. 

That’s why you’ll have to be efficient, well-focused, and fast while working. The Goof Off combo and the spray paint will be thick. So, you’ll require numerous rags in many cases to remove it efficiently. It’ll perform wiping off fairly easily. 

You need not be worried to think if your surfaces will get cleaned properly or not. Moreover, don’t feel any stress if it reaches crannies and nooks. Remove that first after applying Goof Off via rattle can to your tires. Remember doing it rapidly.

Step 3: Apply a toothbrush to access tiny spaces

Well, you may have realized that the process is going successful for various wheels categories. So, it’ll also resolve the problem of people asking how to remove spray paint from alloy wheels. 

Now, simply take the toothbrush and begin working on tiny compartments in alloy wheels. It’s the point at which you’ll have to make little effort through your elbow. It requires some hard work to ensure that all carnies and cracks will be properly clean.

The paint stripper effectively helps in loosening up the paint. You’ll have to work it out of all the interior places and make sure that they get their original finish back. Don’t forget that most places have disappeared. They are just required to be considered for screws and the planned purposes. 

You can also thread tools such as drills or thread cleaners and bolts to go through them and then pull off the paint.

Step 4: Wash it with water

Now, it’s time to use the most powerful natural resource. Although we have advanced in introducing helpful chemicals, nothing can replace the water due to its amazing properties. Now, clear off the whole surface using it. The chemicals must have to be cleaned properly.

Ensure that all original paint and paint remover is completely gone. It must remove before using sandpaper or anything like that for bluffing the alloy wheels to finish it off, 

The paint stripper will probably get sanded and stick around. It’ll cause problems when you’ll do this again.

At this step, if you think there’s a need to consider a power washer, you can use it. However, as we advised you before, be careful that it’ll not damage the surface.

Step 5: Use the sandpaper or buffer drill for cleaning alloy wheels

All the lacquer, lacquer remover, and paint will be off the surface at this step. Imagine using a clear coat on your initial paint project top. Even now, your alloy wheel will look rough.

So, you use a drill with a buffing attachment or sandpaper to clean up the wheels. It’ll bring a finished, polished look to the surface. While using sandpaper, you’ll have to scrape every surface.

A buffer drill will probably make work done rapidly for you. You’ll work efficiently to return wheels to their actual finish and make them captivating.

Be focused on not damaging any internal couplings or the threads. You can consider thread starters to fix them up if you do so. You can also make completely new threads and ensure you still keep on drilling into them. However, it’ll require proper tools and bolts.

All these steps will help you to remove paint from wheels very efficiently.

Final thoughts and ideas about the process:

It doesn’t matter why you have decided to remove the spray paint from the wheels. This method will help you get a clean, clear, and shiny surface. Some people only want a fresh beginning, while others want to change as the original wheel’s owners did.

Regardless, paint is temporary, but you have to avoid any damage. 

Take an easy start, work calmly, and put in the required effort. This DIY project will fix your wheels up. So, you’ll return to the road with a new charm. Remember that you must judge your level and then begin working. It’ll help you carry material according to your effort and ability to use them.

Why wait? By this article, you can now get the idea of removing spray paints from wheels, so don’t waste your time. Start now. Something super exciting is waiting for you to make your life exciting and interesting.

How To Remove Spray Paint From Glass?

How To Remove Spray Paint From Glass

Removing spray paint from a glass surface can be a hectic process. Read through the article to learn how to remove spray paint from glass effortlessly.

7 Sure Methods To Get Spray Paint Off Glasses

If you have ever been involved in any painting activities, you probably know that getting rid of spray paint from a given surface is never an easy task. However, armed with the right information, you can remove spray paint from your glass surface with the least effort possible. Read on for more information on how to get spray paint off glasses quickly.

Supplies Needed

  • Suitable bucket
  • Scouring pad
  • Scraper
  • Cleaning rags
  • Paper towels
  • Gloves
  • Protective gear
  • Drop cloth

Method 1 : How To Remove Spray Paint From Glass Using  Acetone?

Removing spray paint from your glass has never been any easier, but thanks to Acetone, you can now get rid of paint stains effortlessly.

  • Cost is a big factor when deciding on the solvent to use. That said, Acetone is cheaper compared to other solvents. Since nail polish remover  is basically acetone, you can use it to get rid of spray.
  • Immerse a rag in a bucket containing your solvent nail polish remover and apply it to the paint spots. Allow your Acetone to sit on the paint stains briefly before rubbing it out.
  • Use a moist rag to wipe the residues left behind after the initial wiping. Use another rag with a warm solution of soapy water to wash dirt on the surface of your glass. At this point, take your paper towel and dry your glass surface.

Important tip: Using Acetone on your fiberglass may cause unprecedented damage.

Method 2 : Using Vinegar To Remove Spray Paint Off Glass

Supplies needed

  • About 1 cup of vinegar
  • Two tablespoons of dish soap
  • Warm water

Using readily accessible household products will help you do the job. Consider using white vinegar because it is as effective as other commercial products.

  • Note that vinegar is an acid. The acidic content in vinegar is enough to dissolve paint stains on your glass, thereby removing them. You can also use  vinegar to get rid of  paint from building glass without any worries.
  • Pour your vinegar into a suitable metal can and boil it. Dip a clean rag in the vinegar solution and rub it onto the paint overspray.
  • It would be helpful to let your vinegar sit on the paint stains for a few minutes before proceeding. At this point, you can use the rag dipped in vinegar to rub on the paint spots.
  • Use your dish soap to clean your glass surface thoroughly. Be sure to use warm water to enable you to remove stubborn and sticky stains. Take a dry cloth and wipe your glass surface dry.

Method 3 : Using Alcohol To Get Spray Paint Off Of The Glass

  • You can easily get rid of spray paint from the  glass using rubbing alcohol. The procedure is nearly the same when using other solvents.
  • Immerse a clean towel in Alcohol and apply it to the paint stains on your glass. Scrap the paint stains using your cloth until the stains begin to come off.
  • It would be helpful to let the alcohol react with the  paint overspray for a  while before moving to the subsequent step.You might want to use a little more of your Alcohol to remove stubborn stains on the surface of your glass.
  • Always perform a sample test on your glass before embarking on your project. Rub a small amount of Alcohol on your glass surface and examine if there is any effect on the glass.
  • Be sure to wash the surface of your glass with soap and warm, then rub the surface using a dry rag.

Method 4 : Removing Spray Paint Off Glass Using Mineral Spirits

  • Did you know that you can use petroleum products to remove paint stains from glass surfaces? Well, now you know. Mineral spirits are excellent cleaning agents, so you should consider using them to eliminate spray paint.
  • As always, wash the surface of your glass using a soapy solution. Be sure to wipe the glass surface after completing the exercise.

Method 5: Using Turpentine To Get Rid Of Spray Paint From Your Glass

  • Using turpentine to remove spray paint from your glass is no different from using Acetone. Immerse a clean rag into a bucket containing turpentine.
  • Rub the soaked rag onto the spray paint. Let the turpentine sit on the stains for a few minutes before you proceed to wipe it off the surface.
  • Scour your glass surface until the paint stains begin to come off. Ensure all the stains have come off the surface before washing the affected areas with soap and warm water. Dry your glass surface using a clean and dry towel.

Method 6 : Using A Water Jet  To Remove Spray Paint From Glass

  • Be sure to work in an open area if you decide to remove spray paint using this method. In this case, you might want to use a high-pressure water source to wash away large debris from your glass surface. However, adjust the nozzle of your horse to avoid damaging your glass.
  • Direct and maintain the jet of water onto the affected parts until the stains begin to come off.

Method 7 : Getting Rid Of Spray Paint Using A Scalpel

  • On the off chance that there are traces of paint remaining on your glass surface, it would be helpful to use a scalpel to chip off the stains.
  • Be sure to hold your scalpel at an appropriate angle to avoid damaging your glass with scratches.
  • It would be a good idea to use your scalpel on a dried glass surface to avoid damaging the glass surface.
  • Be sure to clean your glass surface using warm water and soap, then wipe it dry using a dry rag or piece of towel.
  • If possible, place disposable plastic containers filled with soapy water underneath the paint removal area to catch the paint chips.

Removing spray paint from your glass can be challenging if you’re a newbie on matters to do with paint. The tips highlighted in this article will come in handy whenever you want to get rid of overspray from any given surface. Always remember to clean your glass surface using warm water and soap.

How To Remove Paint From Leather Shoes?

How To Remove Paint From Leather Shoes

The thought of spilled paint on your shoes is an unwelcome one. Regardless, learning how to remove paint from leather shoes is essential. Continue reading for more.

4 Different and Effective Ways to Get Spray Paint off Shoes

You can use many products to remove paint from your shoes; How easy you will to remove spray paint from your shoes depends on the duration the paint has stayed on your shoes. Read on to learn more on this subject.

Method 1 : Using Soap and Water

Before starting anything, note that this method is suitable for freshly spilled paint stains. Nevertheless, you may find it hard to apply this method to dry paint stains. Below is a  step-by-step guide for this method.

Supplies Needed

  • Towel
  • Water
  • Detergent
  • Toothbrush
  • Dry cloth

Step 1 – Wrapping Your Shoes In A Towel: Wrap your towel around your leather shoes so they can absorb the paint stains. The towel will help you to remove excess paint stains on your shoes. Before you apply a soapy solution, stains on stains, so are sure to remove excess paint as much as possible.

Take great care when using your towel on the paint stains because you don’t want to smear the stain all over your shoes. Apply the towel gently to avoid getting messy.

Step 2 – Preparing A Solution Of Soap And Water: Ensure you are using a neutral soap to avoid damaging your leather shoes. One way to ensure your leather shoes are protected is by using suitable detergents when you are cleaning them.

Ensure your soapy solution is made from warm water because you want a fast reaction between your detergent and the paint stains.

Step 3 – Wiping  The Paint Stains: Use a suitable scrubbing tool to get rid of dissolved paint stains from the surface of your leather shoes; It would be helpful for you to use a new toothbrush to work on your shoes. Note that you will be using gentle brushes on the surface of your shoes to get rid of the spray paint.

Step 4 – Use A Soft Towel To Dry Your Shoes: Now that you are removing paint stains from your shoe surface Consider using a soft towel to dry your leather shoes.

Method 2 : Using Organic Oil

In the first section of this article, we examined a method that is suitable only for water-based paints. Olive oil is an excellent detergent for oil-based stains. If you have sufficient quantities of olive oil(cooking oil) in your home, you can use it to get paint off your leather shoes.

One advantage of this method is that you will not do any scrubbing, and with that in mind, here are the supplies you need:

  • Olive oil/cooking oil
  • Clean towel
  • Nail polish remover
  • Cotton swab

Step 1 – Applying Olive Oil: Take a significant quantity of your olive oil and apply it to the paint-stained area of your shoe. Be sure the paint seats on the stains.

Step 2 – Rub The Olive Oil Onto The Paint Stains: Your fingers will be helpful at this point to rub the olive oil over the paint stains. Work thoroughly through the stains until the olive oil interacts fully with the paint stains.

Step 3 – Reaction Time: The Olive oil will react with the paint stains for easy removal, so be sure to allow the oil sufficient time to react with the stains. Note that olive oil can not react with your leather shoes.

Step 4 – Dry The Affected Parts On Your Shoes: Dry the affected area after removing the stains using a clean towel. If you notice traces of tough stains, go over the whole procedure to ensure no strain remains.

 Method 3 : Using Nail Polish Remover

Acetone is considered a cheaper alternative if you don’t have olive oil. Follow these tips to get spray paint off your shoes in no time.

  • Use a cotton swab or a suitable tool to apply the remover on the stains.
  • Blot the remover onto the stains on your boot.
  • Continue pressing the cotton swab on the stains a couple of times.
  • Consider changing your cotton swaps because you don’t want to do a messy job.
  • Gently clean the dissolved stains with a clean and dry cloth.
  • Be sure to apply your preferred leather polish after removing the paint stains to restore the lost dye.

Method 4 : Getting Rid Of Dry Spray Paint Off Leather Shoes

From the previous methods, we discussed how to remove spray paint off your shoes. How do you remove dry paint stains from your leather shoes? Keep reading to discover more.

Supplies  Needed

  • Plastic Material
  • Vinegar
  • Water
  • Stiff brush
  • Sponge

Step 1 – Scraping Off The Paint: Use your plastic material to get rid of excess paint stains from your boot. Avoid using sharp tools to remove the top layers of the paint stains because you don’t want to damage the fabric of your leather shoes.

Step 2 : Applying  Vinegar  To The Stains

You can use vinegar or lemon juice to do the work. Note that both of these solutions are neutral acids and, therefore, cannot damage your leather fabric. Vinegar will break down the paint stains on your leather shoes for easy removal. It would be helpful to consider using alcohol if you don’t have access to either lemon juice or vinegar.

Step 3 – Scrapping The Stained Parts: Use your stiff-bristled bush to scour the affected parts of your shoes. Consider repeating the whole step as described to be sure no paint stains are left behind.

Step 4 – Clean Your Leather Shoes: Use a spongy material to wipe out the paint residue from your shoes. Go over the procedure several times to be sure no stains are left behind.

Getting rid of spray paint from your shoes is not an easy task. Since leather shoes require great care, avoid paint spills on them. It would help to wear suitable shoes when painting to safeguard your leather shoes. Note that it would be best if you learned how to get spray paint off shoes effortlessly. If you apply the methods discussed above correctly, you will get spray paint off your leather shoes much faster.

<!– /wp:paragraph –Follow these tips to get spray paint off your shoes in no time.shoes is an unwelcome one. Regardless, learning how to remove paint from leather shoes is essential. Continue reading for more.

4 Different and Effective Ways to Get Spray Paint off Shoes

You can use many products to remove paint from your shoes; How easy you will to remove spray paint from your shoes depends on the duration the paint has stayed on your shoes. Read on to learn more on this subject.

Method 1 : Using Soap and Water

Before starting anything, note that this method is suitable for freshly spilled paint stains. Nevertheless, you may find it hard to apply this method to dry paint stains. Below is a  step-by-step guide for this method.

Supplies Needed

  • Towel
  • Water
  • Detergent
  • Toothbrush
  • Dry cloth

Step 1 – Wrapping Your Shoes In A Towel: Wrap your towel around your leather shoes so they can absorb the paint stains. The towel will help you to remove excess paint stains on your shoes. Before you apply a soapy solution, stains on stains, so are sure to remove excess paint as much as possible.

Take great care when using your towel on the paint stains because you don’t want to smear the stain all over your shoes. Apply the towel gently to avoid getting messy.

Step 2 – Preparing A Solution Of Soap And Water: Ensure you are using a neutral soap to avoid damaging your leather shoes. One way to ensure your leather shoes are protected is by using suitable detergents when you are cleaning them.

Ensure your soapy solution is made from warm water because you want a fast reaction between your detergent and the paint stains.

Step 3 – Wiping  The Paint Stains: Use a suitable scrubbing tool to get rid of dissolved paint stains from the surface of your leather shoes; It would be helpful for you to use a new toothbrush to work on your shoes. Note that you will be using gentle brushes on the surface of your shoes to get rid of the spray paint.

Step 4 – Use A Soft Towel To Dry Your Shoes: Now that you are removing paint stains from your shoe surface Consider using a soft towel to dry your leather shoes.

Method 2 : Using Organic Oil

In the first section of this article, we examined a method that is suitable only for water-based paints. Olive oil is an excellent detergent for oil-based stains. If you have sufficient quantities of olive oil(cooking oil) in your home, you can use it to get paint off your leather shoes.

One advantage of this method is that you will not do any scrubbing, and with that in mind, here are the supplies you need:

  • Olive oil/cooking oil
  • Clean towel
  • Nail polish remover
  • Cotton swab

Step 1 – Applying Olive Oil: Take a significant quantity of your olive oil and apply it to the paint-stained area of your shoe. Be sure the paint seats on the stains.

Step 2 – Rub The Olive Oil Onto The Paint Stains: Your fingers will be helpful at this point to rub the olive oil over the paint stains. Work thoroughly through the stains until the olive oil interacts fully with the paint stains.

Step 3 – Reaction Time: The Olive oil will react with the paint stains for easy removal, so be sure to allow the oil sufficient time to react with the stains. Note that olive oil can not react with your leather shoes.

Step 4 – Dry The Affected Parts On Your Shoes: Dry the affected area after removing the stains using a clean towel. If you notice traces of tough stains, go over the whole procedure to ensure no strain remains.

 Method 3 : Using Nail Polish Remover

Acetone is considered a cheaper alternative if you don’t have olive oil. Follow these tips to get spray paint off your shoes in no time.

  • Use a cotton swab or a suitable tool to apply the remover on the stains.
  • Blot the remover onto the stains on your boot.
  • Continue pressing the cotton swab on the stains a couple of times.
  • Consider changing your cotton swaps because you don’t want to do a messy job.
  • Gently clean the dissolved stains with a clean and dry cloth.
  • Be sure to apply your preferred leather polish after removing the paint stains to restore the lost dye.

Method 4 : Getting Rid Of Dry Spray Paint Off Leather Shoes

From the previous methods, we discussed how to remove spray paint off your shoes. How do you remove dry paint stains from your leather shoes? Keep reading to discover more.

Supplies  Needed

  • Plastic Material
  • Vinegar
  • Water
  • Stiff brush
  • Sponge

Step 1 – Scraping Off The Paint: Use your plastic material to get rid of excess paint stains from your boot. Avoid using sharp tools to remove the top layers of the paint stains because you don’t want to damage the fabric of your leather shoes.

Step 2 : Applying  Vinegar  To The Stains

You can use vinegar or lemon juice to do the work. Note that both of these solutions are neutral acids and, therefore, cannot damage your leather fabric. Vinegar will break down the paint stains on your leather shoes for easy removal. It would be helpful to consider using alcohol if you don’t have access to either lemon juice or vinegar.

Step 3 – Scrapping The Stained Parts: Use your stiff-bristled bush to scour the affected parts of your shoes. Consider repeating the whole step as described to be sure no paint stains are left behind.

Step 4 – Clean Your Leather Shoes: Use a spongy material to wipe out the paint residue from your shoes. Go over the procedure several times to be sure no stains are left behind.

Getting rid of spray paint from your shoes is not an easy task. Since leather shoes require great care, avoid paint spills on them. It would help to wear suitable shoes when painting to safeguard your leather shoes. Note that it would be best if you learned how to get spray paint off shoes effortlessly. If you apply the methods discussed above correctly, you will get spray paint off your leather shoes much faster.

How To Get Chalk Paint Off?

How To Get Chalk Paint Off

Getting rid of chalk paint is quite a challenge; It is essential to consume all the available knowledge on how to get chalk to paint off any surface effortlessly.

Detailed Steps On How To Get Chalk Paint Off

Doing away with chalk paint will depend on many factors; One such factor is the nature of the surface where the original chalk paint is applied. With that in mind, there are many methods you can use to get chalk paint on any surface quickly. We will examine some of the suitable ways you can use to get the best results.

Supplies Needed To Remove Chalk Paint

  • Sponge
  • Water
  • Sander
  • Suitable Sandpaper
  • Spirit
  • Steel filings
  • Container
  • Rug
  • Suitable Oil
  • Wax

 Removing Chalk Paint From A Wall

One surface where you will likely try to remove chalk paint is on a wall surface. If you follow the laid down steps, you will undoubtedly do a clean job. Below we have possible steps to follow whenever you want to remove chalk paint from a wall.

 Step 1: Cleaning Your Wall

Like you would prepare any surface, be sure to wash your wall thoroughly. Ensure you have enough water because you don’t want to leave any form of dirt on the wall. Let your wall dry properly before jumping onto subsequent steps.

 Step 2: Using a Sandpaper

Be sure to pick the correct sandpaper for use on your wall; medium-grained sandpaper will do the work perfectly. Your aim at this point is to remove as much chalk paint from the wall as possible through sanding, so be sure to do your sanding when the wall is completely dry.

 Step 3:Wiping Your Wall

Use a clean piece of towel to clean the surface of your wall thoroughly. Make sure to get rid of all debris and dust particles from the wall surface.

 Step 4: Applying A Suitable Primer

In this case, an oil-based primer will work best for you. Be sure to spray up to two layers of your primer and then let it dry before going to the next step.

 Step 5: Applying Paint (Optional)

As stated earlier, you can choose to proceed with your project and paint it if necessary. Follow all the steps applicable when applying paint on a wall.

 Getting Rid of Chalk Paint from a Glass

  • The procedure you will apply here is no different from the one described earlier. However, be sure to clean your glass surface with a warm and soapy solution.
  • Immerse a towel in your soapy solution and wipe over the surface of your walls to remove any greasy stains and dust particles.
  • It would help for you to go over the above step more than once for better results.
  • Use a chisel or a flat-edged tool to scoop the chalk ( a  scalpel will be a better choice at this point). Be gentle when digging the paint stains to avoid creating scratches on your glass surface.
  • Finally, wipe your gall using a clean and damp cloth before allowing it to dry.

 Removing Chalk Paint from Wood

The following three methods can be used to remove chalk paint from a wood surface. Please go through them to get detailed information.

 1. Using Stripping Method

  • Use a suitable paint stripping substance to get rid of chalk paint. Add a significant amount into a  bucket.
  • After applying the stripper, allow it to sit on Chalk paint for a moment before moving to the next step. Be sure to go through usage instructions to avoid doing messy work.
  • Take a scooper to dig up the chalk paint from the wood surface. Be careful with your scooping tool because you don’t want to scratch your wood surface.
  • In case of sticky paint stains, apply another coat of your stripper and let it dissolve the chalk paint.

 2. Using the Heat Gun

  • Direct your heat gun to the paintwork while maintaining a safe distance between the surface and the frame to avoid damaging your wood surface.
  • Be sure to work on the entire surface where you want Chalk paint removed
  • As you heat the chalk paint, it would be helpful to keep removing the already melted paint.

3.Using Sanding Method

Sanding is the most suitable method to work on most projects involving paint removal. Follow these tips  to get a glimpse of how to remove chalk paint through sanding:

  • As always, be sure to clean your wood surface using soap and warm water and then allow it to dry.
  • Use coarse-grained sandpaper to get rid of thick layers of chalk paint. Do your final sanding using fine-grained sandpaper for a smooth finish.
  • Use a damp cloth  to clean your wood  surface.

 How does the Paint Stripper work on Chalk Paint?

The following are the point to keep in mind whenever you are using your stripper to get rid of chalk paint:

  • Use a significant amount of your stripper on Chalk paint
  • Allow your stripper to dissolve the chalk paint properly before proceeding
  • Use a knife or a flat-edged tool to remove the paint stains from your surface.

 Getting Rid of Chalk paint Employing Home Based Products

  • Vinegar comes in handy in this case. Heat your vinegar over a gentle heat and apply it to chalk paint
  • It would be helpful to use sodium carbonate(baking soda) in place of vinegar
  • Wash your surface using soap and water.
  • Another invaluable product you can use is acetone.

 Sanding the surface

Use fine-grained sandpaper on the surface of your paintwork to remove chalk paint. Follow the following tips when sanding off chalk paint from your furniture.

  • Use soapy water to clean your given surface and allow it enough time to dry.
  • Consider using a mix of both large and small-grained sandpaper on your paintwork for better results.
  • Always be sure to clean the sanded surface using a clean and damp towel.

While applying chalk paint on a given surface brings about many gratifications, its removal is not easy. Depending on the nature of your surface, you can easily remove chalk paint with much ease, provided you follow the correct procedure to the letter.

How To Clean Enamel Paints?

How To Clean Enamel Paints

Enamels paints are basically known as coating paints, they normally provide a glossy finish and are generally considered easy to clean. In this post, we’ll provide some easy tips on how to clean enamel paints.

First of all, enamel paints are paints that add some shine to the surface of an object and dries to a hard finish. They are normally oil-based but can also be water-based and are used as a protective coat to prevent scuffs and dirt on a surface while offering paint durability. Another aspect to consider about enamels is the finished look you would like to add to the surface of the object as they are many finishes to choose from when it comes to the enamel which can range from flat finish to high gloss sheen. Enamel paints are often used on metal surfaces.

Things you’ll need:

  • Water and dish soap
  • Mineral Spirits
  • Medium size bucket
  • Non-abrasive sponge
  • Rag or lint free cloth

As mentioned before, enamel paints are easy to clean although the cleaning process may differ based on the type of enamel paint used so below, we will list tips for each type:

Water-Based Enamel Paints

Water-based enamel paints are known for their fast-drying tendencies and easy to clean process but the higher the gloss, the higher the chances of the dirt and imperfections reflecting on the surface. Enamel paints are also mostly used in outdoor projects and offer strong protection against environmental elements or conditions which also makes them susceptible to dirt. To clean water-based enamel paint a mild solution is recommended instead of abrasive materials:

“Related Article: How to thin enamel paint.”

Warm water and dish soap: to clean water-based enamel paint, mix some warm water and dish soap together. Fill a medium-size bucket with warm water and add some dish soap to make a cleaning solution and mix well. You can also consider mixing the solution in a spray bottle instead of a bucket based on preferences or the amount of solution you’ll need to use, for an easier application.

Add the solution to the surface you’re planning to clean and wait 5 minutes to allow the solution to start dissolving the dirt. Next, dampen a sponge with the solution and scrub the entire surface in a circular motion, adding more solution if needed and rinsing the sponge if necessary, also. Once finish scrubbing, rinse the area thoroughly with water. Use the clean sponge to scrub the area once again to make sure no sticky residue is left on the surface and rinse once again.

Next is to allow the area to air dry completely although it’s possible to use a clean towel to remove excess water so that the surface may dry even faster. Once the area is dry, check to see if there’s any dirt left, if so, repeat the cleaning process once again. This process can be used on different surfaces where enamel paint is used, such as metal, plastic, walls, or glass for example, as these types of surfaces may require occasional cleaning.

Oil Based Enamel Paints

Oil-based enamel paints are considered better than water-based paints in that it provides a smoother finish when applied to a surface but may take longer to dry or cure, a couple of days actually depending on the weather conditions. Oil-based enamel paints are basically meant for outdoors surfaces or projects as the natural lighting can prevent discoloration or yellowing of the object over time, which mostly happens on indoor objects. To clean oil-based enamel paints a mild solution is also recommended:

Water and dishwashing soap: mix a solution of water and dishwasher to create a non-abrasive cleaning solution to make sure it doesn’t damage the enamel finish on your surface. Apply the solution to the surface using a sponge or a spray bottle for an easier application and allow 5 minutes for the solution to start dissolving any dirt and grime. Use a sponge to scrub over the entire area then rinse thoroughly with water. Rinse the sponge also to make sure it’s clean from any dirt and use to scrub the surface once again to remove any additional sticky residue that may have stayed on the wall then rinse with water. Allow to dry or use a towel to dry up excess water and speed up the drying process.

Mineral Spirits: Mineral spirits are known as paint thinners. Since oil-based enamel paints can be considered a bit more difficult to clean because of their oil-based properties, mineral spirits solution can be used in this case, if a stronger cleaning solution is needed. Mineral Spirits are most of the time used to dilute paint but because of their solvent properties, it is also recommended to use them on oil-based enamel paints because of their proven effectiveness to remove dirt and grime.

To use mineral spirits, pour out a bit of the solvent onto a rag or cloth until it’s a bit dampen then proceed to clean across the surface with gentle strokes until the item is completely covered. You will then notice that the cloth will begin to pick up dirt from the surface you’re cleaning while you’re swiping from side to side, in this case, turn the cloth to a clean side to continue cleaning the surface once one side of the cloth looks dirty.

Remember that Mineral Spirit is a solvent that can cause enamel peeling, so do not consider leaving it on to dry. So, once you’re finished cleaning the area with the solvent, the next is to wipe away all solvent residue by dampening a rag or cloth with some water and dish soap solution. Clean all areas previously cleaned with mineral spirits using gentle strokes cleaning from side to side or with an up and down motion then use another rag or cloth dampened with water to finish cleaning the area from soap residue. In this case, you can also choose to rinse the area with water and then use a lint-free cloth to dry to excess water and allow it to dry.

Cleaning enamel paint will become easy once you understand the types of enamels available and the different ways they can be cleaned. We hope you found these tips helpful.