Here we’ll discuss the method of how to paint over rubber boots. You don’t need professionals to paint. You need a proper method that’ll help you paint on the rubber boots and give them a radiant look. Normally, you paint on your home’s walls and gates, but sometimes you need something different for your paint. Suppose you want to sit on the rubber chair or the rubber tier. How to spray rubber without cracking? It’s a complex task because you see some cracks in your boots. Also, the most common difficulty is that the paint does not stick to the rubber properly. 2 useful methods for painting over rubber boots are described below.
Understanding the Benefits of Painting Rubber Boots
Painting rubber boots can transform your dull footwear into a vibrant expression of personal style. This artful approach not only enhances the aesthetic appeal but also offers practical benefits such as increased durability and protection against wear and tear. Using specialized paint designed for flexible surfaces ensures that your creative designs stand the test of time, preventing fading or cracking that might diminish their beauty.
Moreover, customizing your rubber boots is an eco-friendly way to extend their lifespan, allowing you to breathe new life into an old pair instead of discarding them. Plus, it invites a sense of creativity and ownership, tapping into your artistic instincts lets you showcase a piece of yourself with every step you take. As you explore how to paint over rubber boots, consider experimenting with stencils or sponges for unique textures this adds layers to both appearance and charm that off-the-shelf options simply can’t match.
Choosing the Right Paint for Rubber
When it comes to painting rubber boots, the key lies in selecting the right type of paint that adheres well and withstands wear and tear. Look for flexible acrylic paints or specialized rubber coatings designed to move with the material. These products provide vibrant color and ensure durability against the elements, making your boots look great without compromising their functionality.
Before you dive into painting, thorough preparation is essential. Start by cleaning your rubber boots with soap and water to remove any dirt or grease, this helps the paint bond better. Once dry, consider applying a primer made specifically for rubber surfaces and this extra layer can make a significant difference in how well your paint adheres over time. With careful choices in materials and techniques, you can transform dull rubber footwear into personalized art pieces without sacrificing their practicality.
Method 1 To Paint On The Rubber Boots
Supplies Needed
- Rags
- Soap of dishwashing
- Suitable spray paint bottle
- Painter’s tape
- Paintbrushes
- Acrylic paint of the same color
- Polyurethane
You need all these items for proper painting. This method helps you how to paint on the rubber without cracking. Ok, let’s start and show your inner art.
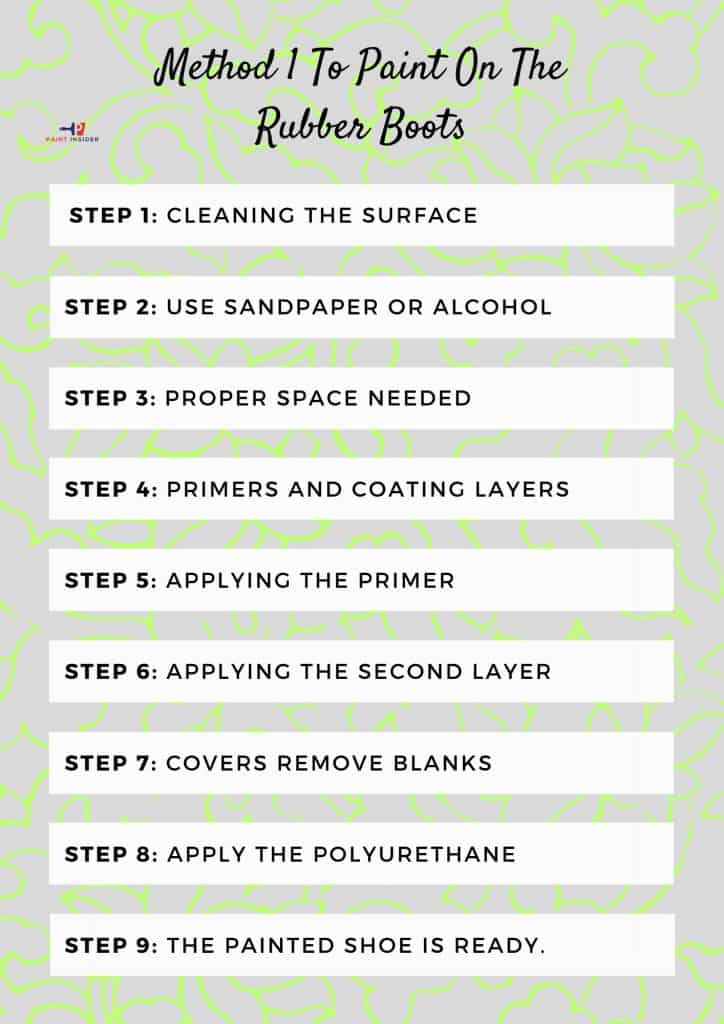
Step 1: Cleaning The Surface
Firstly clean the boot’s surface; you can use anything like wet rugs or soap for this. Try to wash the surface with rinse water so that your dirt or any dust particles will not remain on it. Leave it for a few minutes until it dries completely.
Step 2: Use Sandpaper Or Alcohol
Now, pick up the sandpaper and rotate it in a circular motion to clean the boots. If you feel that there is something greasy or oily, use alcohol to remove it.
We should follow all these steps because a clean surface is necessary for spray paints to make them more adherent.
Step 3: Proper Space Needed
You’re using spray paint. That’s why you need a properly ventilated place. If you feel that you need a place to avoid painting, you can use painter’s tape there.
Step 4: Primers And Coating Layers
Spray paints mostly contain primers, so try to avoid the use of primers in spray paints. Whichever spray paint you’re using, first of all, check whether it is suitable for the rubber surface or not. The spray paints are designed in a way that is suitable for both indoor and outdoor environments. Different surfaces need different coating layers. It depends on your surface whether you’re using it for shoes or chairs or anything. The number of coats depends on them. Many people do not read the instructions carefully and use the primer before applying the paint. If you apply the primer, first completely dry the primer and then apply the paint to the surface.
Spray paint is always the best choice for rubber, but you can also use acrylic or enamel paint on boots if you don’t have spray paint or any other case.
Step 5: Applying The Primer
Now it’s time to apply the paint. So keep following some instructions here. If you feel necessary, wear a mask properly. Stay away from the spray about 30 cm to 45 cm from the surface of the boots. Spray the paint in the horizontal direction and speedily.
Step 6: Applying The Second Layer
Apply the second layer of paint until you feel your first layer has dried completely. When you paint the first layer and are ready to paint the second layer, wait for about 15 to 20 minutes in this gap. When you fully paint the surface, leave it for 24 hours. After 24 hours, it will dry completely.
Step 7: Covers Remove Blanks
If you have applied the tape, now it’s time to remove the tape. Remove them gently in a way that your paint will not be damaged. If you feel that there are some blanks where your paint has not been applied. Use acrylic paint on boots to fill these blanks.
Step 8: Apply The Polyurethane
For plastic coating, spray apply the polyurethane.
Step 9: The Painted Shoe Is Ready.
Congratulations, you’ve safely reached the last step. You only need to wait for the last layer to dry. The drying time is mentioned in the product packaging. You can see beautiful and smooth paint on your shoes without cracking. For this, you should know how to prevent acrylic paint from cracking on shoes.
Method 2 To Paint On The Rubber Boots
Let’s discuss another method to get your design on how to paint on the rubber boots. And give them some luster again. Not only luster, you can make your favorite designs with your favorite color on the boots. So, be ready. I’m sharing with you another simple method that’ll help you a lot.
Supplies Needed
- Spray paints
- The boots you want to paint
- Stencils for designs
- Sheet of plastic
- Tape
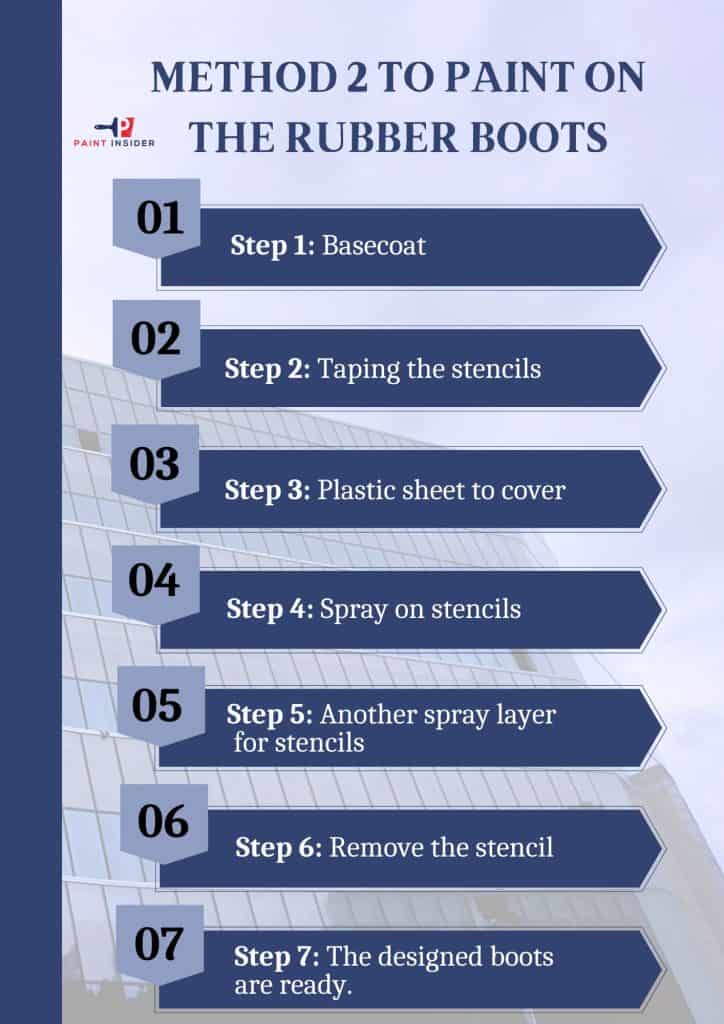
Step 1: Basecoat
Firstly apply the base coat; apply the next layer until the first layer dries. Make sure that no wet paint remains. When the paint is fully dry, move towards another step.
Step 2: Taping the stencils
Now, tape the stencils gently where you want to design them on the boots.
Step 3: Plastic sheet to cover
Now cover all the boots with a plastic sheet, except the stencils where you want to paint.
Step 4: Spray on stencils
Choose your favorite spray, start painting where you want to, and leave the area where you want to use another spray.
Step 5: Another spray layer for stencils
Now repeat the same process for the other color. Be sure to cover the area you don’t want to paint.
Step 6: Remove the stencil
Now it’s time to remove the stencils. Peel off the stencil when it becomes fully dry.
Step 7: The designed boots are ready.
Your boot is ready. You can make amazing designs whatever you want if you feel your paint is not according to your wish. You can also repeat the same process from the base coating. And make the new designs again.
After reading all the instructions, you can observe the painting on the boots is no longer difficult and complex. You can do it very easily. Just keep all the instructions in front and use the sprays as per instructions for efficient results. You can also paint rubber soles on sneakers. Show your creativity and make different designs on the boots and sneakers.
Caring for Painted Rubber Boots
Caring for painted rubber boots is very important. It’s about preserving the vibrancy and ensuring their longevity. After customizing your boots with paint, you’ll want to avoid scrubbing them vigorously or exposing them to harsh chemicals. Instead, opt for a soft sponge or cloth dampened with mild soapy water for cleaning. This gentle approach prevents wear on the paint and the rubber itself, allowing your design to shine through without fading.
For maintenance, consider applying a protective sealant designed specifically for painted surfaces. Not only does this add an extra layer of durability against rain and dirt, but it also enhances the color depth of your artwork. During storage, keep your boots out of direct sunlight to prevent colors from becoming dull over time Sunlight can be as damaging as mud when it comes to preserving beauty! By adopting these simple habits, you can ensure that every splash of color remains vivid while cherishing both function and flair in your favorite footwear.
Conclusion: Enjoy Your Custom-Painted Rubber Boots!
Embracing the art of custom-painted rubber boots transforms your footwear and outlook on rainy days. Imagine splashing through puddles, each step a reflection of your unique personality. Who knew waterproof gear could become such a canvas for self-expression?
Investing time in painting your rubber boots allows you to showcase your creativity while enjoying the benefits of practical fashion. It’s about cultivating joy in simplicity. Walking confidently in boots, whether it’s gardening or heading out for errands. So, let every drop of rain inspire you to your custom-painted rubber boots are more than just footwear; they are an invitation to embrace life’s messier moments with style!