
Leather seats are considered to last longer and are easy to clean but they can also be customized in this article, we will share some steps on how to paint leather seats and you can customize your leather seats.
Introduction: Importance of Painting Leather Seats
Many choose to customize their leather seats as they may look dull over time caused by normal wear and tear which might cause the color to fade out or look unattractive. By painting your leather seats, you’ll be able to restore some shine to your seats, change the look by changing the color, and fix the discoloration all at once. Leather seats are considered to be durable and easy to clean plus, the products needed to renovate your seats are considered to be inexpensive, all you’ll need to do is follow some simple techniques to achieve a professional look while saving money.
Choosing the Right Paint for Leather
Choosing the right paint is key for painting leather seats to get a polished finish. Use paints made specifically for leather, like acrylic-based or water-based options. These paints are flexible, allowing the material to breathe and preventing cracking and peeling which often happens with regular paints. A good leather preparer and finisher can improve adhesion and durability, making your work both attractive and long-lasting.
Before starting the project, try a swatch in a hidden area of your seat. This lets you check the color and texture without a full makeover. Preparation is important; clean the surface with alcohol or a leather cleaner to remove oils and dirt that can affect adhesion. When painting, use thin layers instead of thick coats. This helps prevent drips and gives better control over color. With patience and care, you can turn worn leather seats into attractive features of your vehicle’s interior.
How to paint leather seats in 4 steps?
Things you’ll need
- Safety goggles, masks, and gloves
- Leather filler
- Primer and paint
- Newspaper or drop cloth
- 600 grit sandpaper
- Leather cleaner
- Microfiber cloth/tack cloth
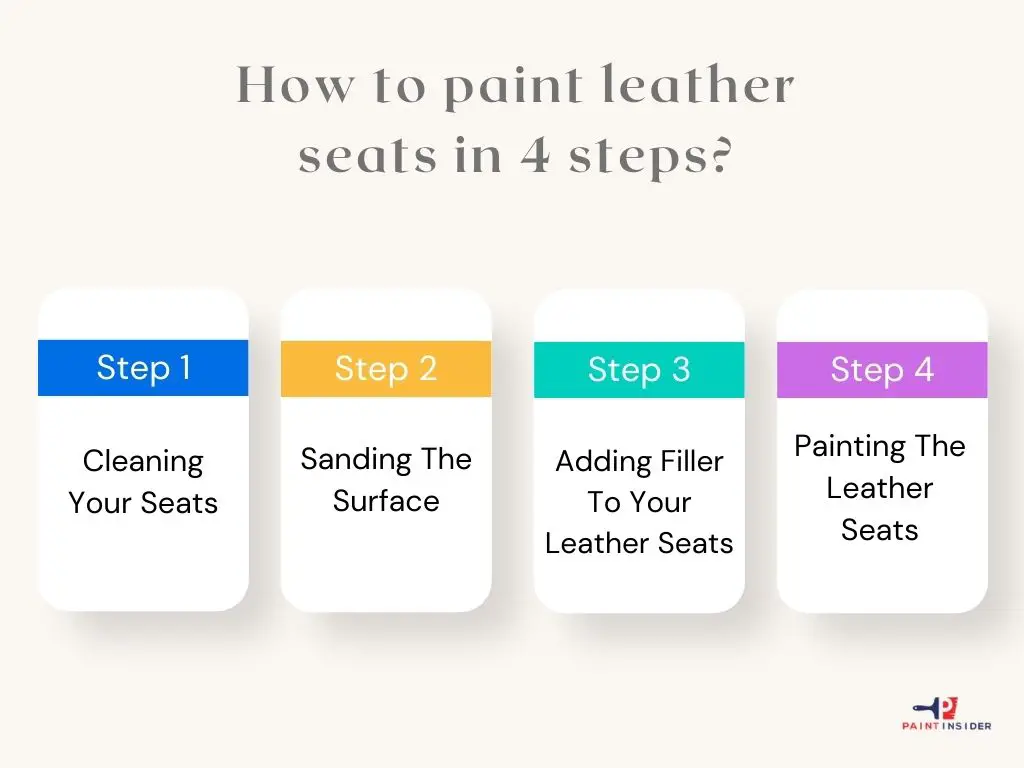
Step 1: Cleaning Your Seats
This is a very important step to do before painting your leather seats as the surface of the seats needs to be cleaned and degassed so the new paint can adhere better. In this case, a leather cleaner can be used to clean the seats but there are also homemade products that can be used to do so and are considered to be cheaper. Clean the seats to remove dirt and grime and to prep the surface for the new paint. Use a brush if necessary, to scrub the area to remove the dirt, then use paper towels or a microfiber cloth to remove dirt and wipe off the entire surface of the seats
Once the seats are clean, it is recommended to use a leather solvent cleaner, which is a chemical solution to remove old finishes from the seats and create a bond for new finishes to be applied, it will also get rid of any stains that may be available on your seats. As with any chemical product, make sure you follow product safety instructions such as using products in well-ventilated areas. Apply the product to a microfiber cloth then wipe the area thoroughly.
Step 2: Sanding The Surface
Sanding your seats will also aid in prepping the surface for the new paint. Sanding is important as it will sand down any scuffs and scratches from the surface of your seats, especially in brittle areas, it will even it out to ensure a smooth finish, which is the ultimate goal. To sand the surface of your leather seats, use a leather sanding pad and start by sanding the area in a
Once you finish sanding the area, use a tack cloth to clean off all dust and any other leather particles. Tack cloths are recommended since they tend to remove all dust and clean the surface. A microfiber cloth can be used as well to wipe away the sanding dust. Use some alcohol cleaner on either cloth to wipe down the area.
Step 3: Adding Filler To Your Leather Seats
Sometimes the sanding won’t be enough to remove the scratches on your leather seats, in this case, a leather filler may be required. If your leather seat has small or big cracks or scratches that are visible, then a leather filler compound can be used in this case to fill out those cracks before you paint it. The filler will help your leather seat look brand new. After you’ve finished sanding and cleaning your seat, check
the surface to find out if a leather filler may be required. Different fillers can be chosen based on the size of the cracks if any. Leather filters are specifically designed for scratches and holes, they provide great strength and flexibility and are easy to apply.
There are many ways to apply a filler, the easiest method is to apply thin coats of the filler to the damaged area using a palette knife, apply until the surface is leveled using the palette knife to really fill in the paste into the cracks, and let dry in a ventilated room, this may take several hours unless a hairdryer is used to speed up the process. Once the filler is dry, sand the area once again to smoothen out the surface then use the microfiber cloth to clean the area from the sanding
Step 4: Painting The Leather Seats
Spray paints are recommended for easy application. Before painting, you need to use a primer. Primers act as basecoats for the paint. They help the new paint stick better to the leather seat and make the color last longer. Without primer, the paint may peel off. Choose a primer made for leather. Before painting, cover the area to prevent paint from splattering on other surfaces using newspapers or drop cloths. Shake the primer well for about 20 seconds and apply 1-2 coats, allowing 10-20 minutes between coats for drying. Let it dry fully for 1-2 hours.
Allowing Proper Drying Time
Allowing enough drying time is an important step when painting leather seats, but it’s often neglected. Many people rush, wanting to see their refreshed interiors quickly, but being patient is worthwhile. Leather needs proper airflow and time to bond with new paint. If it doesn’t dry enough, colors can smudge or textures can become uneven, ruining the hard work put into restoring the seats.
Moreover, varying environmental factors can influence drying times significantly. If you’re working in a humid or cool environment, your optimized drying period might extend beyond what you’d expect making it essential to consult product-specific recommendations for ideal conditions. This meticulous attention not only ensures durability but also enhances the overall finish of your project. By embracing patience and understanding how different elements affect drying time, you give yourself the best shot at a professional-looking result a striking upgrade that will turn heads every ride!
Common Mistakes to Avoid While Painting
One common mistake many DIY enthusiasts make when painting is skipping the preparation phase. Proper surface cleaning, sanding, and priming are essential to ensure that the paint adheres well. For instance, if you’re wondering how to paint leather seats, it’s crucial to use a specific leather preparer that removes oils and grime without damaging the material. Neglecting this step may lead to peeling or uneven coloration down the line, ruining what could have been a stunning transformation.
Another pitfall often overlooked is choosing the wrong type of paint for your project. When it comes to surfaces like leather, using standard acrylic or latex paints can result in cracking and wear quickly. Instead, opt for specialized leather paint designed for flexibility and durability; these products breathe new life into your seats while ensuring long-lasting results. Lastly, don’t underestimate the importance of applying thin layers rather than globs of paint this technique not only avoids drips but also allows for better control over color saturation and finish quality.
Conclusion: Enjoy Your Revitalized Leather Interior
Revitalizing your leather interior not only improves the look of your vehicle but also enhances your driving experience. By learning to paint leather seats, you can personalize your space and give it a fresh start. Bright colors and a professional finish add luxury and style, making every trip feel special.
It’s important to remember that maintaining those newly painted surfaces requires commitment. Regular cleaning with gentle products designed for leather ensures longevity, while periodic conditioning helps retain the softness and luster of the material. By learning this skill, you’ve invested time not just in beautifying your ride but also in understanding its maintenance needs creating an opportunity for deeper engagement with your vehicle as you cherish both its appearance and durability. Enjoy every moment behind the wheel as you soak in the ambiance of your revitalized interior; it’s more than just a car it’s an expression of you!
Hello.
Good cheer to all on this beautiful day!!!!!
Good luck 🙂