If you have been racking your brain on how to remove spray paint from bricks, then you are in the right place. Read through the article to learn more.
Introduction: Understanding Spray Paint on Bricks
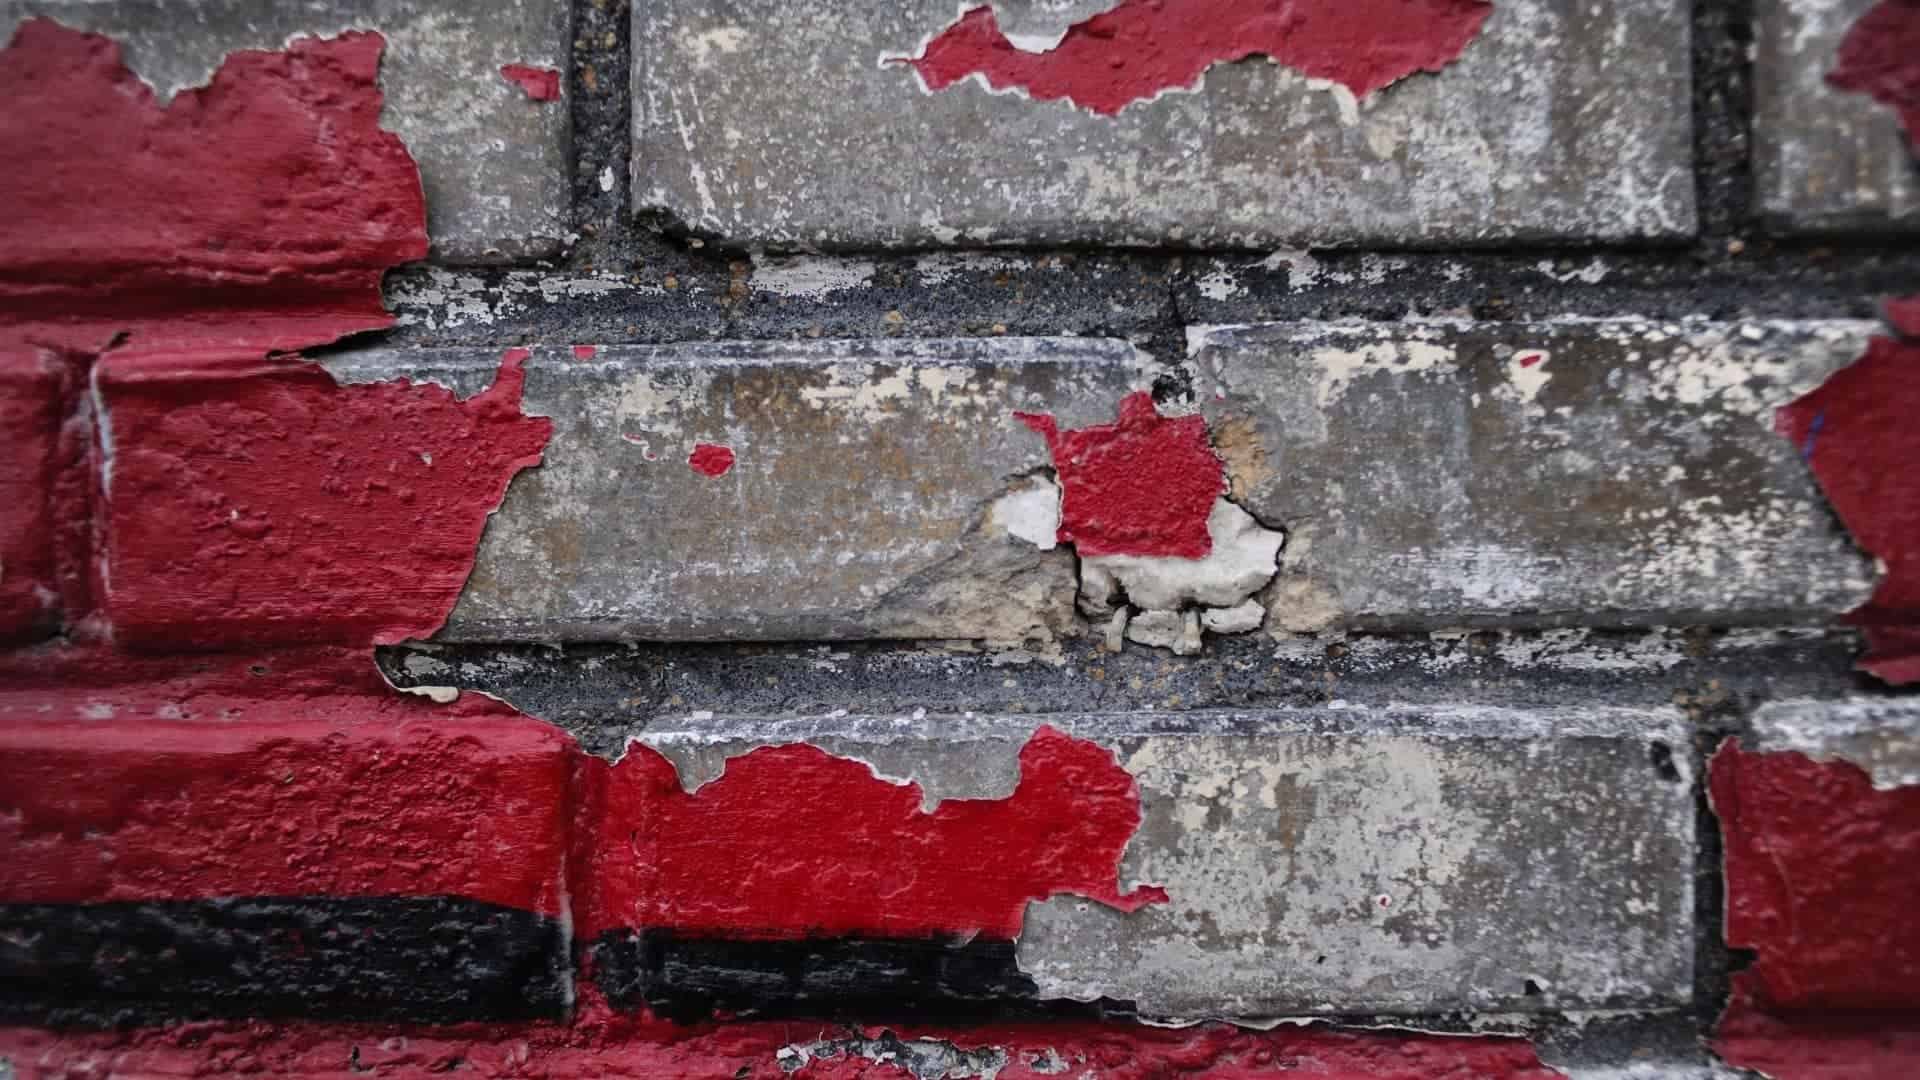
Spray paint on bricks can transform a dull surface into a vibrant canvas, but it’s not without its challenges. Bricks, with their porous texture and rugged surfaces, absorb paint differently than smoother materials like wood or drywall. This means that while spray painting can offer a quick makeover for your brick walls or outdoor spaces, it may also lead to unsightly overspray or unwanted colors clinging stubbornly to the surface. Understanding how spray paint interacts with brick is crucial it’s not just about aesthetics; it’s about preparation and technique.
When it comes time to remove that spray paint from bricks, knowing the right method is essential. The porous nature of brick can trap paint deep within its crevices, making traditional cleaning solutions less effective. Homeowners often find themselves facing the dilemma of either adopting heavy-duty chemicals or considering more eco-friendly options like vinegar and baking soda solutions. Each method has its pros and cons depending on the extent of adhesion and the desired outcome. Ultimately, embracing this challenge requires both creativity in application techniques and strategic decision-making when it’s time for cleanup.
Gather the Necessary Tools and Materials
Before embarking on the task of removing spray paint from bricks, it’s essential to assemble the right tools and materials.
Here are the necessary tools and materials you’ll need to remove spray paint from bricks effectively:
Tools:
- Wire Brush – Helps scrub away paint without damaging the brick surface.
- Paint Scraper or Putty Knife – To manually scrape off layers of paint.
- Stiff-Bristle Brush – For scrubbing tough spots and intricate brick areas.
- Sponge – For wiping off residue after scrubbing.
- Drop Cloth or Plastic Sheets – To protect surrounding areas from debris or chemical spills.
- Bucket – For mixing cleaning solutions and rinsing tools.
- Safety Gear – Gloves, safety goggles, and a mask to protect from chemicals and dust.
Materials:
- Paint Stripper (specifically for masonry) – A chemical solution designed to break down spray paint on porous surfaces like brick.
- Masonry Cleaner – For cleaning brick surfaces after paint removal to restore their original look.
- Vinegar or Baking Soda Solution – As a non-toxic alternative for light paint stains.
- Acetone or Rubbing Alcohol – For small spots or touch-ups.
- Pressure Washer Detergent – For use with a power washer to enhance cleaning effectiveness.
- Garden Hose – For rinsing the surface after cleaning.
- Protective Sealant – Apply after cleaning to prevent future paint from adhering to the brick.
With the right tools and materials, you can effectively remove spray paint from bricks while maintaining the integrity of the brick surface.
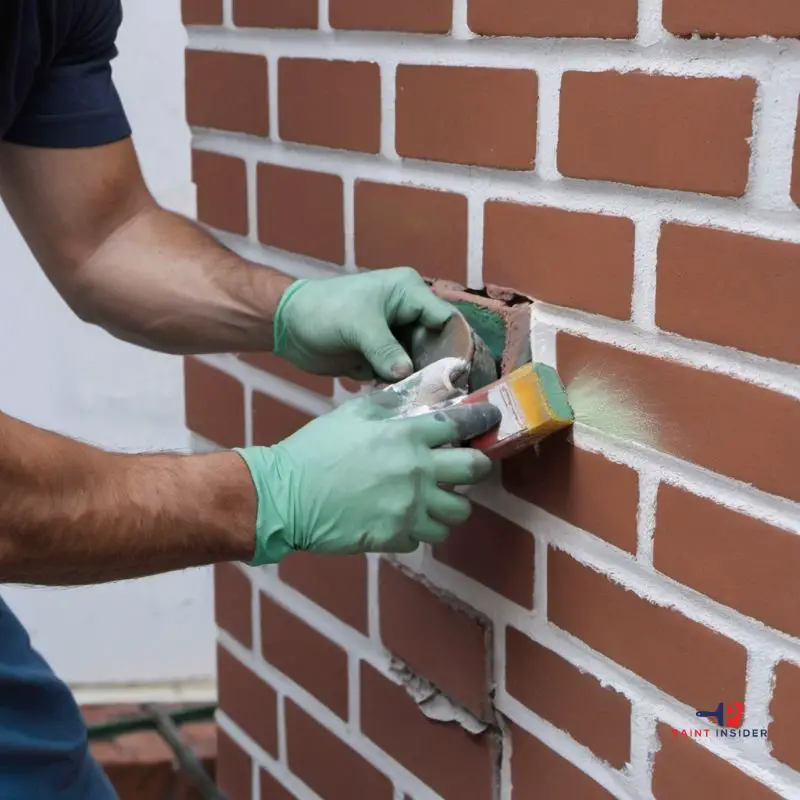
Detailed Steps On How To Remove Spray Paint From Bricks
Removing spray paint from bricks can be a stressful process if you are completely green on the steps involved. The procedure gets cumbersome if your brick surface is well-textured.
Note that spray paint has excellent sticking properties, so removing it may consume more energy and time than you might expect. Are you still reading? This article examines detailed steps on (how to remove spray paint from brick walls.
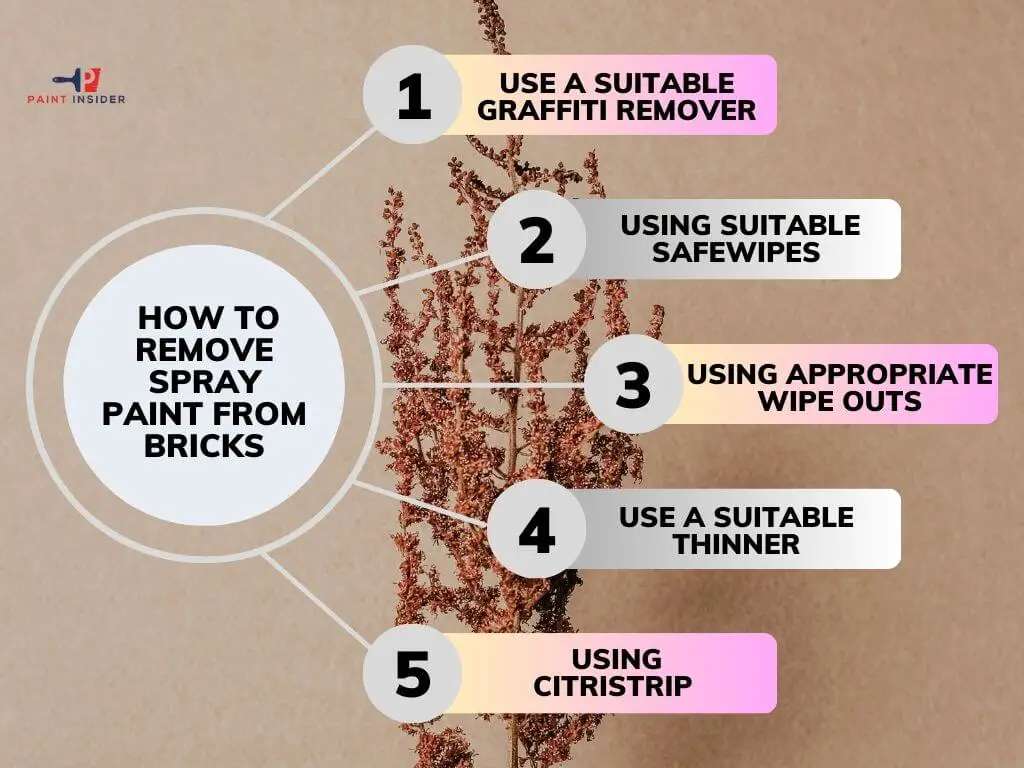
Step 1: Use a suitable Graffiti Remover
- There are many graffiti removal solutions you can choose from. Consider shopping online for the most suitable and recommended Remover. Be sure that the Remover you decide to use will not damage your bricks in any way. Read through the instructions on the label to be sure how to apply it.
- Even when you have read the usage instructions, always ensure you carry out a patch test to find out the reactivity level of your spray paint removal.
- Spray your removal product on the spayed paint and allow it to settle for a moment. Note that you must ensure that your removal product will not cause any damage to the surface of your bricks.
- The Remover may contain active chemical ingredients that might erode your bricks, so be sure the product does not overstay on the bricks. It would be best if you considered leaving it on the surface for a maximum of thirty seconds.
- After the recommended time elapses, use a clean rag to clean the removal from the brick surface. It would help to use a tiny amount of elbow grease to wipe the paint stains.
- Prepare a soapy solution using warm water. Dip your Soft-bristled brush into the solution and brush off paint residue on the surface of your brick wall. Consider using a high-pressure water source to wash away stubborn debris.
Step 2: Using Suitable SafeWipes
- The good news is that you can use the recommended Safewipes on your brick wall to remove spray paint. Be sure to follow usage instructions for a clean job.
- Note that using wipes is an excellent way to get rid of paint stains. After applying the wipes, Ensure you clean the affected parts of your brick surface; You should notice the paint stains come off in the process.
- It would be best to carry out a patch test to observe whether the product you are using will damage your bricks.
- At this point, your pressure washer will come in handy; direct the nozzle of your high-pressure water to the surface of your brick wall to get rid of paint residues.
Step 3: Using Appropriate Wipe Outs
- If you want to remove spray over a wide area, it will help to use suitable wipeouts. Note that half a container of your preferred Wipeout should be able to do the job.
- Use a tag to smear the wipe out onto the sprayed parts of your brick wall. Be sure to apply your Wipeout to the paint stains and allow them to blend in with your Wipeout. Be sure to carry out a small patch test to see if the product will eat through the bricks.
- Take a clean rag and clean up the excess Wipeout. You should notice traces of paint stains begin to come off at this point.
- Consider using soap and water to clean the brick surface. If necessary, use a high-pressure water source to carry out this exercise. If you are not satisfied with the result, it would be helpful to repeat the procedure to achieve desired results.
Step 4: Use a Suitable thinner
- One of the best products to use in stripping out spray paint is Goof Off. It is excellent in terms of paint removal due to its aerosol properties. Ensure you shield yourself from the harmful effects of this product.
- As always, carry out a patch test on a small part of your brick wall to be sure that it won’t damage your bricks if applied. Although it has excellent paint removal properties, it can also corrode and damage your bricks.
- Let the product sit on the surface of your bricks for a period not exceeding thirty seconds. Goof Off is known to be a potent reducing agent, and as such, it can fade out the original color of your bricks.
- Consider having you ready to wipe out the product from the surface as soon as possible to avoid any damage to your bricks. At this point, you should notice paint stains come off.
Step 5: Using Citristrip to remove spray paint
- Although it works as the other products discussed earlier, it is not very effective. Nevertheless, it is less volatile, and it can not damage your bricks. If you are looking for a gentle product, consider using CitristripGel to work on the spray paint.
- Consider using a piece of towel when applying this gel. Squeeze a sizable amount of the cloth and lay it on the affected parts of your brick wall. Be sure to use a thick coat before letting it react with the paint stains.
- Take a clean towel and wipe out any excess gel on the surface of your bricks. Use your brush to remove residue from the surface. It would be helpful to use high-pressure water to wash the surface clean.
Getting rid of spray paint is not an easy task. It would be helpful to learn a few tips on removing spray paint from bricks without causing any damage. That said, be sure to select the right product for your project.
If you follow the steps highlighted above, the whole exercise of removing spray paint from bricks should be a walk in the park. Since you are dealing with chemical products, be sure to guard yourself properly.
Prevent Future Spray Paint Accidents
To prevent future spray paint accidents, it’s essential to create a dedicated workspace that minimizes risk. Start by setting up a well-ventilated area away from high-traffic zones, preferably outdoors or in a garage with doors open. Consider using drop cloths and protective coverings not only for the ground but also for nearby surfaces that could inadvertently catch stray paint. This simple act can save you hours of scrubbing later and keep your creative process flowing without interruptions.
Additionally, investing in good-quality spray nozzles can make all the difference. These allow for better control, reducing the likelihood of overspray that inevitably leads to messes on unintended surfaces like bricks. When it comes time to clean up after your project, knowing how to remove spray paint from bricks effectively can be incredibly useful; use a combination of scraping methods and chemical removers designed specifically for masonry surfaces. Always test any solution on a small section first to ensure it won’t damage the brick’s integrity or appearance preparation is key! By taking these proactive steps, you’ll cultivate an environment where creativity doesn’t come at the cost of chaos.
Conclusion: Restoring Your Brick Surfaces Successfully
Restoring your brick surfaces doesn’t have to feel overwhelming, it can be a rewarding experience that breathes new life into your outdoor spaces. After effectively navigating the challenges of removing unwanted spray paint, you may find that a deeper clean or sealing process enhances not only the appearance but also the longevity of your brickwork. Consider using eco-friendly cleaning solutions as these often provide powerful results without damaging the environment or your bricks.
As you finish your restoration project, don’t forget about regular maintenance. Regularly inspecting for signs of wear and tear can prevent more substantial issues down the line and help preserve the vibrant look you’ve achieved. Additionally, expanding your knowledge on preventive measures like weather-resistant sealants can give you an upper hand in protecting those beautifully restored surfaces from future mishaps. Celebrate your efforts and enjoy those revitalized bricks; they’re not just material but a testament to care and craftsmanship!