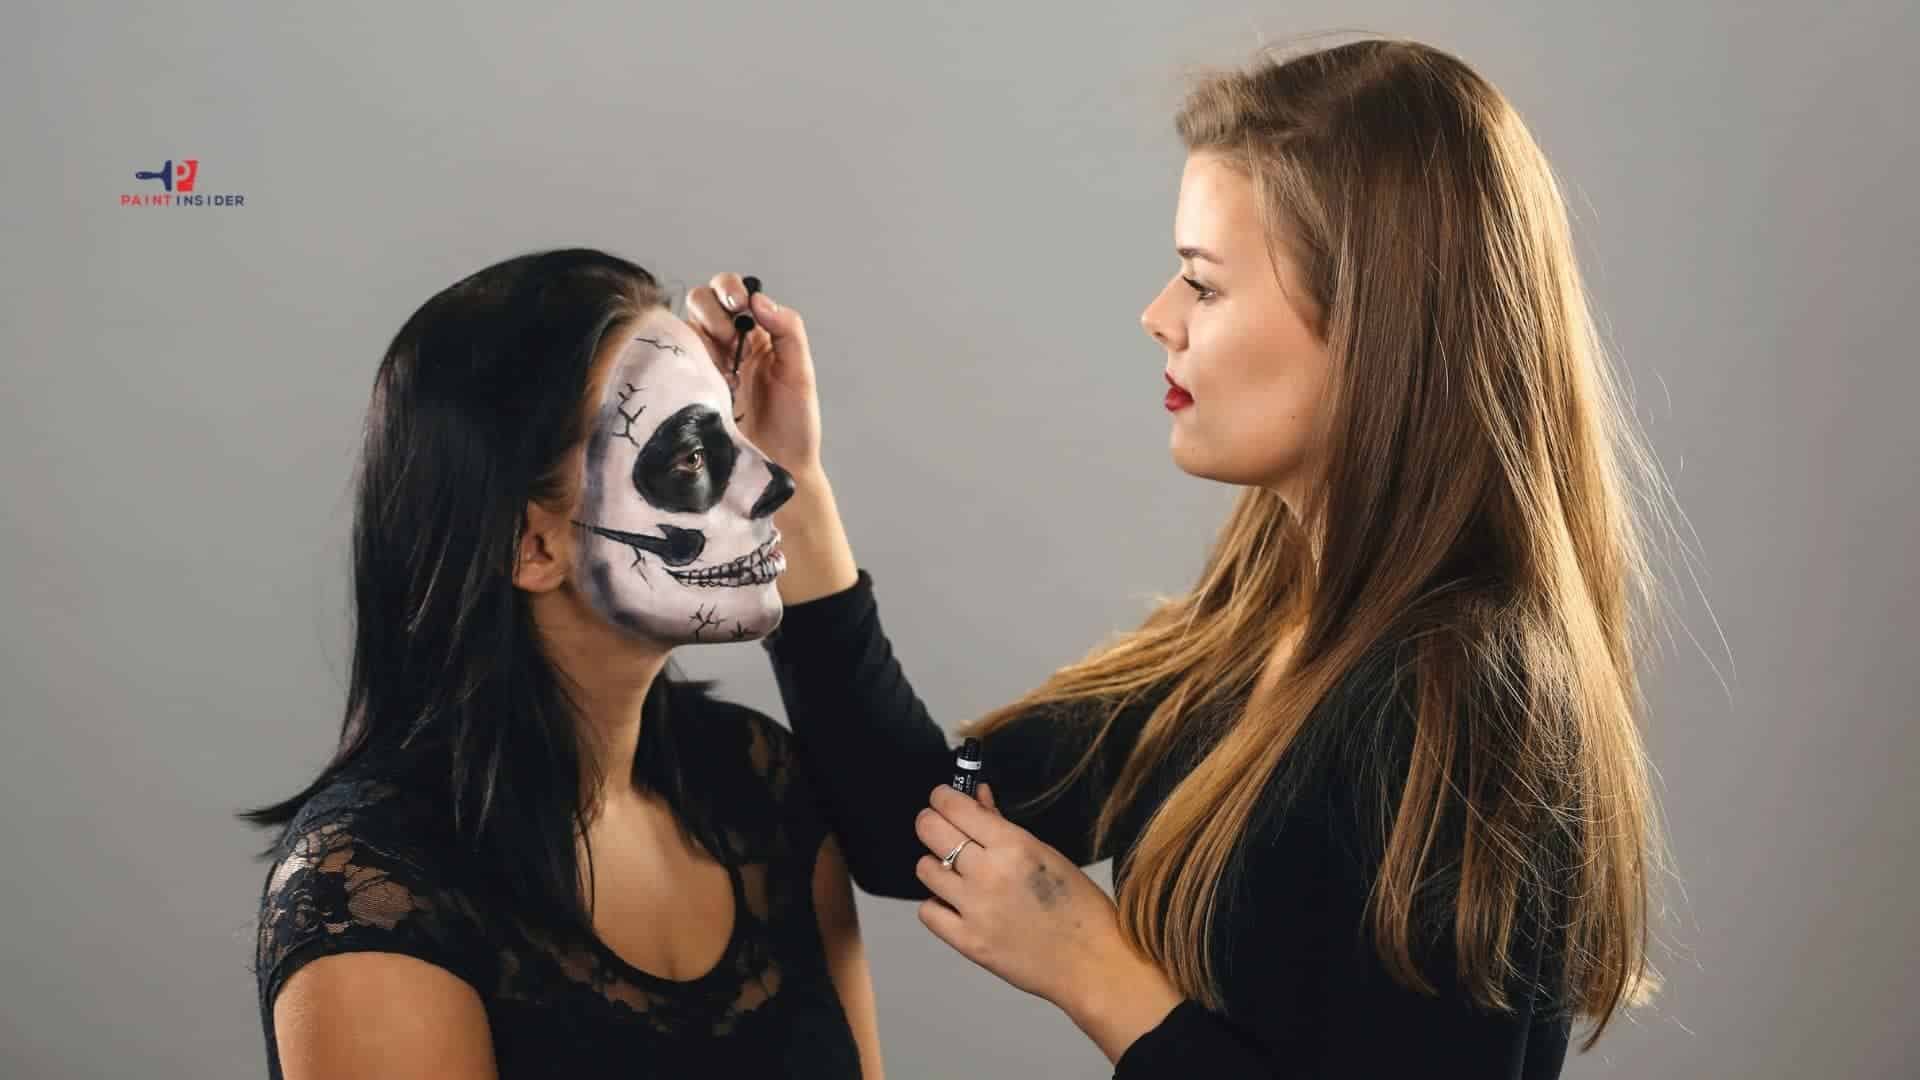
Sugar skulls are allowing you to get really creative when it comes to painting. Here, we will share some tips on how to paint a sugar skull.
Sugar skulls are an imitation of a human skull and actually known as a Mexican tradition used during a holiday called “Día de Los Muertos” or the day of the dead. The sugar skulls are the actual offerings offered during this holiday and the size of the skull represents a child or an adult. They are called sugar skulls because traditionally they have been made from sugar and other ingredients, but nowadays, they can also be made from other materials such as clays. Sugar skulls can be molded by hand or by using a skull mold and once completely dried, you can begin the painting process.
Things you’ll need to paint and decorate your Sugar Skull:
- Royal Icing
- Food Coloring
- Acrylic Paints
- Small Brushes
- Mod Podge
There a so many colors and details that can be added to a sugar skull but traditionally the colors on a sugar skull have specific meanings, whether you add these colors are not, is optional and based on your style, so below we list some steps on how you can easily paint a sugar skull.
Step 1. Choosing the base paint for your sugar skull
The type of color you choose will be based on the type of material used to create the sugar skull, as different types of materials require different types of paintings. As mentioned before, sugar skulls can be made from different types of materials such as clay, plastic, concrete, so in this case, this post will focus on the most popular type of sugar skulls people prefer.
Sugar skulls made from Sugar: This sugar skull is considered very popular and very easy to make. The sugar is molded into a skull using a front head and a back head mold and then allowed 24 hours to dry. Once it’s dry, it is then sealed together with royal icing to form the skull, and once applied, it takes around 1 hour to dry, and once dry, you’ll be able to decorate or paint it.
Before painting the sugar skull, you’ll first need to create the colors using royal icing. Once the royal icing is made, it is then separated into small portions and mixed with different food colorings you’ve chosen to be applied onto the sugar skull. Use these colors to decorate the sugar skull, piping different colors unto it and getting as creative as you want. Different types of decorative items can be added such as feathers, beads, sequins, and glitter. Once the royal icing colors are applied, it can take from 7-8 hours for it to dry.
Although sugar skulls are considered unhealthy and made for decorative purposes only, they can be edible although it is not recommended, so if you are planning on eating them, make sure to remove all non-edible items before consuming.
Sugar skulls made from plastic: These sugar skulls are also very popular, they can be found at your local arts and crafts store together with any other item you may need to complete this process such as flowers and paints, and are considered to be inexpensive. You can actually paint the skulls in the color of your choice, and then get creative by adding different details.
Different types of paint can be used when painting plastic sugar skulls.
Note that spray paints can also be used, if you consider this option to be easier, adding 2-3 coats of paint and allowing around 10 minutes for the paint to dry will also help you achieve a great finish look for your sugar skull. Make sure you shake the spray paint well, that you’re in a well-ventilated area and that you’re using protective gear.
Step 2. Styling your sugar skull with different colors
Once the paint on the sugar skull is dry which can take a couple of hours, you can then proceed with adding details onto it. Use a pencil to draw out different types of designs onto the skull such as flowers, swirls, and different types of embellishment, add patterns and different shapes until you’re satisfied, you can definitely check sugar skulls designs online also, to have an idea of what to add to your sugar skull and get really creative.
Use acrylic paints to outline the drawing marks with a small brush, using different types of color as you go, normally the black color is used to outline most of the designs then different colors are used to fill them in. Although acrylic paints are the most used method to paint sugar skulls, other types of paint can also be used such as sharpies and neon puffy paints. Once the paint is added it can take about 30 minutes for it dry.
Step 3. Sealing your sugar skull designs
Your sugar skulls paint can definitely be sealed so that the paint may last longer. They are many sealants that can be used, in this case, you can choose to spray the sealant onto your sugar skull for a faster application then leave it overnight for it dry.
Another favorite sealer used by many sugar skull fanatics is Mod Podge. The sealer looks whites when first applied but then dries to a shone clear coat adding some gloss to your sugar skull. You can also choose to add some glitter to the mod podge before applying it so your sugar skull may dry with a glittery coat. We hope you find these tips helpful.