If you are equipped with the right implements and tips you can do any piece of painting. In this article, you will learn how to paint a checkerboard effortlessly
5 Sure Steps To Paint a Checkerboard
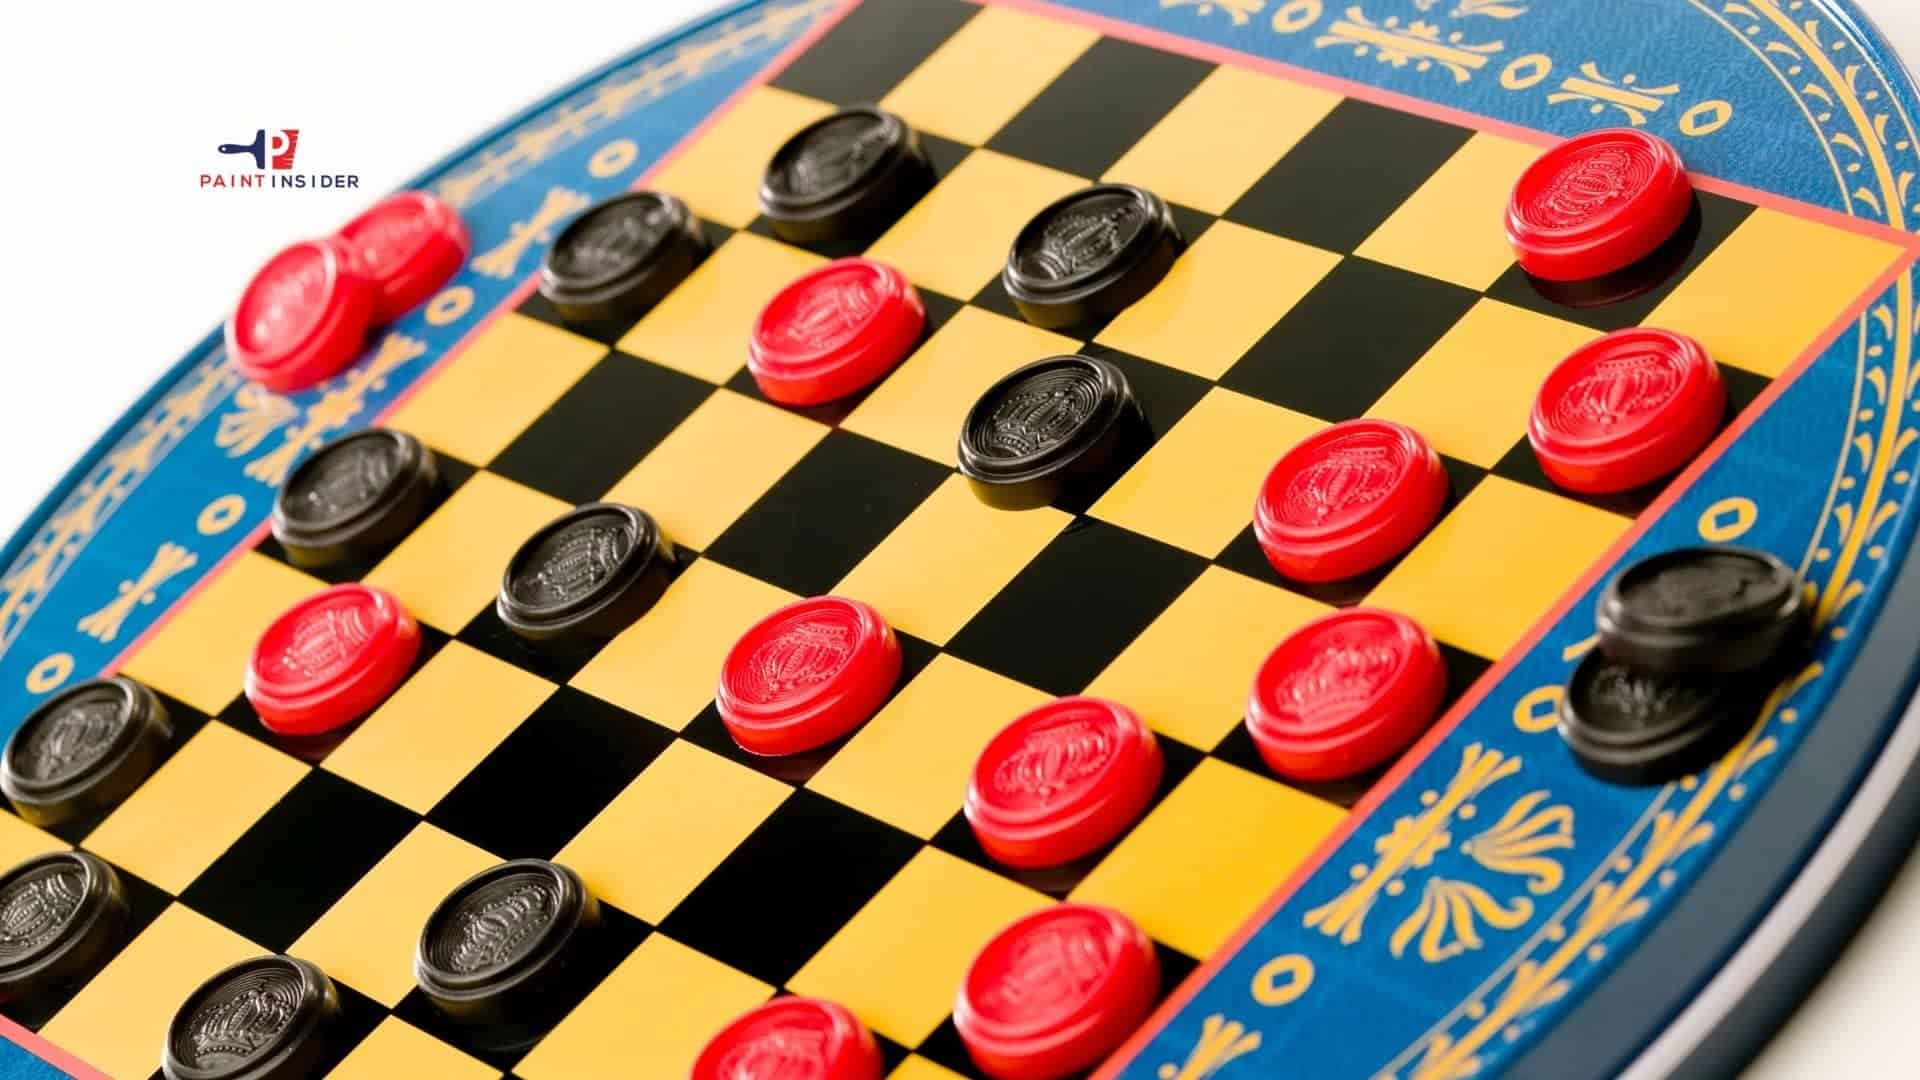
Have you ever wondered how a checkerboard is painted to look so appealing? While a checkerboard pattern can be painted using a printer, it is also possible to achieve the same results with your free hands. Yes, you read that right, free hands. To paint a checkerboard, you will need to have all the necessary supplies, some of which are highlighted below.
Whether you are painting a checkerboard pattern for use as a game or painting your room to enhance its look, the method you will use is pretty much the same. What separates your projects is the magnitude of your project. Check out the steps below to get a gist of what we are talking about.
- Paint
- Chalk line
- Level
- Pencil or chalk
- Painter’s tape
- Rollers /brushes
- Suitable cutting material such as a razor
Step 1. Painting the Surface
Depending on your preferred color, be sure to paint your entire surface with a uniform color.
Step 2. Determining the number of Squares
Be sure to take the dimensions of your checkerboard to be sure of the proper sizes of your squares. Note that the size of your squares will be dependent upon the size of your checkerboard.
Step 3. Marking the Squares and Applying A painter’s tape
Use a suitable tool (preferably chalk line)to create straight lines on your checkerboard.
Step 4. Applying Your Paint in the Squares
Apply your paint on masked squares before you cover the whole surface. Let the paint dry properly before taking your painter’s tape off.
Step 5.Applying a Protective layer
Use a suitable protective coating on your paintwork so that it can last longer. A typical protective layer that is commonly used is urethane.
Tips For Applying Painting on a Checkerboard
- It is common knowledge that before you embark on your painting project, the first thing to do is to prepare your surface adequately for painting. Preparation activities might incorporate sanding the surface, getting rid of old paint, and washing your painting surface. Consider applying a suitable primer.
After applying primer, the next step is applying your first coat of paint. Choose a suitable color to act as your initial surface color. If you want to do a black-and-white checkerboard, then you should consider painting your surface in white. This applies to other colors, but most importantly, you can only use two colors in one go for your project. Be sure to let your initial color dry before proceeding to the next step. - Again, as we mentioned earlier, how big your project is will determine the size of checkerboard squares. Creating checkerboard squares on a wall in your room will not be the same size as the one you create on a playing board.
- Small checkerboard painting projects will only require a single person and, in this case, you. However, if you’re dealing with a large area, it is proper to consider doing the project with the help of another person for the best results. You don’t want to spend a whole day creating the squares when you could use a little help from your friend to get the job done pretty fast.
- Mark straight lines on your surface with the help of a checkered line. Ensure you go through usage directions for better results. Note that a chalk line is proper when creating lines on a large surface such as a wall.
- Be sure to create straight lines because you would not want to distort the shape of your squares on the checkerboard. Find a suitable tool such as a level to help you draw straight lines. You can use several tools; again, this depends upon the size of your painting project.
- Using a chalk line is probably the easiest way to mark your straight line. Ensure the line is appropriately stretched along the surface you intend to mark, and you are good to go.
- After creating the straight line on your checkerboard, repeat the process. However, this time around, the lines you will create will be passing over the initial lines you created. You should notice the formation of squares, although they are not yet painted.
- Because your initial color was either white or red, depending on your choice, choose which lines will be taped off using your painter’s tape before applying your second color.
- Mask the line of squares you don’t intend to paint on your second painting. Apply paint all over the visible squares with a different color. It would be best to go over the whole exercise until all squares are covered in paint.
- It will help if you use a roller to paint over the squares if you deal with a large area such as a wall in your room. Be sure all the squares are entirely concealed in the second color of your choice.
You can use a suitable cutting material(preferably a razor blade)to do the final touches over the painter’s tape to remove flaws committed while painting. Remove the painter’s tape carefully, ensuring it does not damage your paintwork. - Finally, do a few touches on your checkerboard. Be sure to use a suitable finishing paintbrush to paint over parts on your checkerboard that you accidentally missed.
There are many arrears you can paint on your checkerboard, including the floor, the walls of your room, and checkerboards. However, the most commonly painted surface is the checkerboard, mainly because it is not engaging. Depending on the surface where you are painting your checkerboard, the most crucial point to keep in mind is to be sure you have all the requirements before you begin your project. Hopefully, the tips we discussed in this article will be helpful in your painting.