Painting a baseboard before installing is widely recommended as it saves you lots of time, and here, we will provide some simple steps on how to paint baseboards before installing.
Home improvements are not always fun, but they can be easy if the right method is followed. The thing about baseboards is that they make your home look renovated and fresher once installed or improved, and the products you’ll need to make it happen are considered inexpensive. These steps can be used to renovate your current baseboard or install a new one and will provide you with great results. Different paints are also available for baseboards, although most recommend glossy paints as they last longer and will add some shine to the surface of your baseboard.
Steps To Paint Baseboards Before Installing
Things you will need:
- Protective gear such as masks and gloves
- Utility knife, pry bar, putty knife, hammer
- Dish soap, sponge, and microfiber cloth
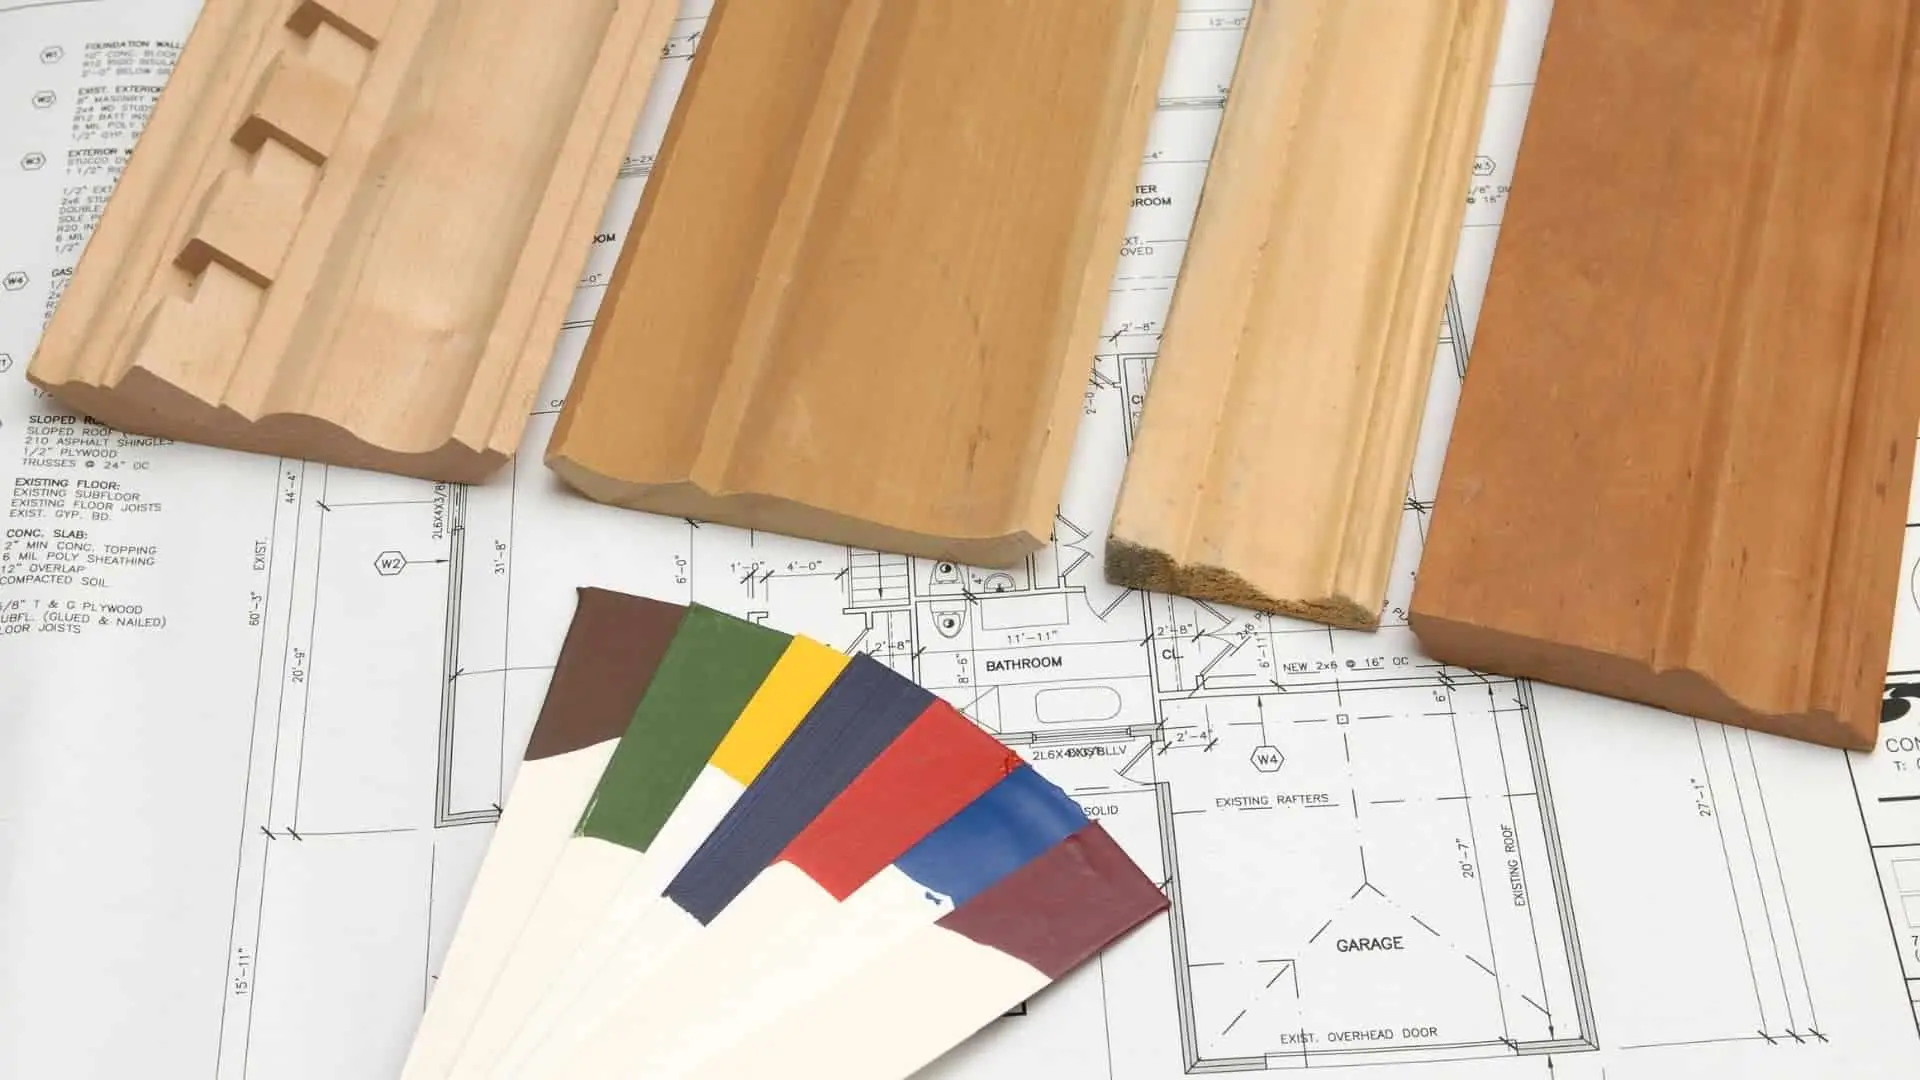
- Wood putty, paint, and primer
- Sandpaper, drop cloth
- Penetrol, brush
Step 1: Removing The Baseboard
If you’re replacing or just renovating your baseboard, it is recommended to set them aside in a ventilated area so applying the paint can be much easier and faster. If your baseboard is not yet removed, there are simple steps you can follow to do so without damaging your wall.
Step 2: Prepping Your Current Or Brand-New Baseboard
Once removed, place the baseboard on a surface that will allow you to paint the baseboard easily. You can use a sawhorse, chairs, or table to do so, adding drop cloths around the area if needed to prevent paint from splattering or dripping all over the floor. Next, clean the baseboard of dust and grime by mixing dish soap with water, soak a sponge into the solution, and wring dry. Wipe the baseboard well, then use a microfiber cloth to dry.
Let it dry, then proceed to sand the baseboard with 220 fine-grit sandpaper to smoothen the surface and create a bond with the new paint. The sanding will also work to remove old finishes from the baseboard and allow the new paint to adhere better. Dust off the area with a brush once finished, then use a damped microfiber cloth to wipe the baseboards from any additional dust. If any dents or imperfections are found, use a spackling compound to fill them in, and once dry, sand the baseboard again to smoothen the surface and clean off the dust once finished.
Step 3: Adding A Primer
Primers painted on baseboards are used specifically to create a smooth finish. Interior baseboard primers are recommended since they seal the wood and have a higher bonding option. In this case, primers are normally brushed on as it is considered an easy and faster application method. Start by mixing the primer well and pouring a small amount of paint into a paint tray; apply 1-2 coats of paint to the baseboard horizontally by dipping at least one inch of the brush into the paint, removing excess, and using long strokes to paint the baseboard. Once the primer is added, allow the paint to dry for 24 hours. Most baseboard primers paint dry in a matte finish.
Once the primer is dry, it is recommended to sand the surface of the baseboard once again using 120-grit sandpaper to remove any brush strokes and achieve a smooth surface. Remove dust and clean the area well.
Step 4: Choosing Your Paint And Painting The Baseboard
Semigloss paints are mostly used when it comes to painting baseboards since they protect the baseboard from scuffings and are easier to clean. Latex and water-based paints are also highly recommended; they are environmentally friendly and tend to dry faster. Most baseboards are painted white, but other colors can be used.
In this case, you can choose to apply a final coat to your baseboard before or after installing it on your wall. Most experts recommend adding a final coat of paint to the baseboard before it’s installed; in this way, you will be left only with doing some final touches once the baseboard is installed, and you will save time. There are many ways to apply a final coat to your baseboard. Many chose to install the baseboard and then add a final coat; others chose to add a coat of the final paint, then install the baseboard and add additional coats if needed. In this case, there’s no right or wrong way but only depends on what you may consider easier for you.
A common method is installing your baseboard after priming, caulk, and putty nail holes where needed, and once dry, do a final sanding to then apply a final 1-2 coats of paint to the baseboard and allow 24 hours for the paint to dry.