If you are equipped with the right implements and tips you can do any piece of painting. In this article, you will learn how to paint a checkerboard effortlessly.

Introduction: How Checkerboard Painting Enhances Spaces
Checkerboard painting has emerged as a vibrant design trend that breathes new life into both modern and traditional interiors. By incorporating this dynamic pattern, spaces transition from mundane to mesmerizing, evoking nostalgia while maintaining contemporary appeal. The juxtaposition of light and dark squares can create striking visual depth; it draws the eye and makes even the most neglected corners feel carefully curated.
Preparing the Surface for Best Results
Before diving into the colorful world of checkerboard painting, it is essential to focus on the surface preparation to ensure a flawless finish. Start by cleaning the area thoroughly, any dust, dirt, or grease can interfere with your paint’s adhesion and ruin all your hard work. Use a mild detergent and water solution, followed by a good rinse and drying time. If you’re working with wood, sand down rough patches to create an even texture this will enhance both paint absorption and overall appearance.
After washing and sanding, assess your surface for imperfections like dents or cracks. Fill these gaps with appropriate fillers before giving everything a light sanding again once dry. This step is often overlooked but significantly impacts how smooth your final checkered pattern will appear. Lastly, applying a primer tailored to your base material not only promotes better coverage but also prolongs the longevity of your vibrant designs. By investing this time in meticulous preparation, you’re laying the groundwork for stunning results that’ll make your checkerboard project truly pop!
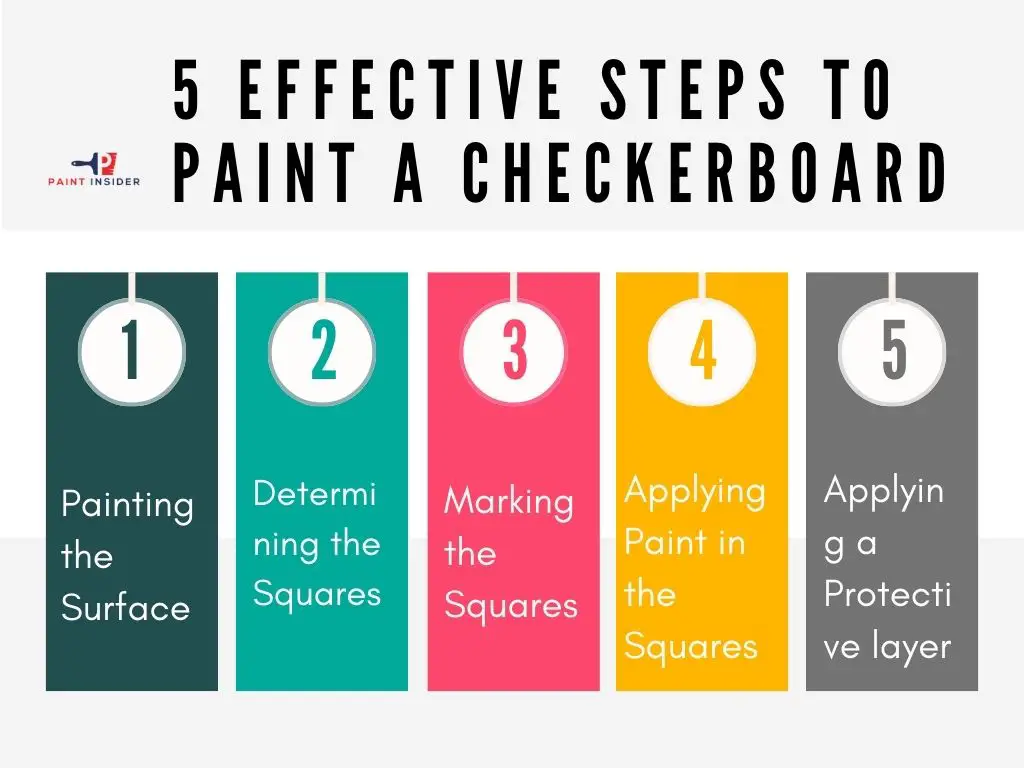
5 Effective Steps To Paint a Checkerboard
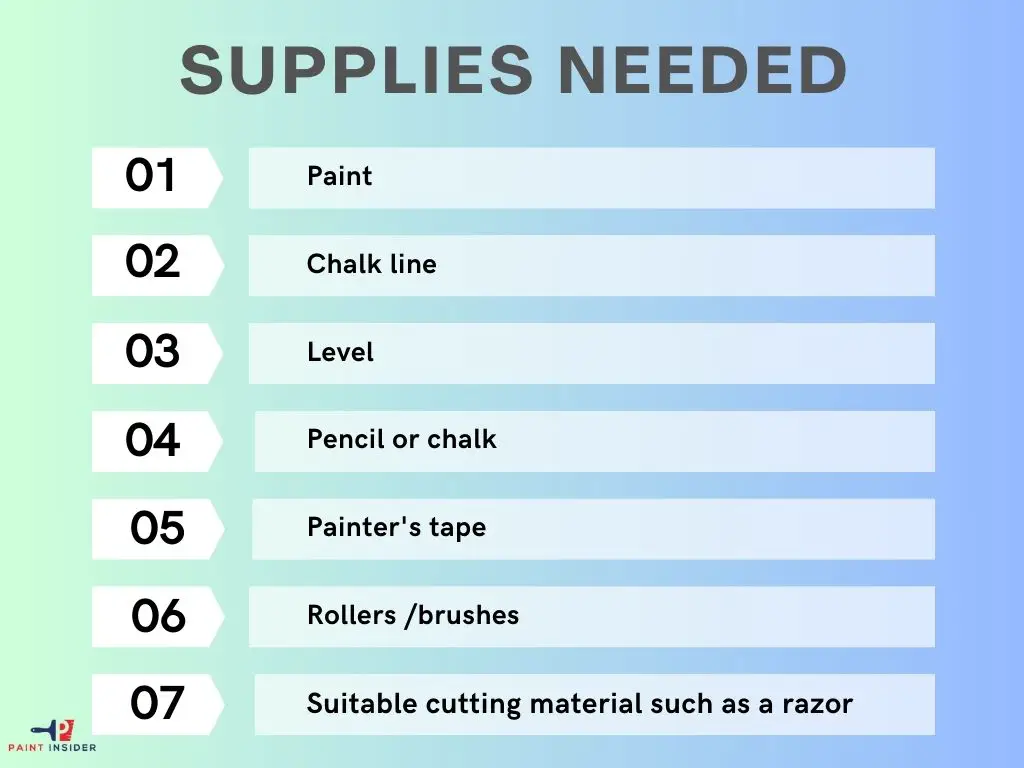
Have you ever wondered how a checkerboard is painted to look so appealing? While a checkerboard pattern can be painted using a printer, it is also possible to achieve the same results with your free hands. Yes, you read that right, free hands. To paint a checkerboard, you will need to have all the necessary supplies, some of which are highlighted below.
Whether you are painting a checkerboard pattern for use as a game or painting your room to enhance its look, the method you will use is pretty much the same. What separates your projects is the magnitude of your project. Check out the steps below to get a gist of what we are talking about.

- Paint
- Chalk line
- Level
- Pencil or chalk
- Painter’s tape
- Rollers /brushes
- Suitable cutting material such as a razor

Step 1. Painting the Surface
Depending on your preferred color, be sure to paint your entire surface with a uniform color.
Step 2. Determining the number of Squares
Be sure to take the dimensions of your checkerboard to be sure of the proper sizes of your squares. Note that the size of your squares will be dependent upon the size of your checkerboard.
Step 3. Marking the Squares and Applying A painter’s tape
Use a suitable tool (preferably chalk line)to create straight lines on your checkerboard.
Step 4. Applying Your Paint in the Squares
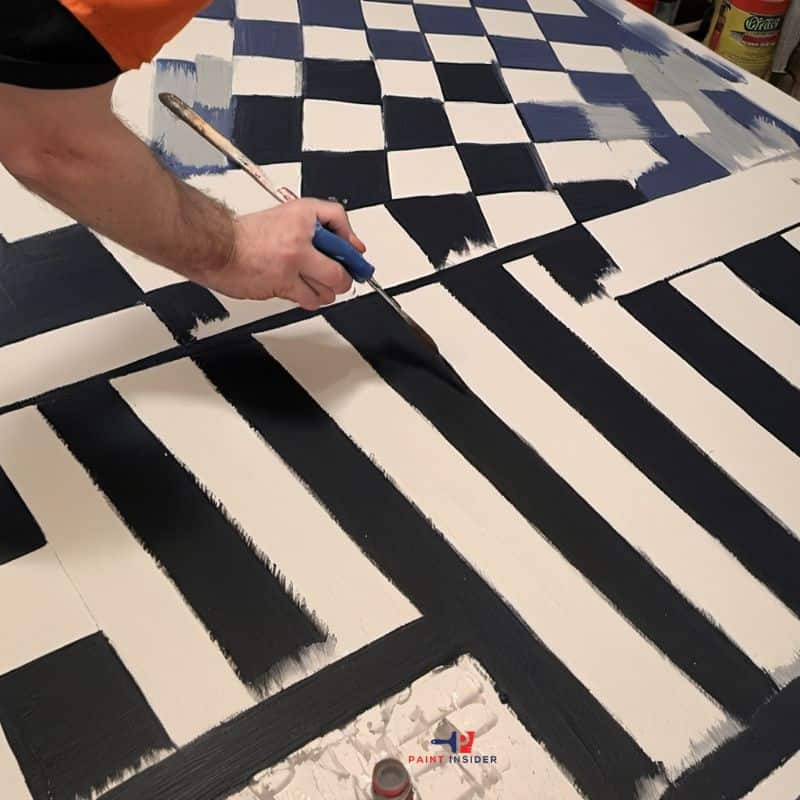
Apply your paint on masked squares before you cover the whole surface. Let the paint dry properly before taking your painter’s tape off.
Step 5. Applying a Protective layer
Use a suitable protective coating on your paintwork so that it can last longer. A typical protective layer that is commonly used is urethane.
Tips For Applying Painting on a Checkerboard
- It is common knowledge that before you embark on your painting project, the first thing to do is to prepare your surface adequately for painting. Preparation activities might incorporate sanding the surface, getting rid of old paint, and washing your painting surface. Consider applying a suitable primer.
After applying primer, the next step is applying your first coat of paint. Choose a suitable color to act as your initial surface color. If you want to do a black-and-white checkerboard, then you should consider painting your surface in white. This applies to other colors, but most importantly, you can only use two colors in one go for your project. Be sure to let your initial color dry before proceeding to the next step. - Again, as we mentioned earlier, how big your project is will determine the size of checkerboard squares. Creating checkerboard squares on a wall in your room will not be the same size as the one you create on a playing board.
- Small checkerboard painting projects will only require a single person and, in this case, you. However, if you’re dealing with a large area, it is proper to consider doing the project with the help of another person for the best results. You don’t want to spend a whole day creating the squares when you could use a little help from your friend to get the job done pretty fast.
- Mark straight lines on your surface with the help of a checkered line. Ensure you go through usage directions for better results. Note that a chalk line is proper when creating lines on a large surface such as a wall.
- Be sure to create straight lines because you would not want to distort the shape of your squares on the checkerboard. Find a suitable tool such as a level to help you draw straight lines. You can use several tools; again, this depends upon the size of your painting project.
- Using a chalk line is probably the easiest way to mark your straight line. Ensure the line is appropriately stretched along the surface you intend to mark, and you are good to go.
- After creating the straight line on your checkerboard, repeat the process. However, this time around, the lines you will create will be passing over the initial lines you created. You should notice the formation of squares, although they are not yet painted.
- Because your initial color was either white or red, depending on your choice, choose which lines will be taped off using your painter’s tape before applying your second color.
- Mask the line of squares you don’t intend to paint on your second painting. Apply paint all over the visible squares with a different color. It would be best to go over the whole exercise until all squares are covered in paint.
- It will help if you use a roller to paint over the squares if you deal with a large area such as a wall in your room. Be sure all the squares are entirely concealed in the second color of your choice.
You can use a suitable cutting material(preferably a razor blade)to do the final touches over the painter’s tape to remove flaws committed while painting. Remove the painter’s tape carefully, ensuring it does not damage your paintwork. - Finally, do a few touches on your checkerboard. Be sure to use a suitable finishing paintbrush to paint over parts on your checkerboard that you accidentally missed.
There are many arrears you can paint on your checkerboard, including the floor, the walls of your room, and checkerboards. However, the most commonly painted surface is the checkerboard, mainly because it is not engaging. Depending on the surface where you are painting your checkerboard, the most crucial point to keep in mind is to be sure you have all the requirements before you begin your project. Hopefully, the tips we discussed in this article will be helpful in your painting.
Tips for Achieving Crisp Edges

One of the essential tips for achieving crisp edges when painting a checkerboard is to leverage the power of painter’s tape strategically. Rather than applying it directly on your surface, consider placing a strip along the edge and then burnishing it down with a credit card or similar tool. This technique ensures that any paint bleed is minimized, giving you sharper lines once removed. Additionally, using two different colors? Always paint your lighter color first, as it’s easier to cover over with darker shades later if necessary.
Another often-overlooked tip involves working with quality brushes. A flat-edged brush can help create those flawless lines at intersections, especially when paired with steady, controlled strokes. Don’t rush through the process; instead, take your time in each section to ensure even application and consistency across the board. It might also be beneficial to do a test patch beforehand this allows you to adjust techniques without risking your entire project. By embracing these methods while maintaining patience and precision, you’ll transform your checkerboard design into an impeccable masterpiece that draws admiration from everyone who sees it!
Maintenance Tips for Longevity
When it comes to ensuring the longevity of your painted surfaces, a little routine maintenance can go a long way. For those curious about how to paint a checkerboard pattern, remember that preparation is key. Start with properly cleaning and priming the surface; this creates an adhesion that withstands time and foot traffic. Once you’ve applied your checkerboard design, sealing it with a clear topcoat not only enhances the shine but also safeguards against scratches and fading.
Regular inspections are vital too keeping an eye out for wear or chipping will allow you to address issues before they escalate into bigger problems. Simply touching up faded squares or applying additional coats in high-traffic areas prevents extensive damage down the line. Moreover, consider setting up a seasonal maintenance schedule; this could be as simple as reapplying sealant each spring to keep everything fresh and vibrant throughout the year. With these proactive measures in place, your artistic endeavors will remain lively for years to come!
Conclusion: Enjoying Your Beautiful Checkerboard Finish
Embracing a checkerboard finish in your space not only elevates the aesthetic but also invites an element of playfulness and creativity to your home. Each square is an opportunity to express your personality and play with colors, sizes, and orientations to craft a pattern that speaks uniquely to you. Whether it’s a classic black-and-white design for a timeless look or vibrant hues that bring energy into the room, this finish has the versatility to complement any style.
Once you’ve perfected your technique on how to paint a checkerboard, the real joy comes from witnessing its impact on your environment. This bold design can transform mundane areas into focal points, making spaces feel larger or more inviting depending on your application. Whether it’s gracing an outdoor patio or revamping indoor flooring, take pride in every monolithic tile you’ve created; they are not just geometric patterns but reflections of creativity and craftsmanship. Enjoy every glance at your handiwork it tells a story rooted in inspiration and artistic exploration!
