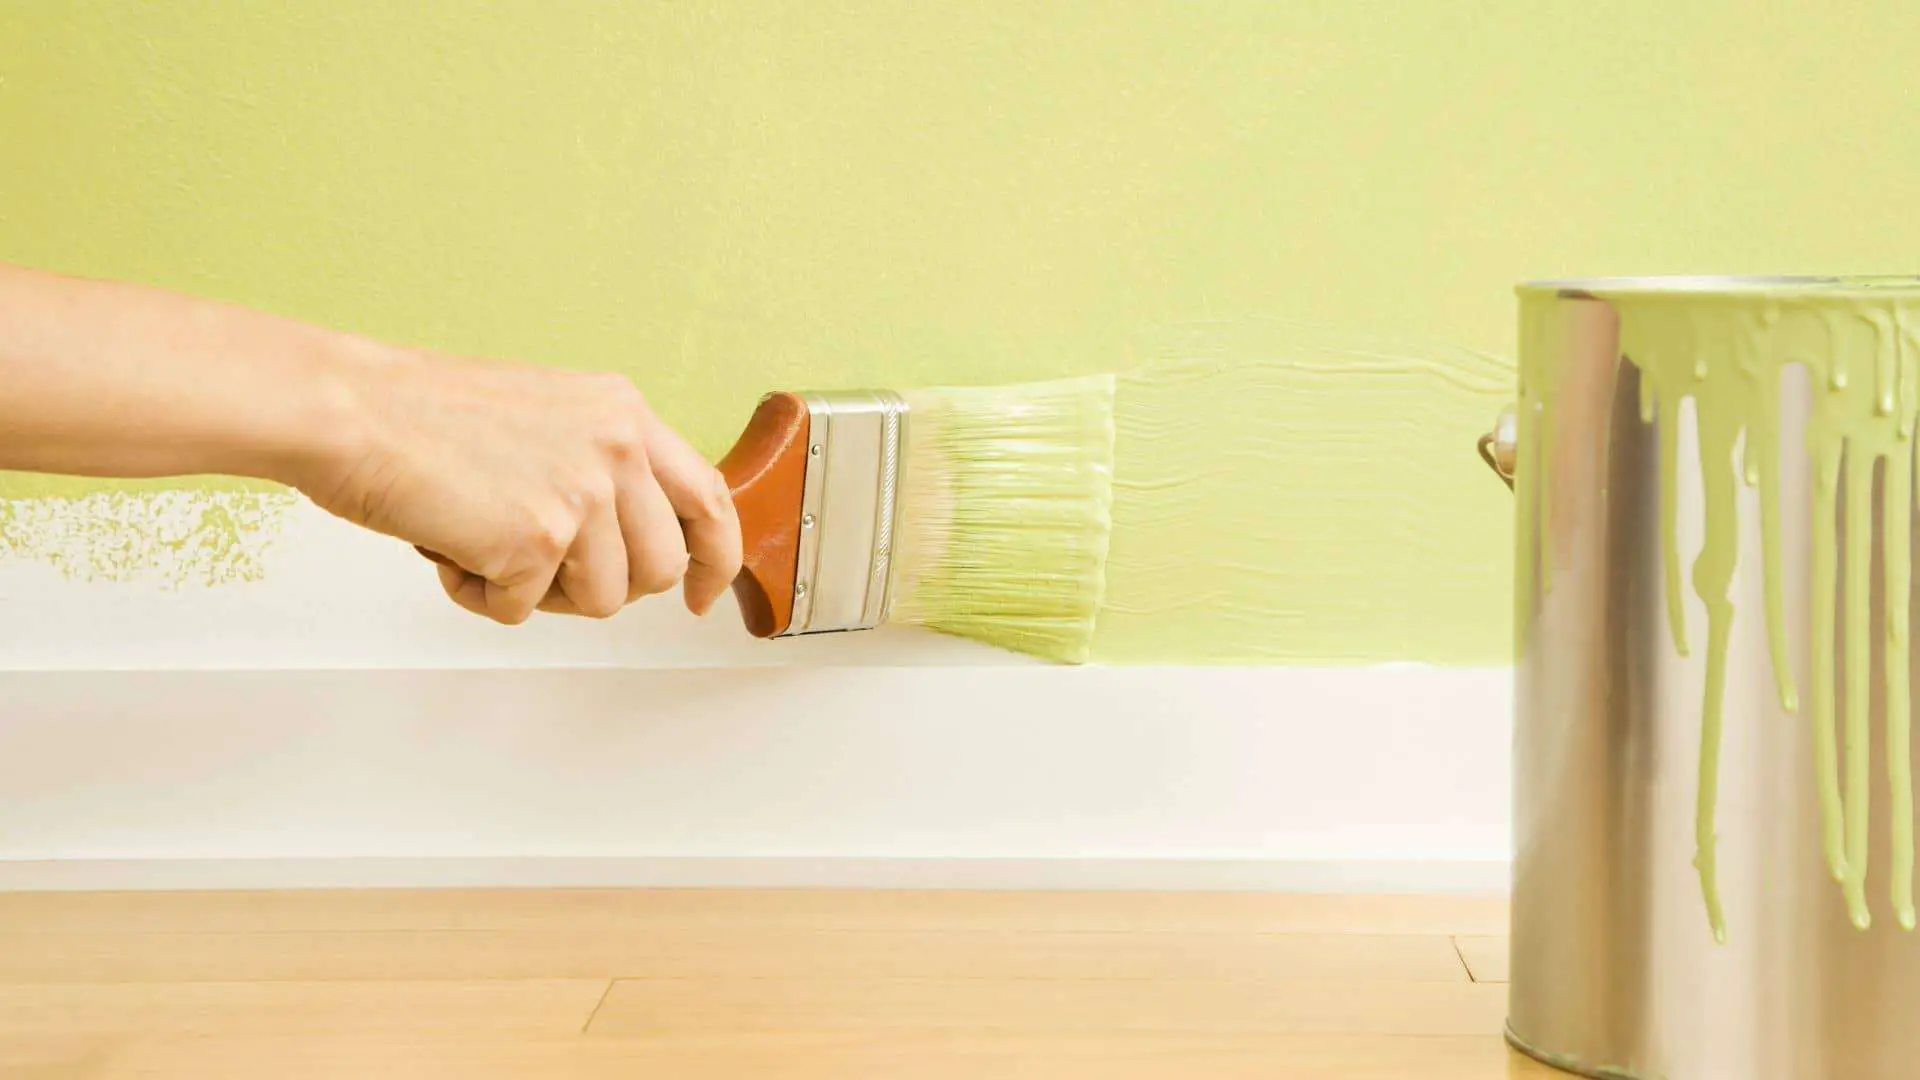
Do you want to paint the trim without brush marks? So here we’ll discuss the method by which you’ll get lasting and professional results.
When you apply the paint on the trims and doors, it’ll give a fresh look. Here’s where we are painting the trims. So the questions come to our mind which paint is best to paint on the trims? So it’s the best option to use oil-based paint here. Oil-based paint will give what you are demanding for the trims.
As you want to paint efficiently, you must have all the materials needed. Otherwise, you’ll not get satisfactory results. Select all the high-quality things (paint and paintbrushes) for your paint to get paint trim without brush marks. Low-quality brushes will not give the desired results.
Preparations Before Painting
You are trying to paint trim without brush marks. It would be best if you had heavy preparations before starting painting. For the smooth paint of the trim, we need to have some proper preparation. If your rough surfaces or high spot are not properly painted, they’ll become the cause of brush marks. Let’s proceed.
- First of all, pick up the wood putty and start repairing cracks or any dents on your trim.
- You can use a putty knife or razor blade to clean the residue on the corner of your window sills.
- The more visible areas, so start dusting and vacuuming. Your top ledge is also the most-facing part. So, also clean and wipe it.
- Suppose you have high spots, so it is necessary to sand those spots with 320-grit sandpaper. Keep sanding until you notice that your surface is free from high marks.
- For better results, again, do vacuum. And at last, use cloth and water to wash your trim thoroughly.
Apply Primer
You’ve prepared the trim, but you still don’t apply because you have not used primer yet. Sometimes it is not crucial to apply primer, but if you’re painting on raw wood, it’s a must to apply primer. Primer is the best adhesion for paint. Not only will it help in adhering to the paint quickly, but it also gives you longevity to your paint.
Let’s have another case where the paint you want to trim is already painted. Here it’s not necessary to use a primer. But you need a primer when you have a dark color on your trim and you want light color. It helps you reduce no. of coats; otherwise, you’ll have to apply several coats of paint.
Use of Caulk
After performing two preparation steps, let’s look at 3rd preparation of painting trim without brush marks, which is caulking. Caulking helps to fill the gaps you have around your trims. You Can check the apparent difference in how your filling trim will give you a finished look at the end. It is an excellent choice if you apply primer and then apply the caulk. There is another option that you can do caulking after completing the paint. It’s also allowable but not too good. If you use caulk after painting, you have to face two colors: caulk and paint.
Tips For How To Paint Trim Without Brush Marks
Wao, you have done all the preparations. Now it’s time to paint the trim without brush strokes. Here I’m sharing some tricks. Let’s move.
- Try to slap your brush on the side of your paint container rather than rinse off the tip.
- If you paint the trim, go along the grain to get a finishing look. If you have wood, then paint with its grain, don’t go to the other side.
Steps To Paint Trim Without Brush Marks
Let’s move towards the method after doing preparation and priming.
Supplies Needed:
- Sandpaper
- Wood putty
- Cloth
- Water bucket
- Primer
- Paintable Caulk
- Water bucket
- Paint Brush
- Oil-based paint
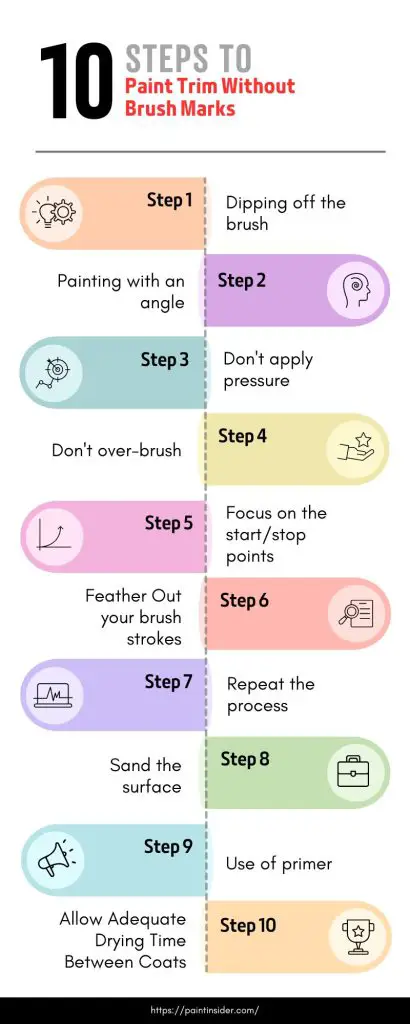
Step 1: Dipping off the brush
Pick up your brush and start dipping it in paint about ⅓ of the paint. If you drop more than this, then your brush carries more paint, and it’ll be overloaded.
Step 2: Painting with an angle
Make the excess paint slape off and then cut in on the top/bottom and edges of the trim. After this, start painting in the middle. Throughout your painting, pick your brush gently and at an angle and start swiping on the surface. Keep this motion through, and don’t be straight on.
Step 3: Don’t apply pressure
Smoothly paint your trim. Keep away from applying pressure. Applying pressure will give you an ugly look. Gently use the brush to provide you with a smooth surface and a more finished look.
Step 4: Don’t over-brush
Be aware of over-brush. Some people are in the habit that after applying paint stroke, they rub it back and forth many times; don’t do this because this will cause your strokes to be visible.
Step 5: Focus on the start/stop points
Along those identical lines, make sure that you focus on the start/stop points to proceed well. After completing 2-3 foot segments, progress 2-3 feet to trimming and replicate. Consider backward towards your painted trim.
Remember that you must not start the brush stroke on already applied paint because it displays a starting point.
Step 6: Feather Out your brush strokes
After covering the distance from the previous paint to fresh paint, using extended motion upward end your brush when you come to the midpoint.
Step 7: Repeat the process
Again do this procedure of your working trim along with the first coat. One thing to remember here again is not to overload the brush.
Step 8: Sand the surface
When you notice that your first coat has dried completely, start sanding with 320 or 360-grit sandpaper. Don’t skip the sanding when you are applying another coat. Sanding helps to make your paint smooth and smother. Without sanding, it’s not possible.
Step 9: Use of primer
Use this process when you have finished the coat. Only two coats are enough to paint on the trim. You can see a finished look by only painting two coats. Sometimes you have to apply three coats when you don’t apply primer or use a light color over a dark color.
Step 10: Allow Adequate Drying Time Between Coats
When painting trim, one of the most critical steps often overlooked is allowing adequate drying time between coats. Patience may not seem thrilling, but it’s essential for a flawless finish. If you rush through this process and apply the next coat too soon, you risk blending layers, which can lead to unsightly brush marks or an uneven sheen. Each layer needs to cure properly to maintain its integrity and ensure that your final result is smooth and streak-free.
Conclusion: Achieving Flawless Trim Finishes
Getting a perfect trim finish can be challenging, but it mainly depends on preparation and technique. One important factor is using high-quality materials; spending a little more on good paint and tools can greatly improve your results. When painting trim, choose synthetic brushes or foam rollers made for smooth finishes. They help reduce brush marks and ensure an even application, enhancing the overall look.
Besides choosing the right tools, environmental factors are important for a polished finish. Work in conditions that allow for optimal drying, ideally between 70°F and 80°F. A well-ventilated area prevents moisture issues and helps avoid drips with even airflow. By combining these tips with careful execution, you’ll create trim finishes that impress and last.