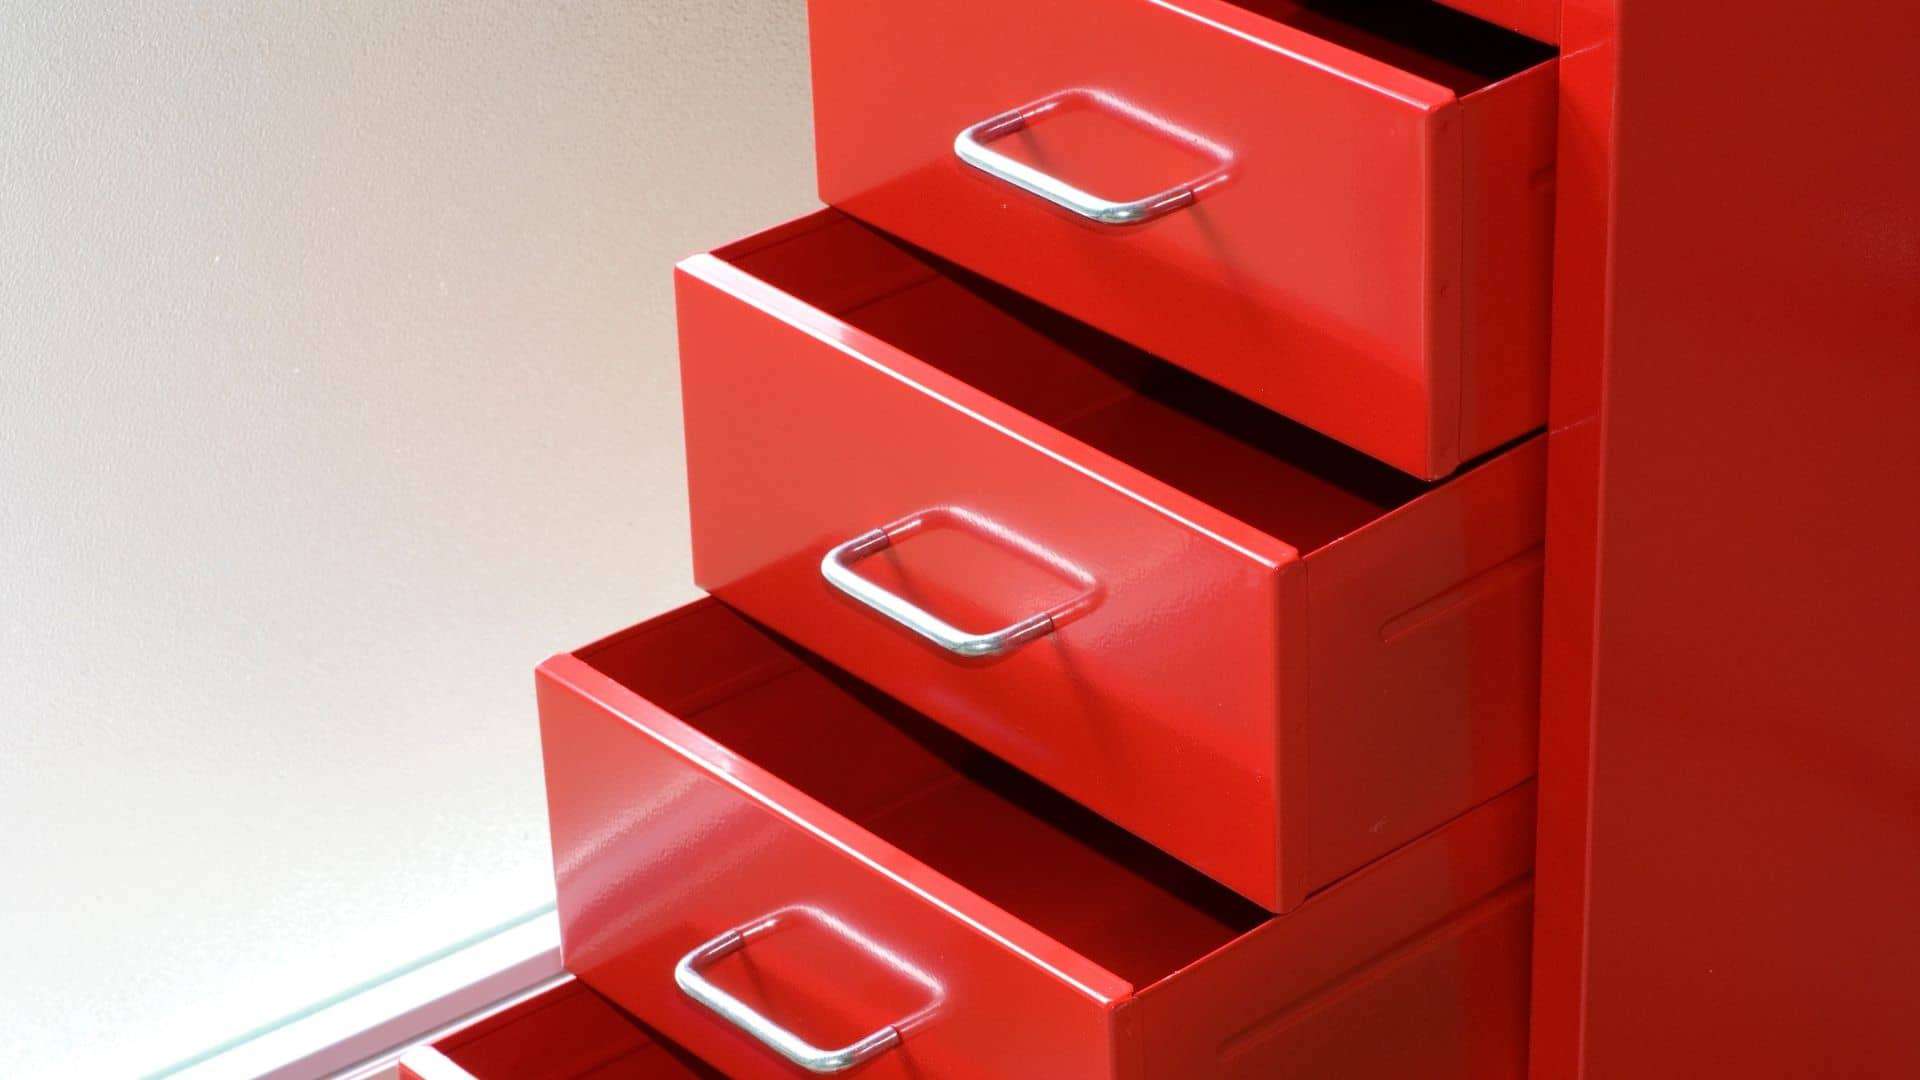
File cabinets are available in different sizes and colors and are considered beneficial. There’s probably one available in every home office and they are great for organizing your papers and your work environment as a whole. File cabinets are also budget-friendly and are available in different styles, which is great since a good paper organizer shouldn’t have to cost you that much. Most consider file cabinets very efficient as a filing system and sometimes a must-have in the office, they are easy to take care of and kinda easy to move around. You can also choose to repaint them to make them look new without having to spend on a new file cabinet which is a great idea.
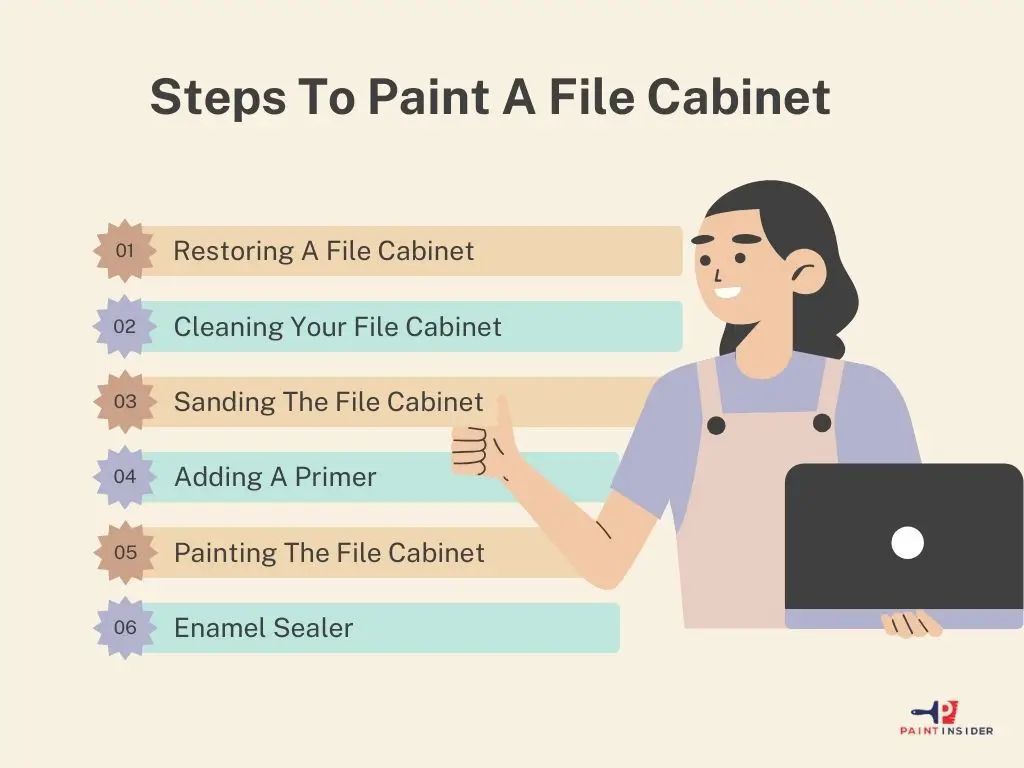
Steps To Paint A File Cabinet
So if you were looking for some tips and tricks on how to repaint your file cabinets, below we list a few steps you can follow to help you achieve those goals.
Tools You Will Need for the Project:
- Sandpaper (120-220 grit)
- Drop cloth
- Painter’s tape
- Paintbrushes
- Foam roller
- Primer
- Pain
- Face mask or respirator
- Protective gloves
Once you have these tools ready, you’ll be set to paint your file cabinet with ease!

Step 1: Restoring A File Cabinet
Restoring a file cabinet is the best option there is for many people instead of throwing it away, you’ll be able to restore it as you like and save some money along the way. Reusing is always a great option especially if your file cabinet is in good condition. Simply applying a fresh coat of paint will make your file cabinet look new and prettier.
Step 2: Cleaning Your File Cabinet
Start the process by cleaning the file cabinet. To start cleaning your file cabinet the first thing you need to do is to remove all drawers and handles with a screwdriver from the cabinet, this will allow you to clean your file cabinet better although this step is optional as you can choose to work on the surface of the file cabinet only. You can use a wet rag to remove any dirt or dust from the cabinet, you can also choose any other type of cleaning method you may find useful. Next is to review your file cabinet to check and see if there’s any rust that should be treated. If there’s any rust you will need to use sandpaper to remove the rust and to make the area smooth. In this case, the sandpaper of 220 grit can be used to remove rust then finish it off, use sandpaper of 320 grit to smooth the area.
Step 3: Sanding The File Cabinet
Once you’ve taken care of the rust, you can proceed to sandpaper the file cabinet itself, this is a very important step since this will allow the new paint to adhere better to the surface of the cabinet and it also works to remove old varnishes. If you’re planning to paint the inside of the cabinet, then it is recommended to sand the cabinet on the inside as well. In this case, it is recommended to use sandpaper of 80 grit and sandpaper the entire cabinet.
Step 4: Adding A Primer
Some may say this step is optional but adding a primer has its great benefits. The primer will allow the new paint to adhere to the metal and it will also make the paint durable which is great. Skipping this step may cause the paint to not adhere properly to the surface of the file cabinet and you risk the paint peeling off once it’s dry. Before applying the primer, you will need to cover the floor and any other area with kraft paper, old cloth, or old newspaper to prevent paint from splattering all over.
For this step, it is also recommended to use spray-on paint, although you can choose to brush on the paint instead you may not achieve a professional-looking smooth finish if you do so. To add the primer, make sure you shake the can very well before use and that you’re in a ventilated area, spray 2-3 thin coats of it onto the surface of the file cabinet ensuring full coverage each time. Try not to focus on an area for too long to avoid the paint from dripping and allow 5-10 minutes in between coats for the primer to dry. It is recommended to use a primer that was specifically designed for metal as it will adhere better and will protect the file cabinet from rust. Once the primer is added, allow 1-2 hours for it to fully dry before applying the topcoat.
Step 5: Painting The File Cabinet
Once the primer is dry, you can then proceed with painting the file cabinet with the color you’ve chosen. Spray paints are mostly recommended since it is easier to apply but you can also choose to roll on the paint instead.
To spray on the paint, make sure you shake the can well before use and that you’re in a well-ventilated area. Spray 2-3 thin coats ensuring full coverage each time spraying evenly across the entire file cabinet, without focusing on a specific area to avoid paint dripping. Allow 5-10 minutes in between coats for each coat of spray paint to dry and then leave to fully dry for 24 hours.
Step 6: Enamel Sealer
Enamel sealers, also known as clear coats are meant to protect your newly added paint from scratches and other damages, it is also used to add shine and durability to the paint and can be used once the paint is fully dried. It is recommended to use a spray can sealer since it’s easy to apply and dries faster. Once the paint is dry, apply 2-3 coats of the clear coat and allow 5-10 minutes in between coats for the paint to dry. Also, make sure to shake the can well before using it and that you’re in a well-ventilated area.
Throughout the process of painting your file cabinet, it is recommended to use protective gear such as masks and gloves, especially when dealing with spray paints. All products can be found at your local home improvement store, it is also recommended to read instructions on products for additional information. We hope you find these tips helpful.
Tips for Maintaining Your Painted Cabinet
To keep your painted cabinet looking good and working well, start with a simple cleaning routine. Use a soft microfiber cloth and mild soap to wipe surfaces regularly, avoiding harsh cleaners that can damage the finish. For tough stains, a mix of vinegar and water is a safe, eco-friendly option.
Also, consider the environment where your cabinet is placed. Keeping humidity levels steady can help prevent warping or cracking. Avoid direct sunlight for long periods, as it can fade colors and weaken the paint. Every few years, applying a clear wax or sealant can boost shine and protect against wear.
Finally, treat minor touch-ups as part of maintenance. Keep some leftover paint for quick fixes to address chips or scratches before they worsen. These simple steps will keep your cabinets looking fresh and enhance the overall look of your space.
Conclusion: Enjoy Your Updated File Cabinet
Changing your file cabinet isn’t just for looks; it’s a way to refresh your workspace and boost productivity. Bright colors can liven up a dull office corner, making the organization feel enjoyable instead of a task. Personalizing your file cabinet enhances its use and creates a space that showcases your personality and encourages creativity.
Once you master painting, try adding textures or decals to enhance its look. These details can spark conversations or motivate you daily when you grab important documents. This updated piece symbolizes your dedication to clarity and efficiency at work and home, showing that small changes can greatly improve your well-being. Enjoy the results of your work with each organized file, and let it inspire you to embrace new challenges with style!

