You might have heard of the multiple benefits of cedar woods, so you may want to know how to protect them, in this segment, we will share some tips and tricks on how to paint cedar woods.
Introduction:
Cedarwoods are popular for their multiple uses, its aromatic qualities have allowed it to become a favorite of many, as it can be used to treat many different ailments and also, can be found in multiple beauty products. Cedar trees are available in various shapes and forms, and many varieties of cedar wood are used for different purposes. For example, if you’re planning on creating outdoor structures then you may want to choose a type of cedar wood that is resistant to the different environmental conditions. In the end, cedar woods last long and are easy to take care of.
When it comes to choosing water vs oil-based paint, you may encounter mixed opinions about this.
- Cedarwood cleaner
- Water / Brush
- Stain paint
- Regular Paint
- Sandpaper /Rag
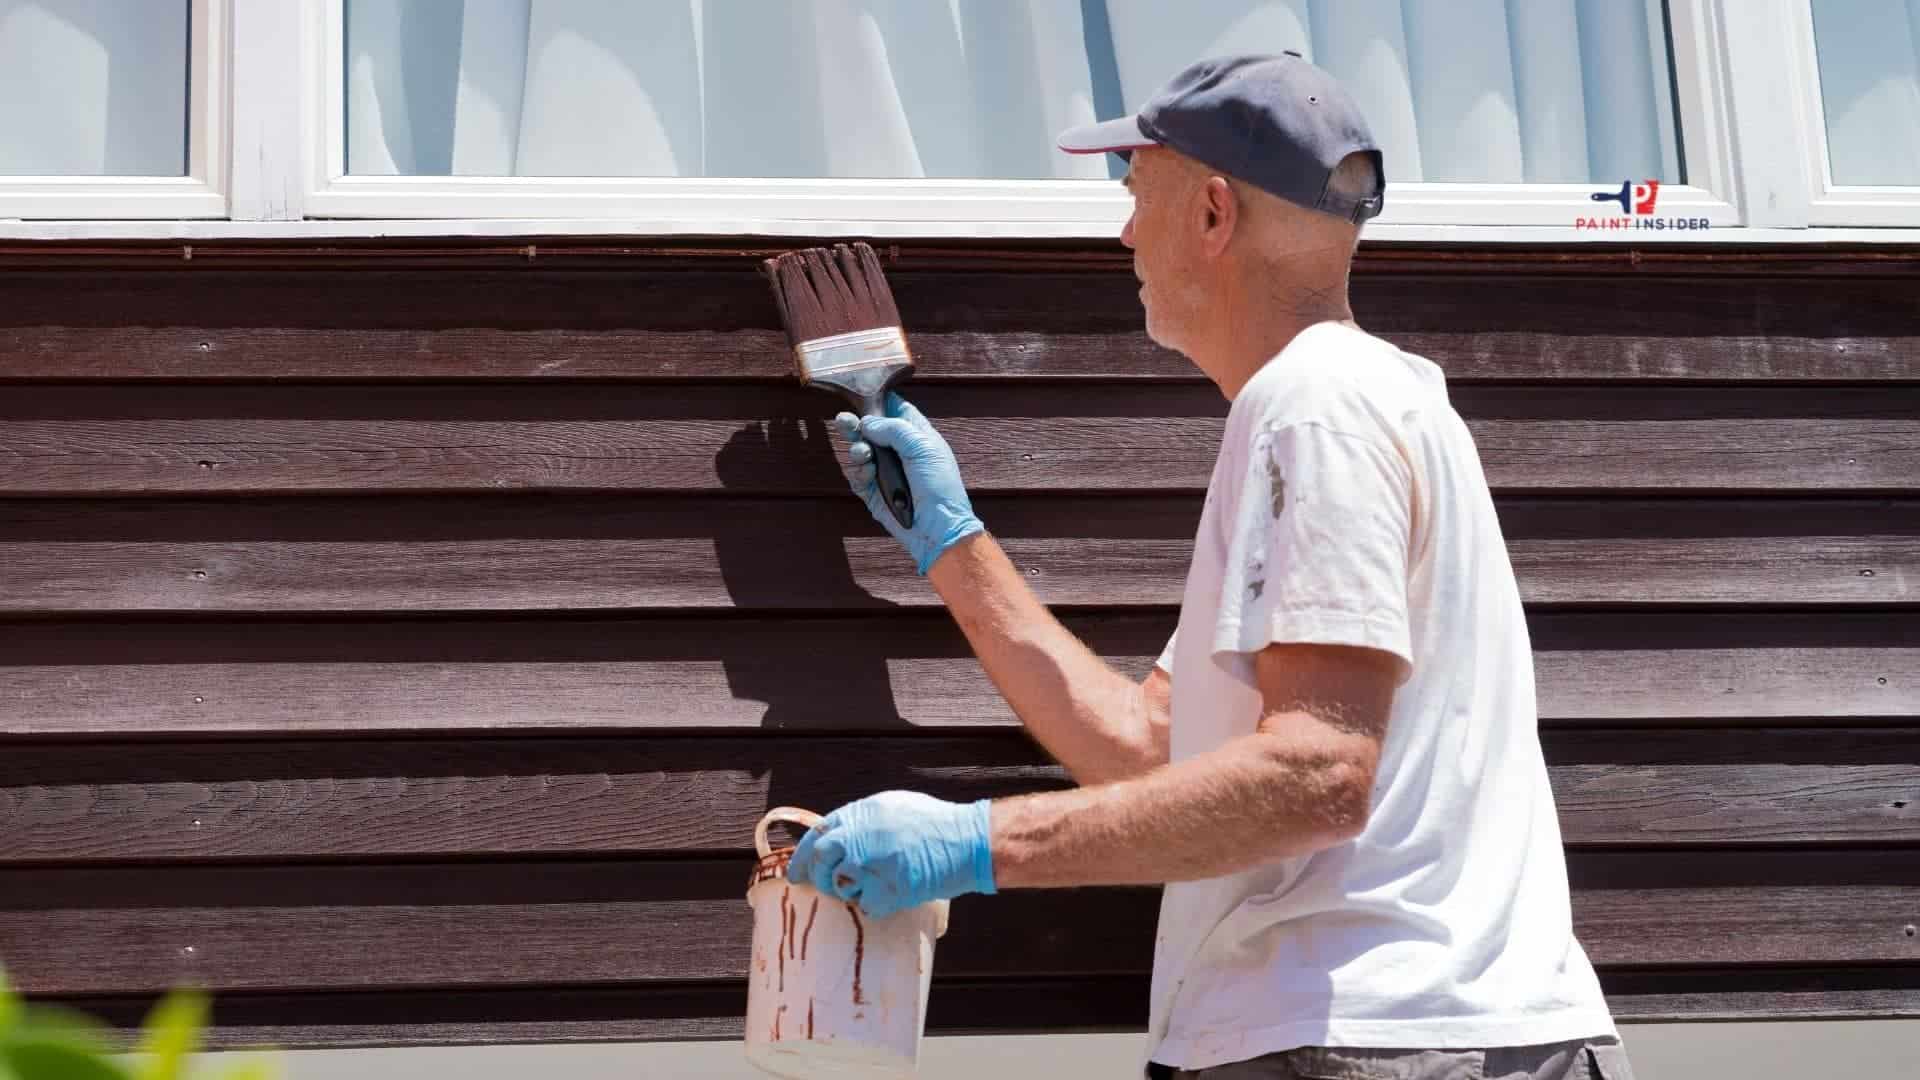
The painting process when it comes to cedar woods is similar whether you painting large or small objects, although it may take some time to complete so make sure you have some time available when painting cedar woods.
Preparing the Cedar Surface for Painting
- Preparing your cedar surface for painting is a vital step that can make all the difference in achieving a smooth, long-lasting finish. Start by ensuring the wood is clean and free of contaminants such as dirt and grease. A simple mixture of mild soap and water can work wonders; just scrub gently to avoid damaging the grain. Once you’ve washed away any residue, dry thoroughly cedar tends to retain moisture longer than other woods.
- Next comes sanding, which not only creates a better surface for paint adhesion but also reveals the beautiful character of the cedar. Use medium-grit sandpaper followed by fine grit for an ultra-smooth feel; this process allows you to eliminate rough patches while enhancing the rich texture inherent in cedar wood. Don’t forget to remove dust with a tack cloth before painting this small detail prevents imperfections that could mar your final look.
- Lastly, consider applying a primer specifically formulated for cedar or exterior woods, it acts as both a barrier against tannins and a foundation that promotes paint durability. By taking these careful preparatory steps, you’re setting yourself up for painting success! Remember, patience during preparation will reward you with stunning results that highlight cedar’s natural beauty while ensuring your project stands the test of time.
Choosing the Right Type of Paint
When it comes to painting cedar, the choice of paint can significantly influence both the aesthetic and durability of your project. One option that often gets overlooked is using high-quality outdoor acrylic latex paint. This type not only adheres well to the natural oils in cedar but also allows for the wood to breathe, preventing moisture build-up which can lead to warping or peeling. Moreover, consider opting for a saturating oil-based stain if you desire a more natural look that enhances the wood grain while still providing protection against UV rays.
In addition to selecting the right paint type, don’t underestimate the impact of preparation on your final outcome. Thoroughly clean and sand your cedar surfaces before applying any product this ensures even application and longer-lasting results. Using a primer specifically designed for wood can further enhance adhesion and color fidelity, especially if you’re transitioning from a darker shade or treating previously unpainted cedar. Ultimately, understanding how these elements come together will not only transform your space but will also keep your beautiful cedar looking pristine for years ahead.
Essential Tools and Materials Needed
When diving into the enchanting world of painting cedar, having the right tools and materials is essential for achieving that flawless finish.
Here are the essential tools and materials you’ll need for painting cedar:
Tools:
- Paintbrushes – High-quality, natural, or synthetic bristle brushes for detailed work and edges.
- Paint Roller – A roller with a ¾-inch nap for smooth and efficient application on cedar surfaces.
- Paint Sprayer (optional) – For fast and even coverage, especially on large or rough cedar surfaces.
- Sandpaper (120-150 grit) – To sand the cedar surface for smoothness and better paint adhesion.
- Drop Cloths or Plastic Sheets – To protect the ground and surrounding areas from paint splatters.
- Painter’s Tape – For masking off areas you don’t want painting, such as windows or trim.
- Ladder – If you’re painting a high or vertical cedar surface, like siding or fencing.
- Stir Sticks – To thoroughly mix the paint before and during application.
- Bucket – For mixing or holding water/cleaning solution.
Materials:
- Exterior Primer – A high-quality primer designed for wood surfaces, especially one with mildew resistance for cedar.
- Exterior Paint – A 100% acrylic latex or oil-based paint, which works well on cedar and is weather-resistant.
- Wood Filler – To fill any gaps, cracks, or holes in the cedar surface before painting.
- Wood Cleaner – A solution to clean dirt, mildew, and grime from the cedar before painting.
- Caulk – For sealing any gaps or seams between cedar boards to prevent moisture infiltration.
- Paint Tray and Liners – For holding paint while using brushes or rollers.
These tools and materials will help ensure that your cedar surface is properly prepared and painted for a durable, beautiful finish.
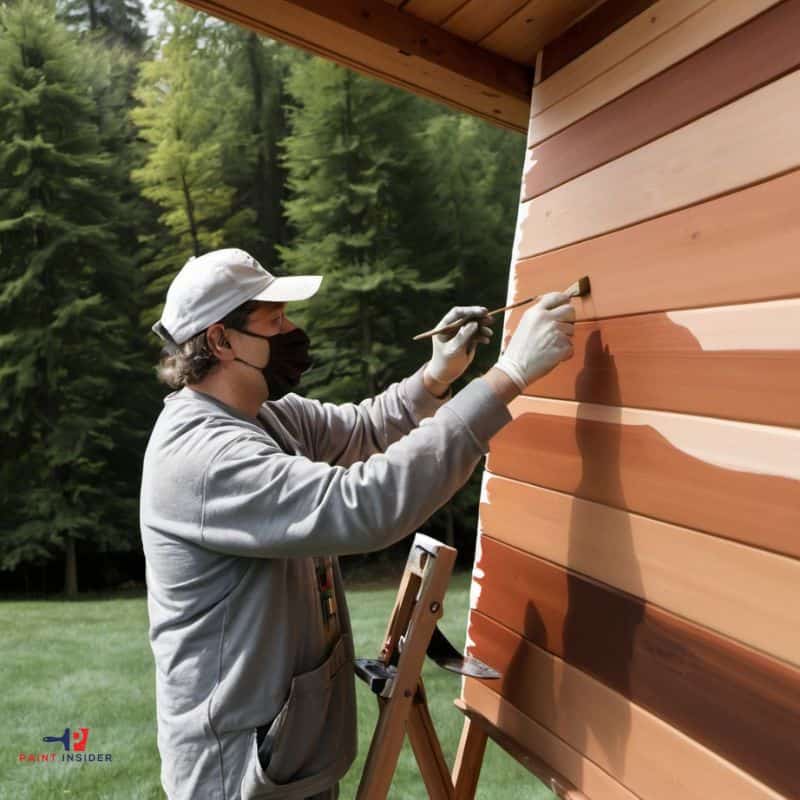
Techniques for Applying Paint Evenly
When painting cedar, achieving an even finish is crucial to showcase its natural beauty. Start by investing in high-quality paint and tools; a good brush or roller can make all the difference in how evenly the paint spreads. Before you dip your brush, consider lightly sanding the surface of the cedar. This not only helps with adhesion but also creates a smoother canvas, allowing your paint to glide on effortlessly.
Using a technique called wet-on-wet can enhance your painting experience and help prevent unsightly streaks. Instead of letting each coat dry completely before applying another, work in sections and apply fresh paint over areas that are still wet. This allows for smooth blending and reduces watermarks or uneven patches. Additionally, be mindful of lighting painting in direct sunlight can cause the paint to dry too quickly, leading to lap marks. Working during cooler parts of the day or utilizing shade will give you more working time and result in a beautiful, uniform application on your cherished cedar surfaces.
Common Mistakes to Avoid When Painting
One of the most common mistakes when painting cedar is neglecting proper preparation. Cedarwood, known for its natural oils and tannins, requires thorough cleaning and sanding to ensure paint adheres properly. If you skip this step, you’re likely to end up with peeling paint or uneven coverage down the line. Take the time to remove dirt and grime with a gentle wash, followed by light sanding to create a smooth surface that allows your chosen paint to bind effectively.
Another pitfall involves using the wrong type of paint. Many assume that any exterior paint will work on cedar, but choosing a high-quality, specially formulated siding or deck paint can make all the difference in durability and appearance. Additionally, consider applying a primer designed for cedar, this not only helps block stains from bleeding through but also enhances color vibrancy and longevity. By investing in the right products from the start, you’ll be able to enjoy your beautifully painted surfaces longer without costly touch-ups or repeated applications.
Caring for Painted Cedar Surfaces
Caring for painted cedar surfaces goes beyond mere maintenance, it’s about preserving the natural beauty and longevity of this unique wood. When it comes to painted cedar, selecting the right paint is crucial. Opt for high-quality exterior water-based or acrylic paints that allow the wood to breathe while providing a durable layer against moisture and UV damage. Remember, even the best paint can only do its job if applied correctly ensure your surface is clean, dry, and properly primed beforehand.
As seasons change, lend extra attention to your painted cedar by inspecting it for peeling or fading every six months. A simple touch-up can often rejuvenate tired areas without requiring a full repaint. Don’t forget about sealing! Applying a clear protective sealant every couple of years enhances durability while illuminating the underlying grain patterns of the cedar, creating an attractive visual contrast with the paint. By nurturing your painted cedar surfaces with these thoughtful steps, you’ll not only enhance their aesthetics but also ensure they stand strong against time’s relentless passage.
Conclusion: Enjoying Your Beautifully Painted Cedar
After putting in the effort to paint your cedar, take a moment to truly appreciate the transformation. The vibrant colors will not only enhance the beauty of your outdoor space but also create a warm and inviting atmosphere that you, your family, and your guests can enjoy for years to come. Picture hosting summer barbecues or cozy evenings on the patio, surrounded by stunning woodwork that reflects your personal style.
Maintaining and enjoying your beautifully painted cedar is an ongoing journey. Regular touch-ups and protective coats ensure it remains a centerpiece of joy rather than a chore, making each glance at its rich hues a reminder of your creativity and dedication. Consider incorporating plants or outdoor decor that complement the color scheme these small touches can elevate the overall aesthetic even further. So grab a cup of coffee or tea, sit back in your favorite spot, and bask in the satisfaction of having turned ordinary cedar into an extraordinary showcase!