What Paint is Safe for Skin? Guide to Choose the Right Paint

What Paint is Safe for Skin

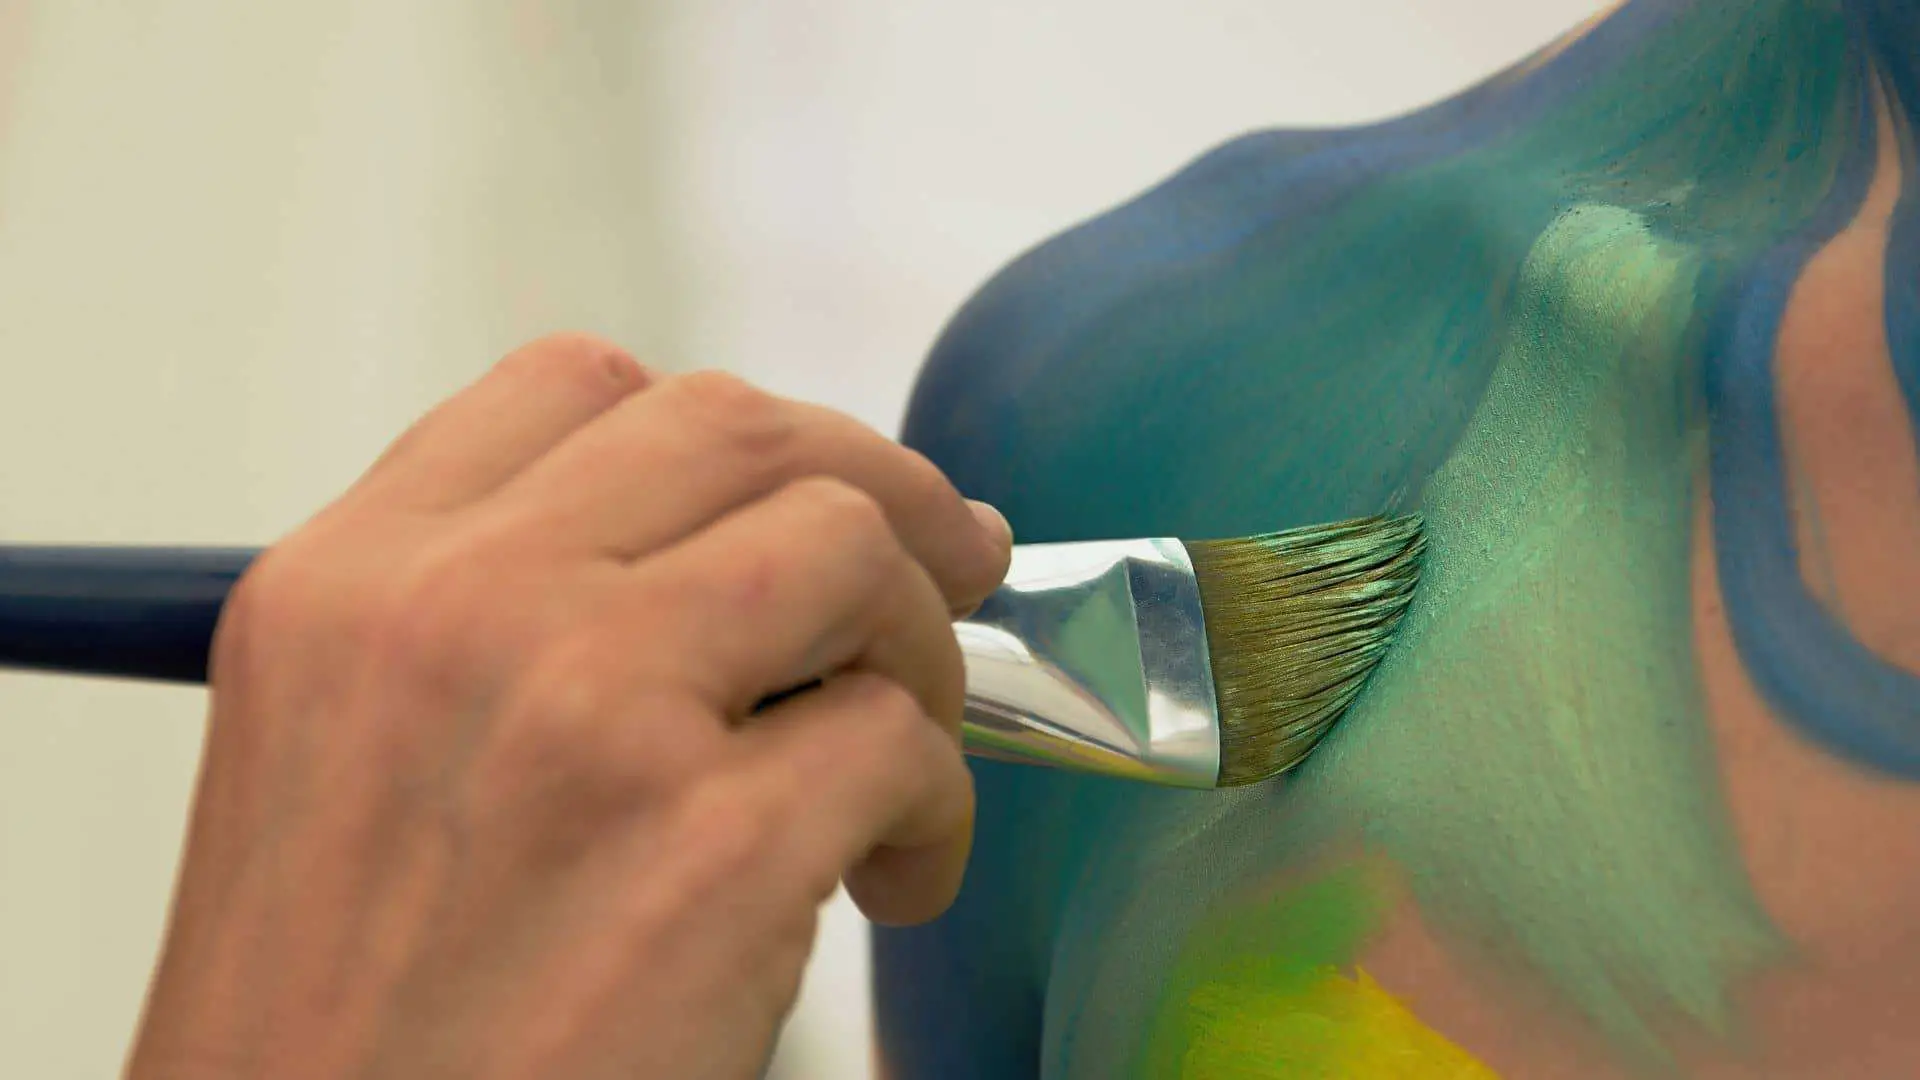
In the world of artistic expression, the human body is often used as a canvas for creative endeavors. From festivals to photo shoots, body painting has gained popularity as a unique form of artistry and self-expression. However, amid the vibrant colors and intricate designs lies a crucial question: what paint is safe for the skin? As artists and enthusiasts seek to adorn themselves with stunning visuals, it becomes paramount to understand the implications of using different types of paints on their bodies. This comprehensive guide aims to unravel the complexities surrounding skin-safe paints, empowering you to make informed choices and create fearlessly on your beautiful canvas – your skin. According to experts, the list of safe paint for skin are :

  1. Water-Based Paint
  2. Metallic Body Paint
  3. Alcohol-Based Paint
  4. Latex Body Paint
  5. Acrylic Paint
  6. Henna
  7. Commercial Body Paint
  8. Markers

We also allow our children to enjoy their childhood with arts and crafts. From fun body painting cosplay to artistic body paint, photoshoots, events, and festivals painting on the skin has become more and more popular. Painting is not only the easiest but also the cheapest means. But the question is, what paint is safe for the skin?

What Paint is Safe for Skin 2

Here safe paint refers to the paint that is toxic-free, allergy-free, and can be removed from the skin. It also depends on the age, and the application though some experts have different opinions.

List of Top 8 Skin-safe Body Paints

We talk about some types of Skin painting and other factors. Let’s see some most used paints and their pros and cons.

Water-Based Paint

Mostly we paint our face and body. Skin safety should be considered before choosing paint for skin painting. Only skin paint or skin-friendly paint must be used for body painting. It is strongly advised to use water-based paints which can be washed away easily.

Water-based paints must be well-controlled and have a set of guidelines that they need to follow. It will be non-toxic and can be easily washed away after use. We can use different types of equipment like airbrushes, sponges, or paintbrushes to apply this paint.

Water-based paints are considered to be the best for the skin but it is not best for a professional body paint set up for a modeling event.

Metallic Body Paint

Metallic body paints contain real metal powder which is mixed with a special liquid to create the “statue” effect. Often we see people performing on roads or circus that look like ‘Silver Statue’ or golden color. This type of paint is irritating to the skin due to metallic powder. So, we should be more careful regarding Metallic body paint. It is not easily washed away like water-based paint. Without performance, it is wise to avoid using metallic body paint.

Alcohol-Based Paint

Alcohol-based body paints are liquid or solid face paints that are used to last for certain hours only. It resists both sweat and water. It is also rub-proof. A brush and a sponge or an airbrush are needed to apply Liquid alcohol-based face paints. These types of paints are mostly used for making airbrush tattoos. To remove Alcohol-based paint, you might use some rubbing alcohol. These types of paints are toxic. So, at the time of applying or removing this paint, make sure you are in a well-ventilated place.

Latex Body Paint

Latex paint is mainly made of latex with other elements. This paint is popular as it dries quickly. Soap, body wash, and water can clean this paint. Liquid latex paint can be annoying for the mouth. Latex and oil paints may have some irritation but if they are used as per direction they cannot poison the painted body. Before using this paint be sure you do not have a latex allergy. During summer or extreme heat, latex paint can be responsible for heatstroke. This type of body paint should not be applied to damaged or irritated areas of the skin.

Acrylic Paint

Acrylic paint is chemical-based paint that is available everywhere. Many of us consider it to be suitable for use as body paint, but we strongly advise against it! Remember that any paint product that is labeled as “non-toxic” does not necessarily mean that it is “skin-safe”. Ingredients within the paint may not be safe to apply to the body. Toxicity, as well as allergic reactions a great risk with products that are not designed for suitable skin. This paint is not designed for a living, moving body.

Henna

The art of henna has been practiced in Asia and some parts of the Middle East. It has a long history of more than 5000 years. Henna, a kind of paint that is prepared from the henna tree. Nowadays, chemical henna is very popular. Henna can be used by both kids and adults with no ill effects though the chemical henna may have some side effects. Its color lasts for two weeks and then starts to vanish gradually.

In some Asian countries, the Mehndi ceremony is an age-old tradition that is related to the wedding. The bride and children adorn themselves with Henna is a must on the occasion of the wedding.

Commercial Body Paint

There have been a lot of companies that produce body paint for everyone. These paints are normally seen in spray bottles or containers don’t contain any latex and are toxic-free. We can try these types of paints for skin-friendly.

Markers

There are special markers that are used for body painting. These aren’t conventional markers as those can damage the skin. These markers are non-toxic and safe for use for both kids and adults. Read the instructions to understand how to make the best use of them.

How to Test for Allergic Reactions

To test for allergic reactions to substances like paint, follow a clear method. Choose a small area of skin on the inside of your forearm and do a patch test with the product. Cover it with a bandage and leave it for 24 to 48 hours. Look for any changes like redness, swelling, or irritation to see if the product is safe.

Also, keep a journal of any past reactions to different products or allergens. This can help you spot patterns and be useful when discussing options with health professionals. Using hypoallergenic and dermatologically tested paints in your projects can reduce risks while still giving you bright results. Remember, even safe products can cause sensitivities, so stay informed and careful to enjoy your creative work safely.

Safety Precautions During Application

When applying body paint or using any products on your skin, understanding safety precautions is paramount. Always choose paint specifically marketed as safe for the skin these formulations are designed to minimize allergic reactions and avoid harmful chemicals found in traditional paints. Products that proudly display “non-toxic” and hypoallergenic labels provide an extra layer of reassurance; however, it’s still crucial to conduct a patch test on a small area of your skin before committing to larger applications. This simple step can reveal potential sensitivities, preventing discomfort during your event or creative endeavor.

Conclusion

Above mentioned paints are safe for use on the skin and should not irritate you. Always be careful before using any type of body paint. Apply it on your little part of the skin and wait for a few minutes to see if there’s any irritation. If you find everything well then you can use that paint without hesitation. This is the best way to realize whether the body paint will suit your skin or not.

Why Do Catchers Paint Their Nails?

Why Do Catchers Paint Their Nails

A set of rules governs every sport; without which, it won’t be a match anymore. Can you imagine a soccer game without clear rules of play? Everybody, including team managers, would want to do things their way. Referees will enforce what they feel is the best decision for everyone; simply put, it will be a chaotic game. Speaking of game rules, why do catchers paint their nails? Continue reading to find out.

If you watch baseball games, you may discover something uncommon – the catchers with their fingernails polished. Even though nail painting is not a usual practice in baseball, it is a practice that is taking root among catchers in many games. A lot of methods are being used to enable proper communication between pitchers and catchers.

So, why do catchers put on nail paint in baseball? Baseball catchers use nail colors to communicate with the pitchers effectively; Nail polish makes a catcher visible. Each color placed on the nails communicates a specific message to the pitcher. Interesting right? You paint the nails with bright colors, and if you are a catcher, you will be more visible to the pitcher. According to baseball players, the colors serve as an indicator of what to expect next from the pitcher. However, mistakes arise when you cannot read the signs accurately, which might land you in accidents.

As extraordinary as it may seem, it is pretty simple for the participants but waits; how is it even possible to study colors and interpret the message correctly at a distance? In case you are wondering how this is possible, the participants go through rigorous training to master various colors and the message they bring across. Are you still reading?

A List Of Possible Reasons Why Catchers Paint Their Nails

Polishing nails help pitchers and catchers to communicate

In a baseball game, the pitcher and the catcher must read from the same page. A catcher must understand what the pitcher is about to do to avoid any form of miscommunication. Taking the message miscommunicated can be disastrous and may even lead to injuries.

The difference in speed between a fastball and a curveball is pretty much to understand; It may be hard for catchers to know what is in the pitcher’s mind. It is, therefore, necessary for catchers to study the colors carefully to avoid any miscommunication.

Polishing nails with different colors facilitates communication between pitchers and catchers

You are probably wondering how pitchers and catchers play in a  pretty well-coordinated manner; Due to the importance of the pitchers and catchers to read and communicate effectively, catchers can use different colors on their fingernails to make them more visible. However, it is common for pitchers to read the colors displayed by catchers wrongly for various reasons, which is why it is vital to interpret the message conveyed adequately.

If you have been in poorly lit rooms, then you might understand why catchers paint their nails

Poorly lit environments pose challenges to the pitchers, so catchers paint their nails to identify them quickly. Baseball can be played in odd hours like early evening and goes through most of the night.

The colors of the catcher’s nails must blend in with their kits; which is one of the most ignored reasons catchers put on nail paint. The most important thing to note for both the pitcher and the catcher is for the catch to apply nail paint that stands out for ease of communication.

Painting nails help catchers with poor Eyesight to see better

You don’t expect to find a baseball player who has difficulties with their eyesight. However, such cases are common, so painting nails with specific colors will help such players during a match. Bright colors illuminate light in dimly lit conditions to improve visibility.

Typical colors used by catchers to paint their nails

White and yellow are the standard colors used by catchers on their nails. Although not common, catchers use white paint on their pins; the White color is slightly shiny and stands out more quickly.

Other less commonly used colors are neon and orange. On that note, it is essential to ensure you choose a color that will make communication between pitchers and catchers much more accessible, which is why you should consider bright colors.

Other options available in place of nail painting

Colors are a great way to communicate between pitchers and catchers; there are many other items that you can utilize to imply specific signals to enhance your communication. So what other options are available in place of nail painting to achieve the same goal? Continue reading to find out.

Athletic tape comes in handy as an excellent option for catchers, so you don’t need to stress yourself if you forget to carry your colors for the nails. You will tie the tape on each of your fingers and ensure you don’t do it excessively because, after all, you need your fingers and hands to play effectively.

Every game is governed by a set of rules and regulations, out which it won’t be a match anymore. All participants in a fun, including team managers, would want to do things their way. Referees will enforce what they feel is the best decision for everyone; Simply put, it will be a game full of confusion. White and yellow are the commonly used colors in baseball by catchers on their nails. Although not common, catchers use white paint on their nails because it is more bright and visible than other colors.

Other less commonly used colors include neon and orange colors. With that in mind, you should ensure that you choose a color that will make communication between pitchers and catchers much easier. On that note, bright will do you magic.

Poorly lit environments pose challenges to the pitchers, so catchers paint their nails to identify them quickly. Baseball can be played in odd hours like early evening and goes through most of the night.

How To Paint Tights?

How To Paint Tights

It’s really fun to create new things based on your creativity. The fun increases to the highest level when we have to modify already created things that we own. Do you want to make yourself look highly attractive by wearing unique and amazing clothes? You will be surprised to know that you can modify your clothes by using paints. It’s a creative and entertaining process to make your tights attractive by painting them with the paints. Are you curious to know how to paint tights? Here I’ll share the tip with you to help you make your designs on the tights. You can make your favorite pattern on the tights. Let’s start!

How To Paint Tights?

Supplies Needed:

  • Tights which you want to paint
  • Paintbrushes
  • Light opaque fabric paint
  • Dark opaque 3D fabric paint

Note: You can also use a blow dryer if you want

“You may be interested in How to Heat Set Fabric Paint.

Steps To Paint Tights?

Step 1: Firstly you have to wear tights. It is necessary to wear it because you can get to the place where you want to make designs by wearing it. When you paint, there is a chance of placing some paint into your legs. But don’t worry, it’ll be removed by just ordinary soap.

Step 2: For making evil eye patterns, firstly, use a light shade of paint. And then start making ellipses on it. When it’ll dry, add another coat of paint. If you want to speed your process and don’t want to waste time drying, you can use a blow dryer. After drying, you can put off the tights. There is a chance of some paint sticking to your legs. If you want to design backward and forward, repeat the same process and make a design on the other side of the tights.

Step 3: When your ellipses become dry, now it’s time to paint dots in the center by using dark 3D fabric paint. When paint becomes dry, flip towards another side and paint it also. Just like you did in step 2. As 3D fabric paint takes a long time, you can use a dryer to speed this process.

.How to Use Fabric Paint on Tights?

Painting your tights is an uncomplicated and short-term project that can accomplish within two days. It’s great advice for you to do this process on weekends to wear your product in the working days and show that to your followers. 

Fabric paints involve various categories, and the final effect can be washed-out tones or a thick plastic look. It can also be a kind of frosting paint and glitter for adding some shine to your cupboard. Add some sparkle to your wardrobe. Let’s look at the other process that’ll explain the full detail about how to apply fabric paint on tights.

Supplies Needed:

  • Tights
  • Fabric pencil and paints
  • 4-inch PVC pipe
  • Painter’s tape
  • Paintbrushes

Steps to Use Fabric Paint on Tights

Step 1: Take tights and mark the symbol for recognizing a specific point taken as a reference for designing using a fiber pencil for drawing symbols. When tights are off, it becomes challenging to find a point.

Step 2: Stretch the tights while focusing on the PVC pipe section. In this way, the design will be stretched to an accurate tight size when you’ll wear it. Then, fasten the tights to the PVC pipe with the help of the painter’s tape with the design area.

Step 3: Now, make an outer boundary around the design with the color that you will use for painting. Apply the fabric paint at its high strength. It will cause the bead to become more solid. When you wear the tights, you will see they will appear like fabric paints because fabric paints are flexible.

Step 4: Leave the fabric paint for 24 hours and allow it to dry. If you want to add more layers, you can add them, but the last layer must be dry before you wear the tights.

Step 5: Use a laundry solution and launder the tights with your hands so fabric paints can retain their shape and color. Now you can see beautiful paint design on tights.

How to Make Halloween Themed Painted Tights?

Many people want to update their dressing during Halloween week. It’s also the amazing process of painting your tights to give them the effect of Halloween. You will become too creative and get a high level of fun due to this process. Let’s start the process of making the Halloween-themed painted tights.

Supplies Needed:

  • White craft
  • black tights
  • paint fabric
  • wax
  •  medium cardboard
  • paper or plastic wrap

Steps To Make Halloween Themed Painted Tights

Take a large piece of cardboard and cut two pieces with the measurements according to your leg height and width. Properly cut the cardboard according to your feet by making a curve on the toe side.

Cut two cardboard pieces that are about as wide as your leg and as long as your legs. Then, Cut a curve on the toe side and then around the other side corners while focusing on the body’s shape.

For easy wearing, bend the cardboard at the position of your ankle. Use wax or plastic wrap paper to cover the knee. Now paint the design on your piece. You can draw any Halloween design you want. Don’t think much about how it will appear when you wear it, whatever you will draw (try to design like professionals; you can get inspiration from online pictures). It will appear nice because it will appear amazing when the design appears in the decently cut piece wear properly. Give time to it for drying. Then give the second quote and completely dry it. Let that dry and paint a second coat, then let it dry completely now. If you have covered the cardboard, you can unveil it now. 

Leave it until it doesn’t dry completely. Your painted tights are done.

You have become professional in designing your clothes and have achieved the highest level of creativity. You have a chance to be the owner of a highly glamorous and charming dress. So, why be late? Follow any of the above methods on how to paint tights now and get inspiring results. It’s advised to consider all the methods and enjoy various varieties of creativity.

How To Apply White Face Paint Evenly?

How To Apply White Face Paint Evenly

Face coloring is a cheap way to mark important events. Grown-ups and children alike associate themselves with different types of face-painting designs. Such activities keep all sorts of fun and adventure. It would be more satisfying for you to learn a few tips about face painting.

If you are a holiday fanatic, then face painting must be top of your list. Notwithstanding, coloring can be a challenging affair to some people; you don’t want to take any paint and apply it on your face without following a precise procedure. So, how will you paint your face with white color to create the look you want? Continue reading to discover more about how to apply white face paint evenly

Like any painting piece, applying white paint to your face requires you to follow specific procedures to produce a stunning look. It is important to know the kind of materials you need before you start this exercise.

Required Items For Face Painting

Below are some of the items you will need before you begin the painting exercise:

White paint

Safety comes first, which is why you should ensure you choose the right tone of the color white that will have zero effect on your face. Always go for a color that experts approve. To avoid any problems associated with the skin, always ensure you do a patch test on other parts of the skin to see if there is any reaction before applying l it to the face

Soaks

It would help if you used a heavy-duty sponge to help you achieve perfect layers during paint application. It also allows you to diffuse the colors more easily.

Brushes

You Should have the right brush to help you in bringing out the finer details. Always go for super soft and synthetic brushes since the facial skin is pretty sensitive.

Water

You need to have a container of clean water to clean your tools and wash your hands.

Glints

You want to produce a stunning appearance which is why you should consider having glitters.

Stencils

We all love making references which is why you need to have a sample picture of how to do face painting.

Towel

You will use the towel to wipe and dry your hands. Somebody can also use the towel to wipe any spilled paint.

Mirror

How else are you going to know how you painted? Ensure you have a mirror to enable you to see the kind of marvel you are creating.

Clips

Use the clips to hold your hair back so you can paint your face with much ease

Preparation

You will do this exercise like any regular makeup application, beginning with a soft and clean sponge. Ensure your face is clean and dry to achieve the desired look. Use a good primer instead of your usual moisturizer and let it dry before continuing.

Application

Use a little bit of Vaseline on your hairline and eyebrows to avoid a messy painting. A smaller brush will work wonders on your lips and eyes, while a sponge will be helpful on the entire face. Let the white paint dry thoroughly before adding another coat of paint.

You can work with soft strokes while applying the paint to your face. Use a dry piece of cloth to wipe gently over your face, then apply your most preferred moisturizer. In case the moisturizer doesn’t work as expected, use cold cream and a damp cloth. On that note, let us examine crucial painting tips you should know.

  • Clean your face and your hands; though pretty obvious, cleaning your face will eliminate excess oils and wastes, which might pose a challenge during the paint application process.
  • Wash the tools you will use, such as brushes and pieces of cloth. Clean your tools accordingly before using them to kill any sort of bacteria and germs. A good way you can wash them is by using a soapy solution in a bowl.
  • Keep your white paint in a safe place away from children. If adequately kept, face paint can last much longer than ordinary paint.
  • Use your pieces of clothing to cover the required area. You can always go for a sponge instead of your brush if you start with a primer and ensure they are sufficient for the whole exercise.
  • Don’t rush things in a bid to impress your friends; take all the time you need if your goal is to paint your face evenly with minimal errors. Allow your maximum color time to dry before adding another color if necessary to avoid shoddy work.
  • If you are painting with multiple colors, develop the habit of applying layers in bits and let them dry completely before adding another layer to minimize paint cracks.
  • Use stencils accordingly to bring out your artistic skills when painting the face
  • Use appropriate wiping material to clean any spilled paint
  • Take good care of your skin by not applying paint on fresh scars and cuts.
  • Face painting becomes much more fun when you do it with family and friends, which is why you should invite your friends because face painting is essentially a party. Ensure you have enough face paint to last the whole exercise.

If you are a holiday fanatic, then face painting must be at the top of your list. Notwithstanding, coloring can be a challenging affair for some people; you don’t want to take any paint and apply it to your face without following a straightforward procedure. A good number of commercial face paints contain harmful chemicals, which is why you should only use certified and approved face paint for your face painting escapades. Always ensure your face is clean and dry to achieve the desired look. Use a good primer instead of your everyday moisturizer and let it dry before continuing.

Like any painting piece, applying white paint to your face requires you to follow specific procedures to produce a stunning look. On that note, ensure you have the right materials for the painting exercise.

Enjoy your colorings!

How To Apply Body Paint? | Secret Revealed

How To Apply Body Paint

Bodypaint became famous in the 1960s when Western artists used this method as a way of expression, especially during the hippie movement. Nowadays people tend to use body painting to express or to adorn themselves. Body painting is considered a form of art.

Different types of body paints can be applied to the body temporarily lasting a few hours, there are also body paintings that can last for weeks and they come in different textures and applications. But most body paints are water-based so it’s easy to wash the paint away. It is recommended to use paints that are specifically designed for the face or the body for safety reasons. Based on stringent guidelines, body paints should be non-allergenic, non-toxic, and washed off easily.

List Of Body Paints That Can Be Applied To The Body

Several body paints can be applied to the body and below we list a few:

Water-Activated Body Paints

This is a favorite of many body painting artists. It activates when water is added to it and tends to wash off easily with water and soap. Try not to add too much water as this will make the paint watery and you may not achieve the desired look since the paint will look too thin and will not cover well. These paints are considered to be pigmented which means they will provide great coverage and can last all day.

To apply make sure the area is clean before applying the paint, this is to ensure good coverage. Then apply the paint with a brush to the desired area. Once the first coat is added, add a second coat but from a different angle, this is to ensure wrinkles are covered as well so you don’t have unpainted areas when moving around. For example, bending your knees and elbows so that wrinkles may be covered so you don’t ruin the illusion. Once you finish a sealant needs to be applied. You may seal the paint to help keep sweat and oils from running the paint, so be aware of the rain, a makeup sealer or baby powder can be used. The great thing about water-activated body paints is that if you make a mistake, you can simply clean it off, and it won’t stain, and you can just try again. They don’t dry quickly so there’s time to blend and shade before it dries. However, the paint will run if you sweat a lot or if it’s really hot.

There are 2 types of water-activated body paints: one is glycerin and the other one is wax. They both need water to activate. Glycerin paint is mostly used as an overall painting whilst wax paints are used mostly for creating lines although it can be used as an overall body paint also and tends to dry faster

Alcohol-Activated Body Paint

These types of body paints require alcohol to be activated, 99% isopropyl alcohol to be specific since the paint will not activate with any other type of alcohol. A great feature of alcohol-activated body paints is that they won’t run with water or sweat and can last for days. They are mostly used to create realistic under-the-skin effects like bruises and open wounds and will only come off with alcohol or with the kit remover, since some body paints may bring their own activator and paint remover, they tend to dry faster than other body paints because of the alcohol. Make sure to use it in ventilated areas since alcohol has a strong smell and can irritate the eyes.

To apply alcohol-activated body paint make sure the area to be painted is clean then to activate the paint, add 99% alcohol to each paint as you use them. Add alcohol only to the paints you will be using by adding a couple of drops of alcohol. Paint can be added directly to the skin or a prosthetic depending on the look you’re trying to achieve. Some alcohol-activated body paints come with an activator so you won’t need to use alcohol in this case. You can also modify the opacity of the paint, for a more opaque look, or add less activator or alcohol, the more activator you use, the thinner or translucent the paint becomes. To apply the paint to your skin you can use a brush a sponge or any other application tool that works for you. Alcohol-activated body paints work well with other products like latex, gelatin, and many others, the paint can be sealed with translucent powder.              

Cream Body Paints

Cream makeups are water-based and provide great coverage. Cream body paints don’t need anything to be activated. To apply cream body paint, start by applying thin layers of the paint to your body, and once dry, apply a second thin coat or apply thin coats until the desired look is achieved. Once dry apply translucent powder to set so paint won’t smudge. A great feature of cream body paints is that they can easily be removed with soap and water or with a makeup remover

Grease Body Paints

Makeup is oil-based and offers full coverage, they are smooth and very blendable. They can also be used to highlight and contour or to even out the paint. Grease body paints don’t dry so it is recommended to set the paint with a translucent powder so the paint won’t smudge and to cut down on the shine if necessary. Grease paints are mostly used for face paintings by actors and clowns since it’s great for theatrical makeup although some may say it’s a bit uncomfortable. Grease body paints can be removed with water and soap or with a makeup remover.

There are different types of body paints available out there so it all depends on the type of body paint you feel comfortable with, it also depends on the look you’re trying to achieve. Good body painting allows the wearer to move freely. At times you may need water-resistant body paint and at other times you may not so it depends on the occasion. Make sure to follow safety measures on each product. We hope you find these tips helpful.