Fabric painting can be such a fulfilling experience, so if you want to learn how to heat set fabric paint effortlessly, this article is specifically for you.
4 Methods to Heat Set Fabric Paint
The advantage of any form of painting is that each has specific methods and procedures that should be followed to get the results you want. When heat setting fabric paint, there are four particular methods to use, as discussed below.
1.Heat set Your Fabric Paint Using an Oven
If you are wondering, you can use your oven to achieve a lot apart from preserving your dishes. Place your piece of garment in an already heated oven to preheat the fabric paint.
Be sure to use the required temperature range to avoid damaging your fabric paint. Let your piece of cloth sit in the oven for up to fifteen minutes before removing it.
2.Heat Set Your Fabric Paint Using a Clothes Dryer
Using a clothes dryer is much simpler; place your garment in the dryer. Be sure to set the temperature range to the maximum for effective results. For better results, leave your garment in the dryer for up to sixty minutes before taking it out.
3. Heat Set Your Fabric Paint Using A Printer’s Dryer
If you feel that accessing other sophisticated machines, then a printer’s dryer might come in handy. In this case, you need to set a temperature range of about 300 to 350 degrees.
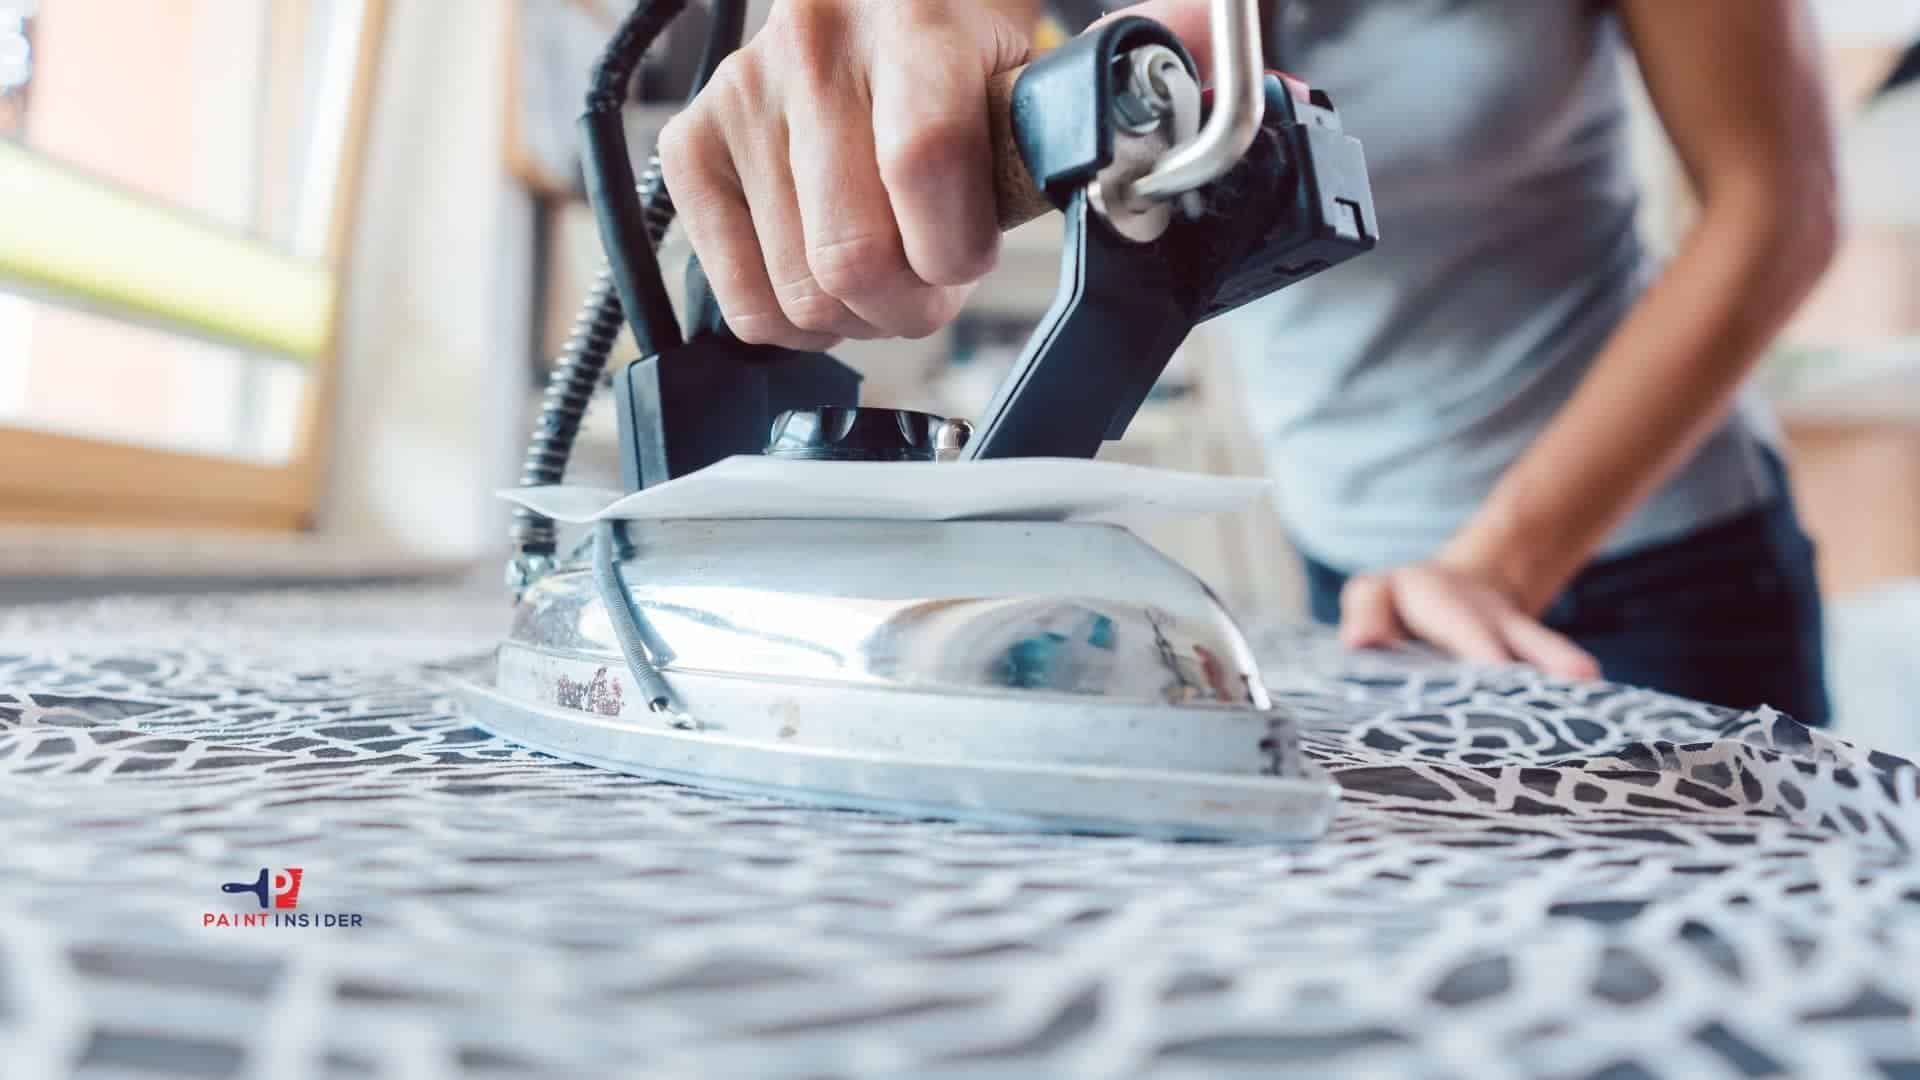
4. Apply Heat Press to Your Fabric Paint Using Iron Box
Having looked at three of the four methods, we will now concentrate on the last method involving iron. Go through the following sections for more content.
You have ironed your clothes in the past, and you will realize that the heat setting your fabric paint is no different. The only exception is that you Will let your iron box sit on your fabric a little longer.
Be sure to iron at least two more times on your fabric paint for effective results Because you want the fabric paint to stay on your garment for quite a while, and it would be helpful to keep ironing it for as long as you want but be cautious enough not to damage your garment.
Modern iron boxes come with a knob to enable you to set a temperature range of your choice. Be sure you know the type of fabric you are using for your painting project because each material requires a specific temperature for efficient results. You might consider ironing your fabric paint several times for the color to stick correctly.
Ensure you prevent the painting from coming into contact with the iron box using a suitable cloth. You want to do professional paintwork, so be sure to take all the necessary precautions. Note that if the iron box is left to touch the paint, the resultant effect is a burnt garment or, at the worst, ink transfer.
Modern iron boxes allow you to use steam when ironing your clothes. However, you will not need any steam on your fabric paint so, be sure not to squeeze that steam button. Consider the possibility of not using steam when ironing your fabric paint.
Although it might be a bit of a challenge, try to iron over your fabric paint a bit faster because you want an evenly ironed surface, this will also ensure that your paint dries simultaneously.
Possibility of Damaging your Iron Box
If you rush your project without following the laid down procedures, you will likely damage your iron.
In a case where you have applied a heavy coating of fabric paint, you might consider allowing it up to a maximum of 24 hours drying time. Always read usage instructions on the can label to ensure the duration required for your fabric paint to dry. You might also feel the color to confirm whether it had dried.
Types of Fabric Paint to Use
With the many options of fabric paint to choose from, be sure you understand the nature of your garment. Each type of fabric paint can only give desired results if it is used on a suitable material. The list below highlights standard fabric paints.
- Spray based
- Puffy
- Mark based
- Brush based
- Bead based
Important Tips to Note
- After applying your fabric paint to your garment, be sure to let it dry properly before doing any form of heat setting.
- Always read usage instructions on the can label to ensure the duration required for your fabric paint to dry. You might also feel the color to confirm whether it had dried.
- When you are confident that the fabric paint is fully dry, carefully take your garment and place it on a level surface as you prepare to heat it.
- Depending on how you want to carry out your project, be sure to set the temperature to the required range. If you are using an iron method, avoid using steam when ironing your fabric paint.
- Proceed to iron the fabric paint when you are certain that all requirements have been met.
- Be sure you understand the maximum amount of time you will heat set to avoid any damages to your paintwork.
- Be sure to shield your paintwork from direct heat by using a suitable cover cloth.
- You can only be sure to have achieved desired results if there is no paint drip beneath your garment.
- The maximum time before washing your garment should be about five days.
From the article, you may have realized that heat-setting your fabric paint will enhance its durability. You can use four main methods to heat set your fabric paint. However, of the four methods, ironing is the easiest and cheaper method to use. To achieve desired results, it would be helpful for you to follow the tips described in this article. Be sure to research for more information regarding the settings to use on different methods. I hope this helps.