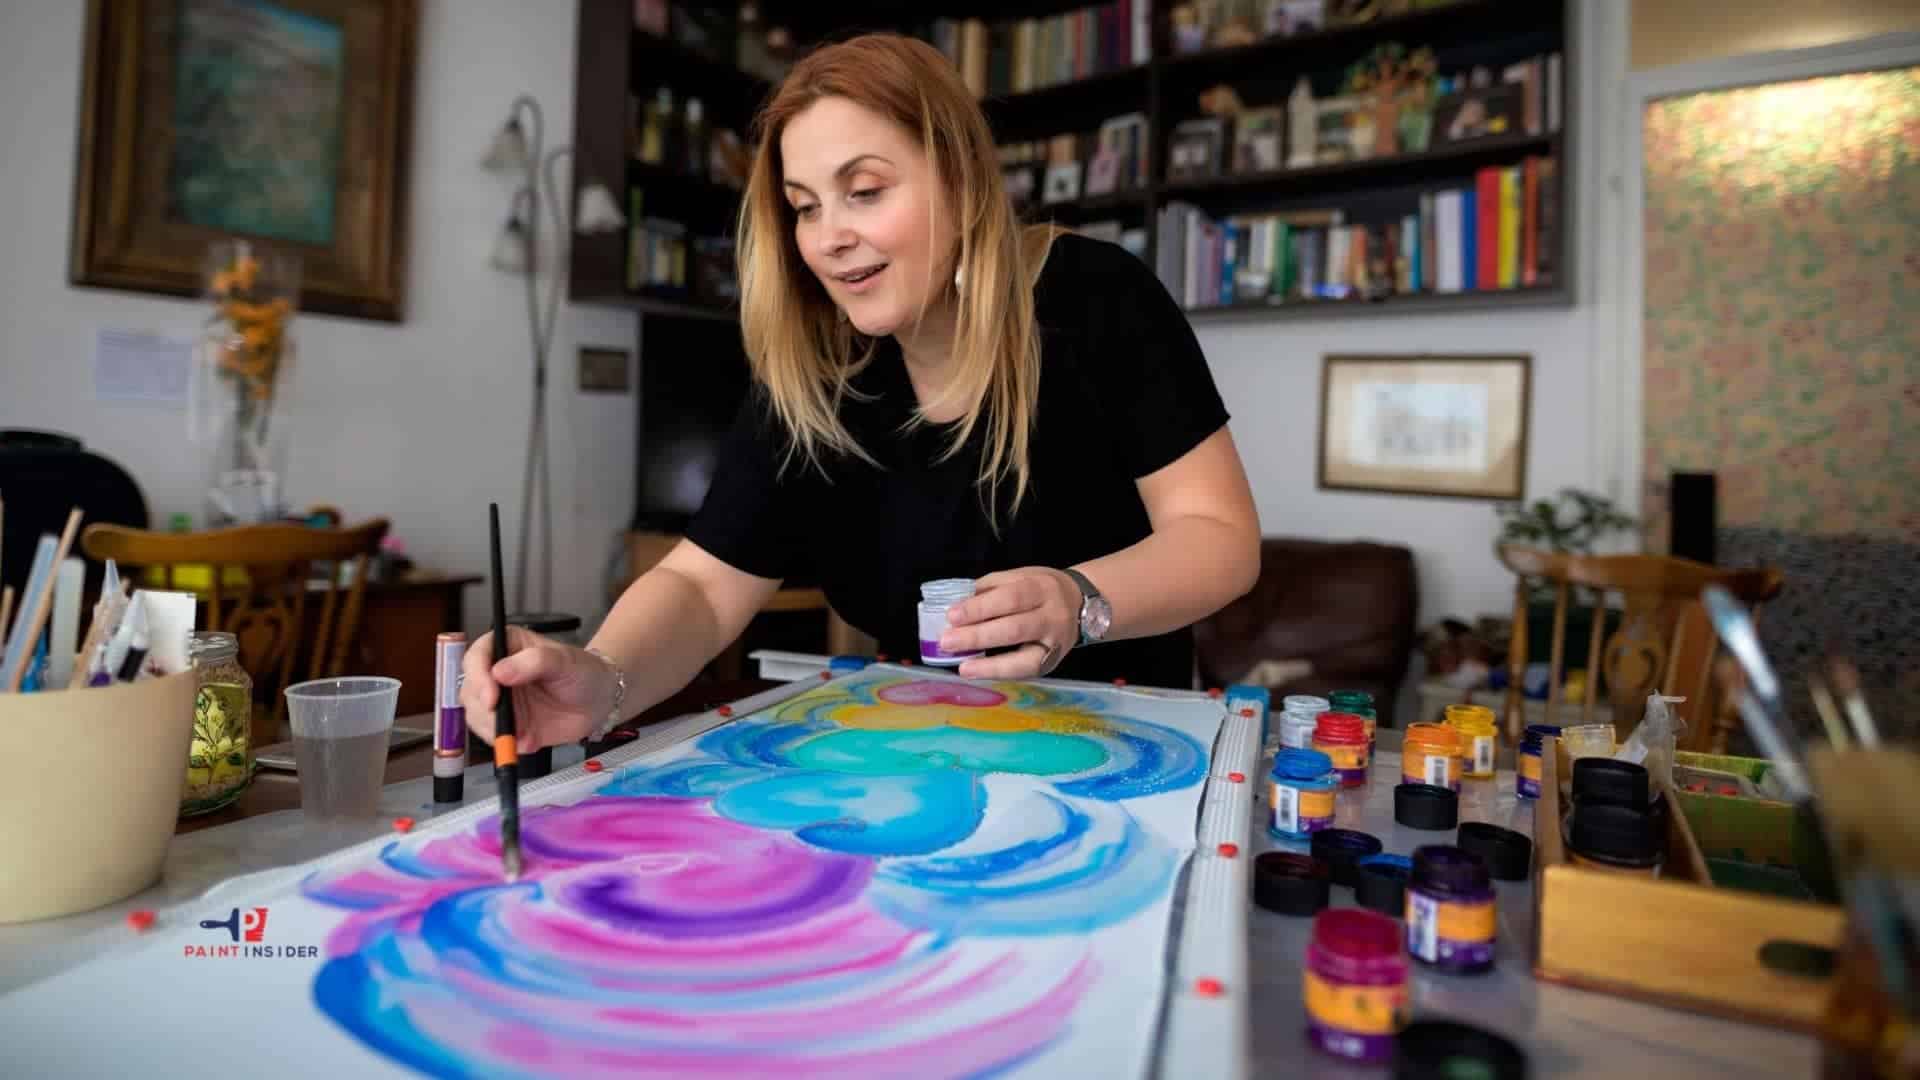
By now, you realize that you can apply paint on almost any surface provided you follow the proper procedure. With that in mind, let’s learn how to paint on silk.
Introduction: Why Paint on Silk?
Painting on silk is an exciting way to blend creativity with texture and light. Silk, a natural fiber known for its shiny surface, turns simple colors into bright artworks that seem to shine. Each brushstroke flows easily, allowing colors to mix in ways that traditional canvases can’t achieve. This special interaction between the dye and fabric creates a beautiful effect that catches the eye and invites thought.
Painting on silk can also be a calming experience, encouraging artists to take their time and fully engage with their materials. The delicate nature of silk requires patience and precision, helping artists connect more deeply with their work. As you start this artistic journey, you’ll learn new techniques and gain a greater appreciation for every detail in your piece. Whether you’re painting scarves or wall hangings, each silk creation tells a personal story woven into your art.
Tools and Materials Needed for Silk Painting
Painting on silk is a delicate art that requires specific tools and materials. Here’s a list of essentials:
Tools
- Silk Frame or Hoop: To stretch the silk and keep it taut for painting.
- Paintbrushes: Fine-tip brushes for details and wider brushes for larger areas.
- Dropper or Pipette: To transfer dyes accurately.
- Spray Bottle: To mist water to create gradients or keep the silk damp.
- Pins or Clips: To secure silk to the frame.
- Hair Dryer: To speed up drying between layers.
- Iron: For heat-setting the paint or dye.
Preparing the Silk Fabric Properly
To prepare silk fabric for painting, start by cleaning it. Wash the silk gently in cool water with a mild detergent made for delicate fabrics. This removes any factory coatings and tightens the fibers, creating a smooth surface for the paint. After rinsing, hang the fabric to dry away from direct sunlight to keep its shine.
Once the silk is dry, stretch it lightly onto a frame or hoop. This will keep it stable and prevent creases while you work. You can also use masking tape along the edges for extra security and to help you create clean lines while painting.
Preparation is not just about cleaning; think about how your colors will work together on the shiny silk. Plan their placement carefully to enhance your artwork.
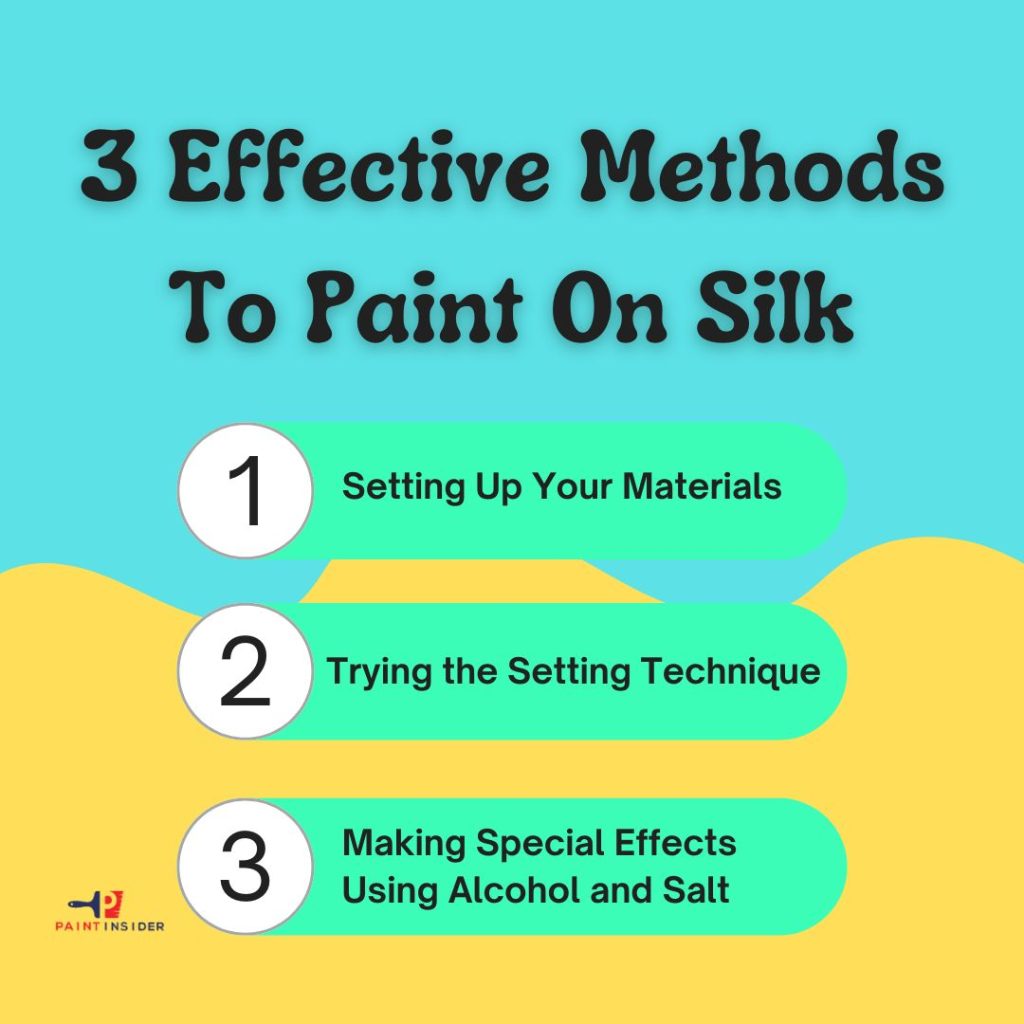
3 Effective Methods To Paint On Silk
Successful painting entails a lot of input from you as an artist. You can paint on any surface if you are armed with the correct information regarding your painting project.

Method 1: Setting Up Your Materials
Before you begin your project, ensure you have all the necessary supplies at your disposal. If you have the correct supplies at your disposal, you can easily apply paint to your silky fabric effortlessly. Below is a step-by-step guide on how to paint on silk easily.
Step1. Use paints meant for silky surfaces
It is common knowledge that any form of paintwork requires you to use the most suitable color for excellent results. In this case, consider using silk-based paints if you want flawless paintwork.
Step 2. Clean your silk thoroughly
As always, ensure your painting project is clean before applying any paint. This is to remove any dirt that may affect the bonding properties of the color to the surface. The most appropriate way to clean your silk material is to wash it with your bare hands directly.
Step 3. Straighten your silk using a suitable mounting
If you are creative enough, you can craft your prop to stretch out your silk fabric. Alternatively, you can buy ready-made support to carry out your exercise. Be sure your material is adequately stretched for proper painting.
Method 2: Trying the Setting Technique
Step 1. Create a sketch of the silk
At this stage, you need to employ your artistic skills properly. Create several drawings, first on a piece of paper using your pencil. Pick the most appealing graphic and recreate it on your silk fabric.
To recreate your sketches on the material, It would be helpful to trace them using a pencil and an appropriate marker. Note that you are not limited to the designs you can make; patterns such as flowers and wordings of your choice will do better.
Step 2. Make a bold outline of your sketch
Use a suitable resist substance to outline your designs. You can shop online for the most suitable resist solvent to use for your project. Be sure to outline your sketch bold enough for desired results. While creating the outline, be sure to press gently for efficient products. Avoid breaks between your lines of the sketch.
Step 3. Let the Tracing Chemical dry
Be sure to give the resist chemical used above maximum drying time before moving on to the next activity. It would be good to consider using a source of dry air to quicken the drying process.
Step 4. Use a suitable brush for paint application
When applying paint on fabric, the most critical consideration should be the paintbrush you are using. In our case, be sure to select a medium brush for use on your silk painting project.
Step 5. Place the paint with iron material
Be sure to switch your mounting after every twenty-four hours. Place a suitable ironing material beneath your silk fabric. Set a standard temperature on your iron box and press on your fabric. Ensure you iron the entire surface of your fabric for even and consistent results.
Step 6. Washing /Dry cleaning your Silk fabric
After completing your paint application and ironing exercise, it is time to wash your artwork to remove any chemical substances used in the initial stages. Alternatively, you may consider dry cleaning your fabric depending on the type of Chemical used to create your outline.
Method 3: Making Special Effects Using Alcohol and Salt
Step 1. Applying A mixture of alcohol and salt
This method is a bit straightforward, and you are only required to use a combination of alcohol and salt on your silk fabric.
Step 2. Applying the initial coat of paint
After applying a mixture of rubbing alcohol and salt to your silk item, you can go ahead and apply your first coat of paint. Be sure to use a suitable paintbrush at this point because you want the lines and edges of your pattern to be as bold as possible.
Step 3. Adding a dark shade
Apply subsequent coats of paint but be sure to use a shade of paint that is a little darker than the initial one. Be sure of the colors to start with because once you are done applying one color, there is no room to redo it if you are mixed up.
Step 4. Let the shades applied dry correctly
Just as you would other layers of paint, be sure to let your painted layers a sufficient amount of time before jumping into the next step.
Step 5. Make your lines bolder using a darker shade
Since you want the lines on your fabric item to be more visible, it would be helpful to consider using a shade that is a little bit dark to make them bolder. You will notice the outlines once the paint dries out.
Step 6. Sing Alcohol
As mentioned in the preceding sections of this article, consider using a mixture of alcohol and salt to create a medium under which paint can work efficiently on the silk fabric. Note that alcohol is essential if you want to smooth out sharp outlines on your silk paintwork.
Step 7. Ironing Your Silk Paintwork
Prep your fabric for ironing. However, be sure to allow your material a standing time of up to twenty-four hours before you do the ironing. Press your iron over the fabric gently but in circular motions until all the paint sets in properly.
From the preceding information, you may have discovered that you can paint on any project provided you have the right supplies and the correct information. Although painting on silk surfaces is tricky, the tips highlighted above will come in handy whenever you decide to paint on a silky material. Enjoy your painting!
Troubleshooting Common Issues in Silk Painting
Silk painting can sometimes lead to problems. Here are some common issues and how to fix them.
1. Colors Bleeding:
If colors run into each other, it may be due to too much water or not enough resistance. To fix this, use less water when mixing paints and apply resist properly to keep colors separate.
2. Faded Colors:
If your colors look dull after drying, it might be because of low-quality dyes or not enough layers. Use high-quality dyes and apply multiple layers for brighter colors.
3. Streaks or Lines:
Streaks can happen if you don’t apply paint evenly. To avoid this, use a soft brush and work quickly to spread the paint smoothly.
4. Wrinkles in the Silk:
Wrinkles can form if the silk is not stretched properly. Make sure to stretch the silk tightly on your frame before painting.
5. Paint Not Setting:
If the paint washes out, it may not have been set correctly. Follow the setting instructions carefully, and consider using a fixative to help the paint stay in place.
By addressing these common issues, you can improve your silk painting experience and create beautiful artwork.
Conclusion: Embrace Your Creativity with Silk Painting
Silk painting lets you colorfully express your creativity. This art form lets you experiment with colors and textures that other mediums can’t offer. As you paint on silk, you’ll see how the dyes interact with the fabric, bringing your imagination to life. Whether you make a beautiful scarf or a wall hanging, silk painting creates a personal connection between you and your work, allowing for spontaneity in your art.
Silk painting is also a great way to relax and practice mindfulness as you focus on the details of your design. The way the dyes flow reflects our creative processes sometimes unpredictable but always beautiful. So, why not try this art form? Gather some silk, brushes, and gutta resist, and ask yourself how to paint on silk. You might discover hidden talents and passions that bring you joy in every piece you create.

