If you are a do-it-yourself person, you may want to paint your shirt. However, such an endeavor is no mean feat. Let’s have a look at how to paint on a shirt.
Introduction: Discover the Art of Shirt Painting
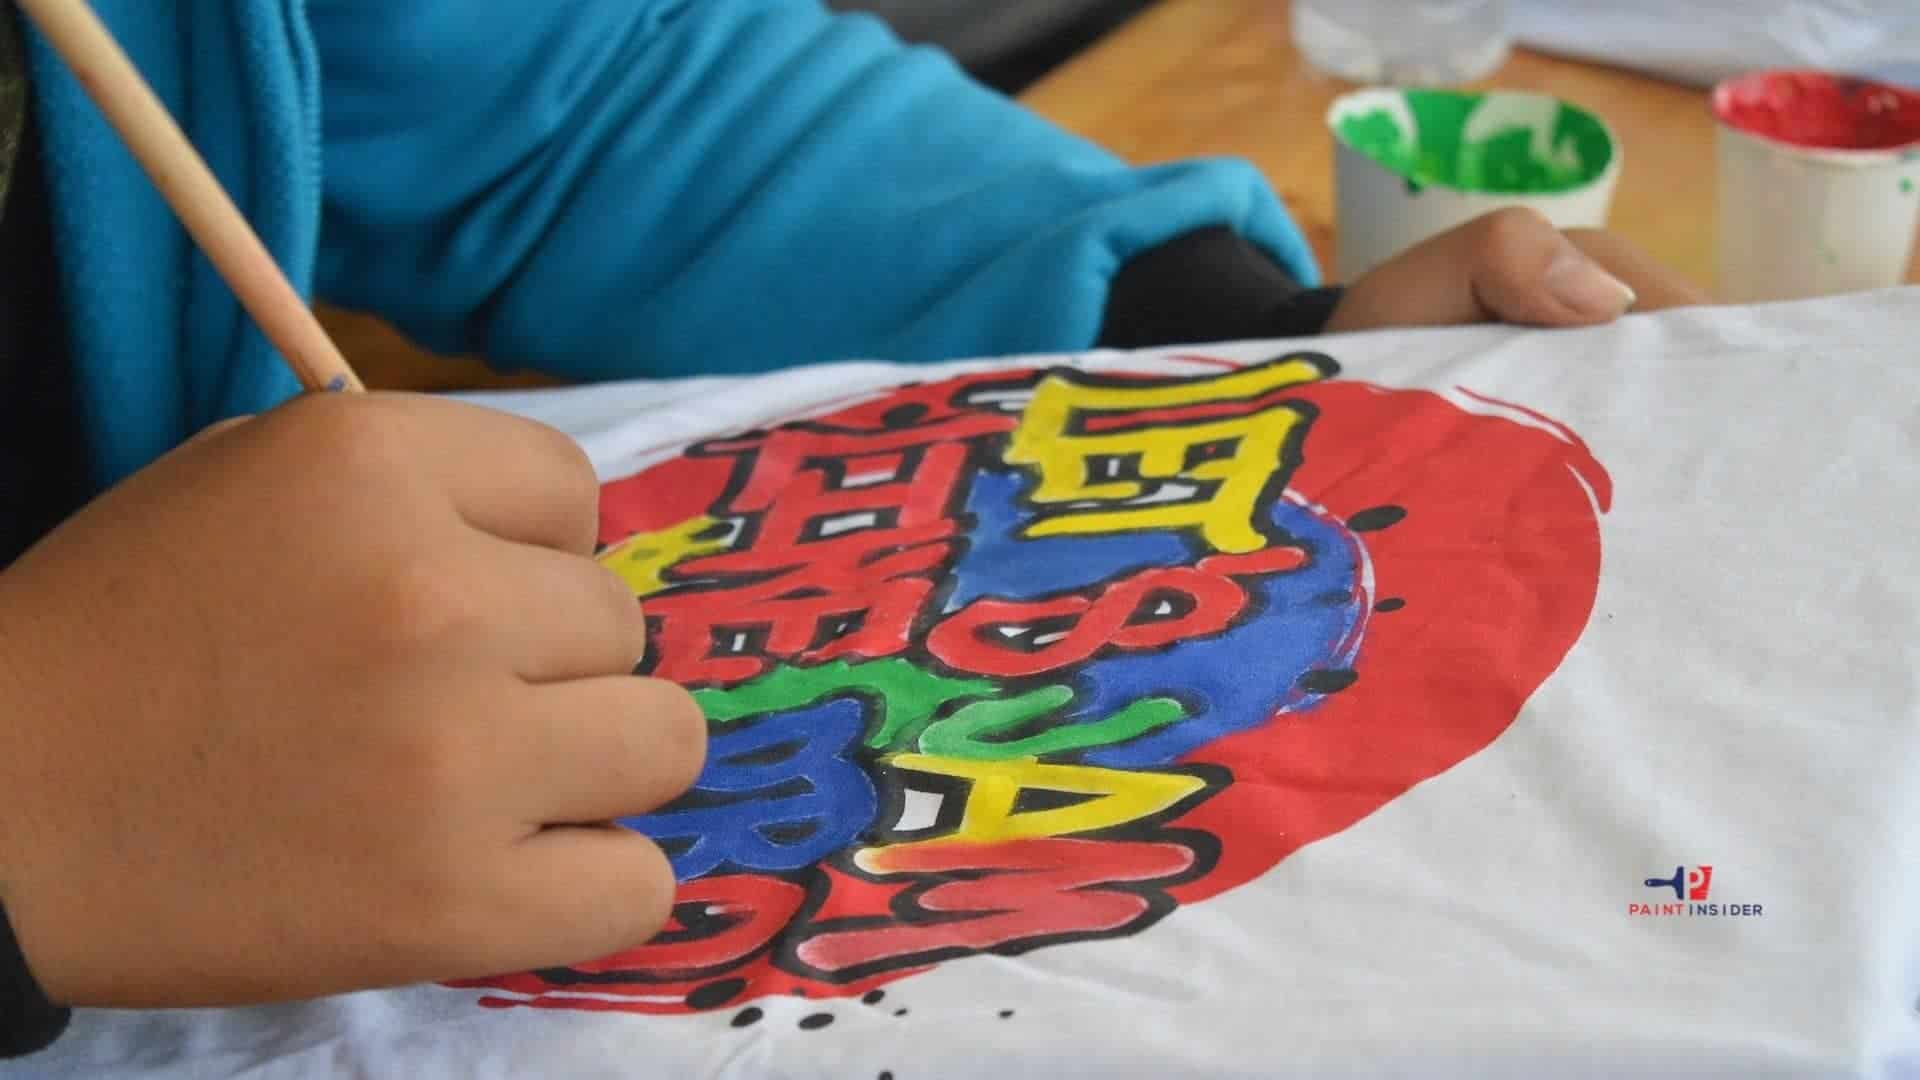
Painting on a shirt allows for personal expression and creativity that store-bought designs often do not provide. This hands-on activity facilitates the exploration of color, patterns, and individual style. Whether you aim to update an old garment or create a unique piece for a specific event, the process can be enjoyable and fulfilling.
Before beginning your project, it is important to consider the type of fabric paint you will use, as fabric markers and acrylic paints can produce different outcomes depending on their interaction with the material. Using stencils or freehand techniques can help you realize your vision. After completing your design, wearing it may lead to conversations and compliments from others. This activity serves as an opportunity to express your identity through wearable art.
Selecting the best Quality Fabric Paints
To select the best quality fabric paints for your project, consider not only the color vibrancy but also the paint’s durability and flexibility. Look for paints specifically designed for fabric applications, as these typically feature formulations that withstand washing and wear. Acrylic fabric paints are a popular choice due to their strong adhesion and brilliant hues, but remember that not all acrylics are created equal opt for those labeled as fabric-safe to ensure they remain soft and won’t crack over time.
To elevate your designs, don’t overlook the finish options available: matte, glossy, or metallic. Each finish can dramatically change the look of your artwork on clothing; a metallic hue can add an unexpected twist while matte provides a classic, understated elegance. Another crucial factor is the ease of application choose fabrics that lend themselves well to the painting techniques you plan to use, whether it’s stenciling or freehand brushwork. Ultimately, investing in high-quality fabric paints will ensure your creations not only stand out but last through countless washes while answering the question of how to paint on a shirt effectively.
3 Sure Methods To Effectively Paint On a Shirt
We can all agree that applying paint on fabric can be a bit challenging. You would want to paint your shirt maybe you want to attend an event, or you want to paint the painting as a pastime activity. Whatever the case, you need to have the necessary supplies and the correct information to achieve the desired results. Go through the subsequent sections of this article to learn more about this topic.
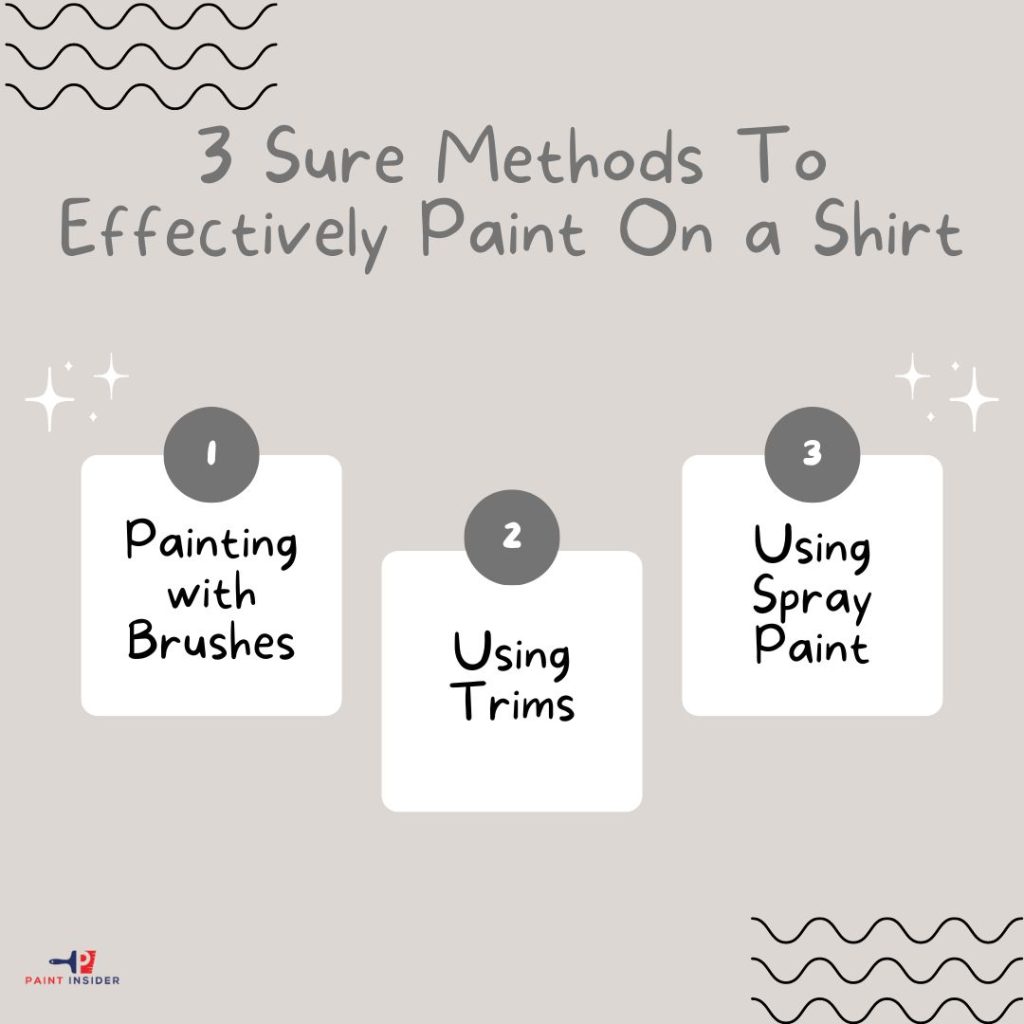
Method 1: Painting with Brushes
Step 1. Wash your shirt to remove wrinkles
Consider washing your shirt thoroughly to get rid of wrinkles. Any form of folding on your shirt will hamper your painting exercise. Washing your shirt is also one way to remove dirt for easy application of paint.
Step 2. Preparing your working space
Lay some old magazines beneath your shirt and take away anything that might obstruct you while painting. Be sure to have all the necessary supplies before embarking on your project.
Step 3. Put a hardboard in between your shirt
Be sure to use a hardboard that perfectly fits the size of your shirt. Ensure the hardboard can flex in between your shirts properly. You don’t want any paint dripping to get to the other side of your shirt.
Step 4. Use suitable fabric paint to paint on your shirt
The best way to go about this step is to sketch your sweater if you paint specific designs. Create bold outlines to guide you through the paint application process. Alternate between different brushes for excellent results.
Step 6. Remove the hardboard used earlier
Gently but steadily, remove the hardboard from between your shirts. Be cautious enough to avoid messing up your paintwork.
Method 2: Using Trims
Ensure you have the necessary supplies and the correct information to achieve desired results.
Step 1. Washing the shirt
As we stated earlier, washing is critical because it ensures your shirt has minimal wrinkles.
Step 2. Prepare your workplace
Consider using old towels or using magazines to cover your table. Be sure to have water at the ready for cleaning your brushes.
Step 3. Using a hardboard or a rigid material in between your shirts
Use a well-measured hardboard to avoid shrinking your shirt. In case you don’t have a hardboard, make one by folding your newspaper together.
Step 4. Place a significant amount of paint into a mixing plate
Note that it would be helpful to consider using a big platter if you intend to use various colors.
Step 6. Immerse your paintbrush into the paint
Consider using a paint roller that is meant for smaller surfaces if you cannot grab a paintbrush. Paintbrushes are a great way to work on trims.
Step 7. Allow your fabric paint to dry properly before removing your improvised hardboard
Proper drying of your fabric paint will elongate the durability of your fabric paint. You can be sure that even if you wash your shirt regularly, the color won’t come off easily.
Method 3: Using Spray Paint
Consider washing your shirt thoroughly to get rid of wrinkles. Any form of folding on your shirt will hamper your painting exercise. Washing your shirt is also one way to remove dirt for easy application of paint.
Step 1. Be sure to wash your shirt
We stated earlier that, to get better results with your painting project, ensure you get rid of wrinkles and shrink your sweater. Additionally, washing your shirt ensures that any dirt that might affect the bonding properties of your paint is done away with.
Step 2. Improvise a hardboard to use in between your shirts
You want to do a clean piece of painting, and paint drips may mess up your adorable shirt, so consider using a hardboard or a suitable material in between your shirt.
Step 3. Place your trim it’s the correct position
Be sure to apply a trim that is purposely meant for fabric paint. If you don’t have access to a commercial decoration, you might consider improvising one.
Step 4. Work on a well-ventilated area
Working with paint involves the emission of toxic fumes, so working in a place where there is free air circulation should be your priority. Alternatively, it would be helpful to put on protective gear to avoid damaging your vital organs, such as the lungs.
Step 5. Spraying paint on your shirt
Step 6. Drying time for your spray paint
Step 7. Allow your spray paint enough drying time
Ideally, it would be best if you let the paint sit on your shirt for up to fifteen minutes before you think of removing the protective material in between your shirt. Be cautious enough when removing your hardboard to avoid messing up your paintwork.
Painting on a shirt is possible if you follow the correct steps. You may have discovered that you can paint on any project provided you have the right supplies and accurate information from the preceding statement. Although painting on a shirt is a bit tricky, the tips highlighted above will come in handy whenever you decide to apply paint on your shirt. Enjoy your painting!
Common Painting Issues and How to Fix Them
One common issue when painting on shirts is bleeding, where the paint seeps beyond the intended design. To avoid this, consider using fabric paint specifically designed for textiles or applying a fabric medium to regular acrylics. Additionally, placing cardboard between layers of the shirt can help absorb excess moisture and prevent paint from transferring to other parts of the garment as you work.
Another frequent problem is fading after washing. This can be frustrating especially if you’ve invested time in creating the perfect design. A great tip for longevity is to heat-set your painted shirt after it dries; simply iron it on a low setting with a cloth over the design or toss it in a dryer for about 30 minutes. Lastly, remember always to wash your painted clothes inside out in cold water this keeps both vibrancy intact and minimizes wear on your artwork!
Conclusion: Enjoy Your Custom Shirt Creations
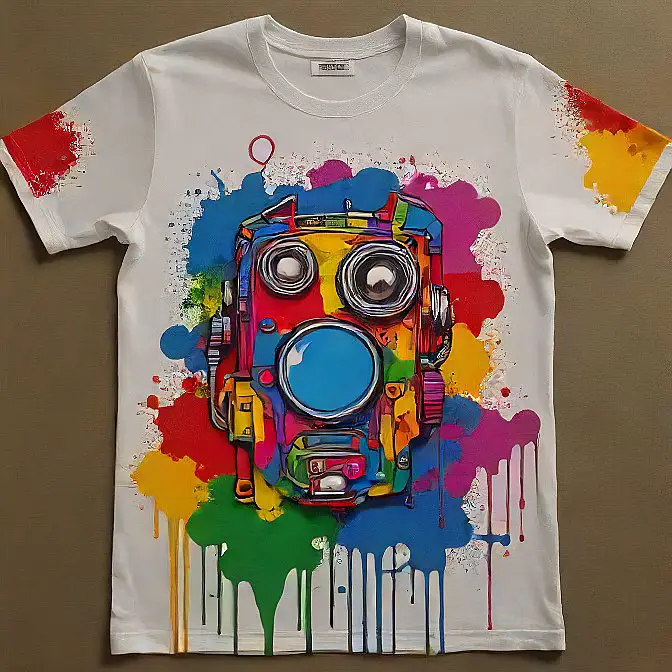
Painting on a shirt goes beyond just creativity. it establishes a connection between the artist and the fabric that can tell unique stories. Whether you’re using fabric paints, sprays, or dyes, each stroke embodies your personality and message. It’s not just about aesthetics, it’s an opportunity to express emotions or commemorate special moments in your life.