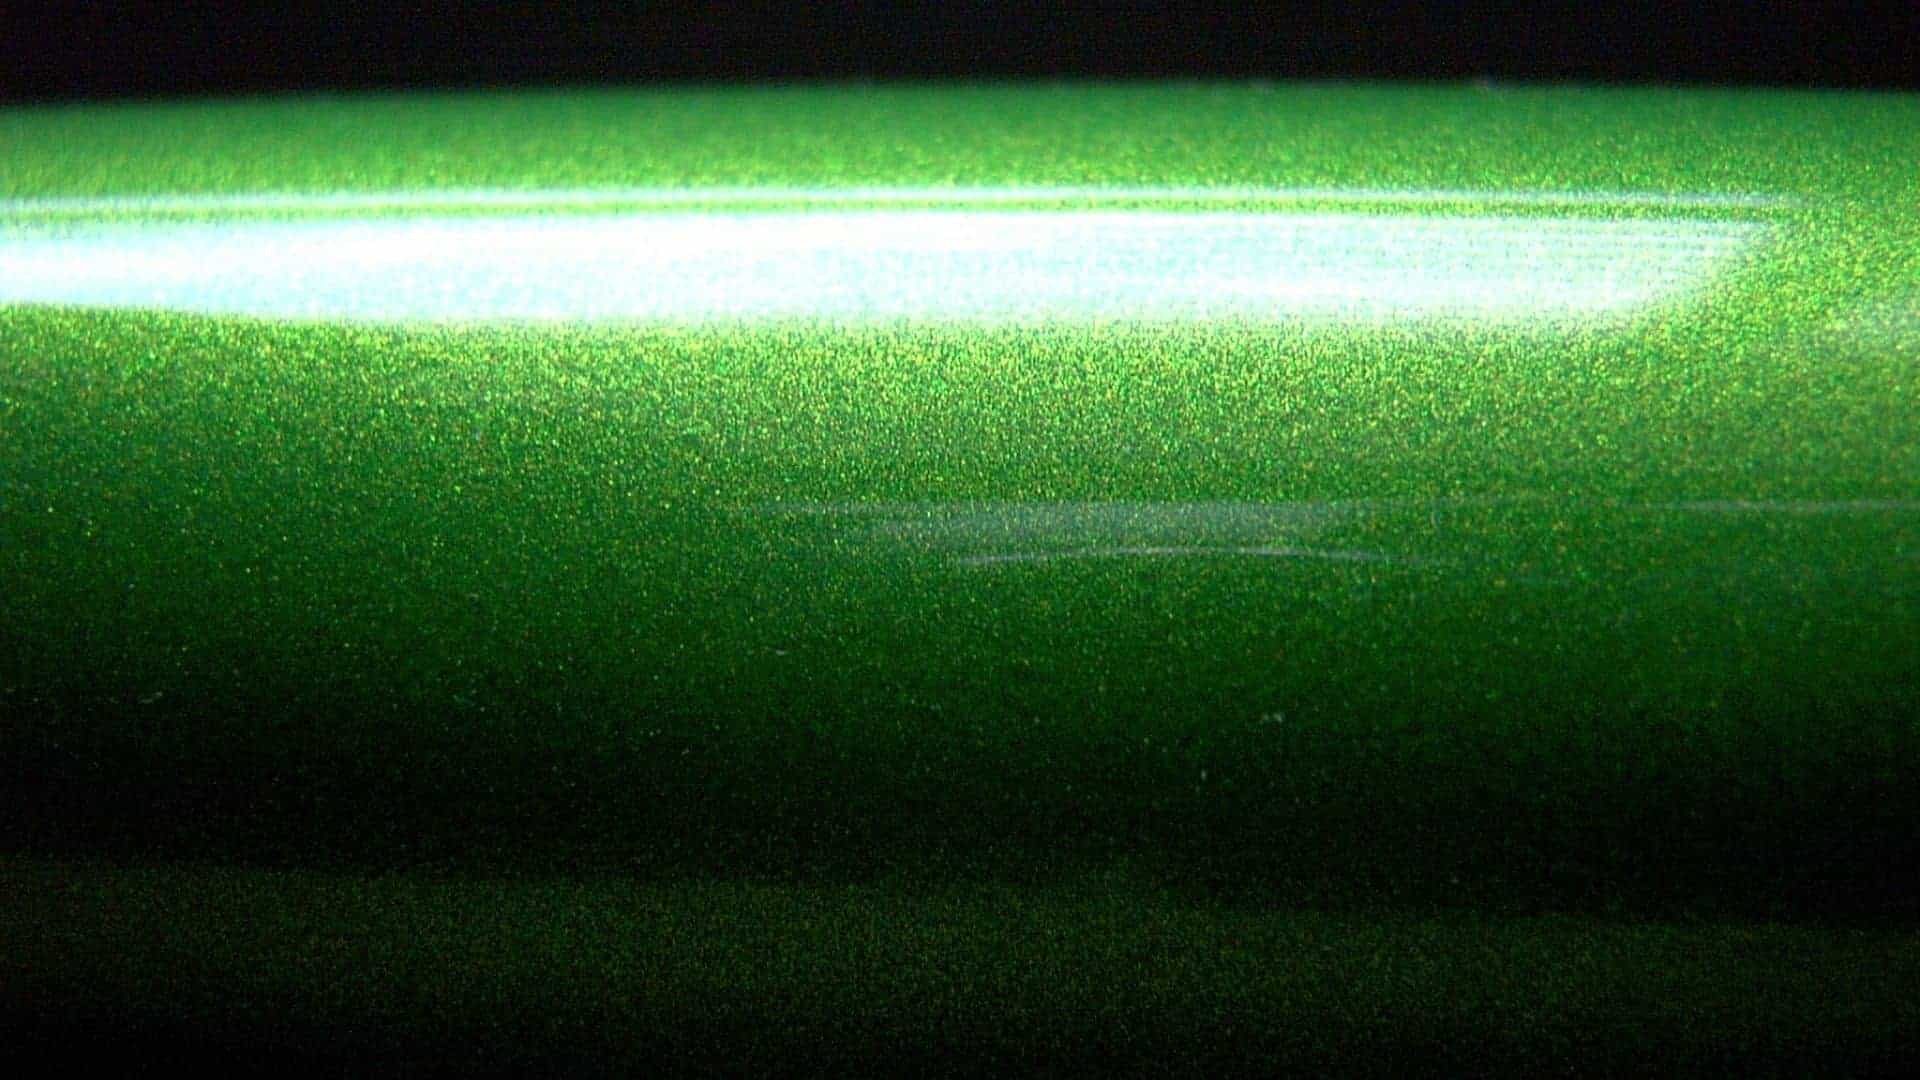
If you want to know how to paint metal flakes on your project, you are in the right place because this article will give you tips on how to paint metal flakes.
Introduction: Understanding Metal Flake Painting
Metal flake painting is an artistic technique that transforms ordinary surfaces into eye-catching displays of shimmering color. This process involves incorporating tiny particles of metallic substances into the paint, which creates a dynamic effect as light reflects off the surface. The result is not just a visual phenomenon; it also adds depth and dimension to the painted object, making it stand out in any setting. Whether used on vehicles or home decor, metal flake finishes can elevate craftsmanship to a new level.
One must consider technique and texture when exploring how to paint with metal flakes. The key lies in achieving an even distribution of the flakes while ensuring proper adhesion to avoid peeling or fading over time. Using a clear coat can enhance both longevity and shine, allowing the flakes’ brilliance to remain vibrant for years to come. Additionally, experimenting with various sizes and colors of metal flakes opens up endless creative possibilities, from subtle elegance to bold statements that capture attention instantly. Embracing these elements unlocks the potential for personalized artistry that is uniquely yours.
Tools Required for Metal Flake Application
Here are the essential tools required for applying metal flake to a surface:
Tools:
- Spray Gun with Large Nozzle – A spray gun with a larger nozzle (1.8mm – 2.5mm) is needed to allow the metal flakes to flow through without clogging.
- Air Compressor – For powering the spray gun, ensuring consistent pressure during application.
- Mixing Cups – To measure and mix the metal flakes with a clear coat of paint.
- Stir Sticks – For thoroughly mixing metal flakes into the clear coat or paint.
- Respirator Mask – For protection against inhaling harmful particles and fumes during application.
- Tack Cloth – To remove dust and particles from the surface before spraying.
- Clear Coat Spray Gun – Used to apply multiple layers of clear coat over the metal flakes to protect and enhance the finish.
- Polishing Kit – For buffing and polishing the final coat to achieve a glossy, smooth finish.
Materials:
- Metal Flake – Available in various sizes and colors, these are mixed with a clear coat or paint for application.
- Clear Coat or Paint – A medium in which the metal flakes are mixed for spraying onto the surface.
- Reducer – A thinning agent to adjust the consistency of the clear coat for easier spraying.
These tools will help you achieve a professional and eye-catching metal flake finish on your project.
Choosing the Right Metal Flake Type
When it comes to choosing the right metal flake type for your project, consider not just the aesthetics but also the effect you want to achieve. Larger flakes create a dramatic, sparkling finish that catches the eye under various lighting conditions, making them ideal for projects like custom car paint jobs or unique furniture accents. On the other hand, finer metal flakes offer a more subtle shimmer, perfect for achieving an elegant look without overwhelming your overall design.
Additionally, think about how these flakes will interact with your chosen paint and application method. Some flakes work better with specific types of paints than others; for instance, solvent-based paints can enhance the brilliance of larger flakes. Don’t forget about layering! Mixing different sizes and colors of metal flakes can yield stunning gradients and textures that transform ordinary surfaces into extraordinary masterpieces. Ultimately, exploring various combinations allows you to personalize your project in ways that truly reflect your individual style.
Preparing the Surface Before Painting
- Before diving into the excitement of applying those vibrant metal flakes, taking time to prepare the surface can make a world of difference in your final outcome. Start by ensuring the surface is clean and free from dust, grease, or old paint, as any contaminants can lead to poor adhesion and an uneven finish. A thorough wash with soap and water followed by a rinse will set the stage perfectly; for tougher residues, consider using a solvent designed for your specific material.
- Once cleaned, inspect the surface for imperfections such as scratches or dents that could mar your masterpiece. Sanding these areas smoothly not only enhances how light reflects off your future paint job but also creates an optimal texture for adhesion. Additionally, applying a suitable primer tailored for metal surfaces can elevate your project further primers designed to inhibit rust or corrosion offer lasting protection that complements the dazzling effect of metal flakes beautifully.
- After priming, it’s essential to allow sufficient drying time before you start painting with those stunning flakes. This interim step not only helps avoid mixing but also provides a strong foundation that ensures every glimmer pops out just right when finished. In this preparatory dance between utility and aesthetics lies the secret behind transforming ordinary surfaces into eye-catching displays that truly shine!
2 Sure Steps to Follow When Painting Metal Flakes

Step 1: Mixing the Paint
Use your spray gun to apply metal flakes of paint to the surface of your piece of art. At this point, you should consider using a clear polish to act as your base. Note that the metal flakes paint will bring out both hue and spackling effect to your surface.
Consider sanding the surface of your project using medium-grained sandpaper; When you are sure the surface is ready to be painted, spray about two coats of a suitable primer followed by a thin layer of metal flakes paint.
Choose an open space for your painting exercise. You want to protect yourself from the harmful fumes and chemicals in paint, so be sure to use appropriate protective gear before starting your painting exercise. If you are working in an enclosed space, ensure free circulation of air by opening your windows.
Tip: Be sure to use certified protective equipment. You can purchase certified protective gear from your local hardware.
Pour a significant amount of your base into your spray can containing your metal flakes paint and shake the contents thoroughly.
Blend your base paint with an appropriate thinner. Be sure the contents have been mixed properly before moving on to the next level. Note that the proportion of your substances should be in equal parts.
Add about two spoonfuls of your metal flakes powder to the mixture you prepared above. Stir the contents until you have a uniform variety.
Step 2: Apply the Metal Flake Paint
After preparing your metal flake paint, you can start your project. Be sure to work in a well-ventilated environment. If there are any parts on your surface you don’t want to be painted, consider masking such areas with painter’s tape or suitable covering material.
Note you will be spraying your paint, so be sure to remove any items around your painting area or cover them to shield them from paint sprays. Be sure that your spray paint is as thin as possible for easy application on the surface.
Follow the necessary instructions about assembling your spray before you pour your add any paint to your can. Be sure to measure a significant amount of your color that will complete your project.
Note that you will spray your paint by employing left-right motions over the surface of your project. Be sure to hold the spray steadily as you work on your character. Maintain a consistent movement while spraying to achieve a clean and even finish.
Allow your paint a sufficient amount of time to dry before spraying subsequent layers. The amount of drying time will depend on the nature of the material you are painting. However, to be sure, always check out the instructions on the sticker of your can for the minimum amount of drying time.
When your coats are completely dry, spray another two layers of your metal flake paint to maintain the same approach you employed earlier. Let the two coats dry thoroughly, and then examine the surface of your project to see whether the results are what you want.
Essential Tips to Keep In Mind

- Metal flakes can be used on several surfaces to add a glittering and metallic finish.
- Metal flake paint is used to achieve a clean and shiny finish on the metal surface. You can use metal flake paint to add final touches to guitars and other characters of your choice.
- The most important thing to remember when painting using metal flake paint is to read instructions as provided by manufacturers to achieve the desired results.
- Consider using a suitable base when you want to apply a metal flake on any surface.
- Be sure that your spray paint is as thin as possible for easy application on the surface.
- The amount of drying time will depend on the nature of the material you are painting. However, to be sure, always check out the instructions on the sticker of your can for the minimum amount of drying time.
- When applying paint on a metal surface, be sure to sand the surface to improve bonding properties between the color and the texture of your material.
- Be sure to achieve a smooth and even finish by removing unwanted stretch marks on the surface of your material using different grains of sandpaper.
- Use a recommended nozzle diameter whenever you are spraying metal flake paint.
- The standard diameter of your nozzle should be about 2½ mm
- Consider buying certified tools whenever you are painting with metal flake paint.
- Consider using metal flake products with the same properties for a clean and consistent finish.
- Use suitable covering material to enable you to do a clean job.
- Be sure to use certified protective equipment. You can purchase certified protective gear from your local hardware.
- Choose an open space for your painting exercise. You want to protect yourself from the harmful fumes and chemicals in paint, so be sure to use appropriate protective gear before starting your painting exercise.
- If you are working in an enclosed space, ensure free circulation of air by opening your windows.
- Note you will be spraying your paint, so be sure to remove any items around your painting area or cover them to shield them from paint sprays.
Metal flake paint is used to achieve a clean and spackling finish on the metal surface. Consider using your metal flake paint to decorate guitars and other characters of your choice. The most important thing to remember when painting using metal flake paint is to read instructions as provided by manufacturers to achieve the desired results.
Sand the surface of your project if it is not in good shape using medium-grained sandpaper; When you are sure the surface is ready to be painted, spray about two coats of a suitable primer followed by a thin layer of metal flakes paint.
Common Mistakes to Avoid When Painting
One of the most common mistakes when painting, especially with something like metal flakes, is neglecting surface preparation. Many enthusiasts dive straight into the fun part of the actual painting without properly cleaning or priming their surfaces. Dirt, grease, or rust can drastically hinder paint adhesion and lead to a disappointing finish. Always invest time in thorough sanding and cleaning; this foundational step sets you up for long-lasting results.
Another pitfall is improper paint mixing. When it comes to incorporating metal flakes into your paint job, it’s critical to follow the manufacturer’s instructions closely regarding the ratio of flakes to base paint. Too many flakes can create an uneven texture while too few might leave your surface looking dull and uninspired. For a flawless application, consider using a spray gun instead of a brush; this allows for an even distribution of both color and sparkles, ensuring that every inch radiates with brilliance without clumping or streaks.
Conclusion: Achieving Stunning Metal Flake Effects
In conclusion, painting with metal flakes can elevate your project from ordinary to extraordinary, offering a dazzling finish that catches the eye at every angle. The application process may seem daunting initially, but by mastering the techniques and understanding the materials required, you unlock a world of creative potential. Remember, preparation is key; taking the time to properly clean and prime your surface can make all the difference in achieving that perfect shimmer.
Don’t hesitate to experiment and let your creativity shine! Try layering different colors or sizes of flakes for a more dynamic effect or mix them into clear coatings for subtlety. Each experience will refine your skills and build your confidence as an artist. So grab those brushes and start transforming not just surfaces but also how you express yourself through color and texture because when it comes to art, there are no limits!

