You can paint your engine bay either by removing the engine or leaving it intact as you paint. Read on to find out how to paint the engine bay without removing the engine.
Introduction: Importance of a Clean Engine Bay
A clean engine bay is often underestimated in terms of its impact on vehicle performance and longevity. While it may seem purely cosmetic, a pristine engine compartment can lead to better identification of potential issues such as leaks or worn components. When grime accumulates, it obscures critical parts and connections, making routine inspections challenging. By maintaining clarity through cleanliness, you’re not only safeguarding your engine but also ensuring that any necessary repairs are quickly noticeable.
Moreover, a well-kept engine bay can enhance the aesthetic appeal of your vehicle an often-overlooked factor that adds value when considering resale. Potential buyers appreciate the extra effort put into maintaining every aspect of their prospective purchase; an immaculate engine bay reflects care and attention to detail. Additionally, for DIY enthusiasts eager to tackle projects like how to paint an engine bay without removing the engine, starting with a clean slate promotes superior adhesion of new paints and finishes, resulting in a more professional appearance that can make all the difference in your automotive endeavors.
Choosing the Right Paint for Engine Bay
When considering how to paint your engine bay without removing the engine, selecting the right type of paint is crucial for achieving a professional finish that can withstand high temperatures and harsh conditions. Opt for high-heat enamel or specialized engine paints, which are designed to adhere well to metal surfaces while resisting chipping and fading. These paints not only offer durability but also come in various colors and finishes, allowing you to customize your engine bay according to your style.
Another key aspect often overlooked is surface preparation. Before applying any paint, ensure that you meticulously clean the area of grease, grime, and old flaking paint. Using degreasers or non-abrasive scrubs will ensure optimal adhesion of the new coat. Additionally, using a primer can further enhance adherence and provide a smooth base for the topcoat this step is essential when working around tight corners and complex geometries in an engine bay where access might be limited. With proper preparation and quality materials, painting your engine bay can rejuvenate its look while ensuring longevity against heat exposure and fluid spills.
how to Paint Engine Bay Without Removing engine: 3 Approaches
Things You’ll Need
- Primer and paint
- Sandpaper
- Cleanser
- Scrubber
- Masking tape
- Foil
- Paint gun/spray can
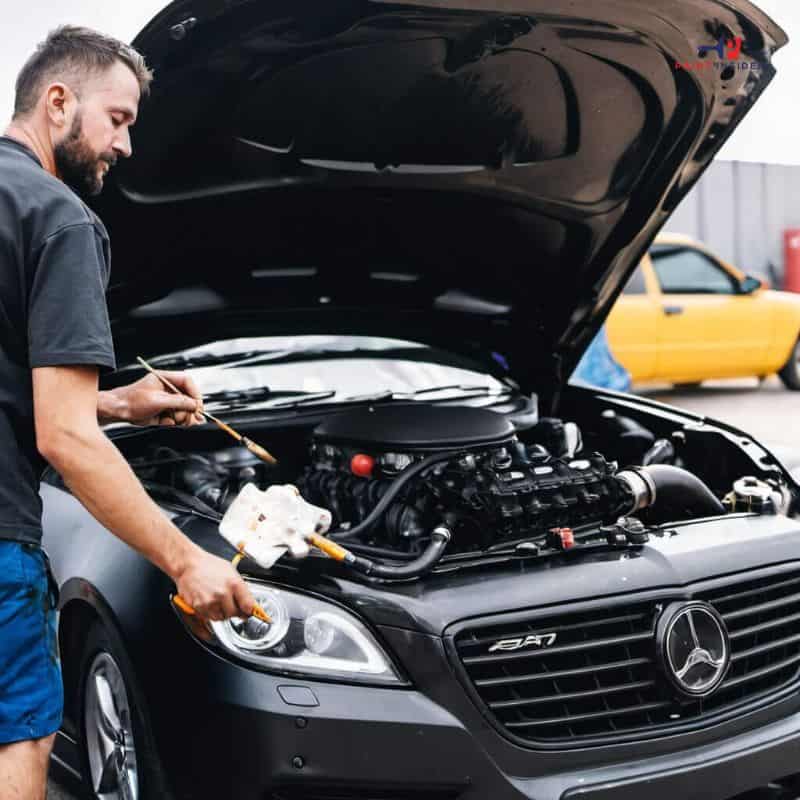
Approach 1: Removing Dirt from the Engine Bay
Step 1: Cleaning The Bay
Cleaning forms part of the preparation stage when you want to paint your engine bay. Allow the engine to cool down completely, preferably overnight, before you begin your project.
- Be sure not to apply a cleaning agent over a hot engine because it may reduce its efficacy.
- Be sure to let the engine cool down before starting your painting exercise to avoid any related injuries.
Step 2: Remove Components In The Engine Bay
You can remove any parts inside your engine bay apart from the engine. If you are unsure of how to remove connecting cables and wires, it will help you consider using specialized mechanic’s services.
- Note that you should ensure minimal obstruction in the engine bay while painting, so make sure to remove components as necessary.
- Be sure to store your components in a safe environment where you can easily access them.
- Features you can remove may include a radiator, alternator, and air filters.
Step 3: Conceal Electronic Components
Use masking tape and appropriate material to conceal electronic devices. Cover features like an alternator properly to avoid damaging them. You want to achieve a professional finish on your engine bay, so consider covering any parts you don’t want to paint.
Step 4: Use An Appropriate Cleaning Agent
A cleanser will work in this case, be sure to spray your cleaning agent over the metal surface of your engine bay. Apply a thin layer of your cleansing agent because you want to remove all forms of Dirt around your engine bay.
Step 5: Scrubbing Dirt
Step 6: Rinsing The Engine Bay
When you are through with cleaning up your engine bay, use high-pressure water to rinse around your engine bay. Direct your horse pipe to every corner around your engine bay to get rid of dirt. Allow the surface to dry before moving to the next stage of your painting exercise.
Approach 2: Surface Preparation
Use medium-grained sandpaper to rub around your engine bay. Because you want to spray paint on a clean and rust-free surface, be sure to get rid of rusty materials around the engine bay. Replace certain parts of your engine bay because you don’t want the rust to spread all over the engine bay.
Rip off the old paint if you want your new color to properly bond to the surface of your engine bay. You might consider using a glider to achieve a clean and even finish.
Wipe the surface of your engine bay with a dumb cloth to get rid of dust and other unwanted particles. Use a high-pressure washer to remove sticky particles on the surface of your basin.
When you are sure that your engine bay is dry, use an appropriate masking material to cover the engine and other components inside your engine bay. You don’t want a messy kind of painting, so be sure all components in the bay are shielded adequately from paint splashes.
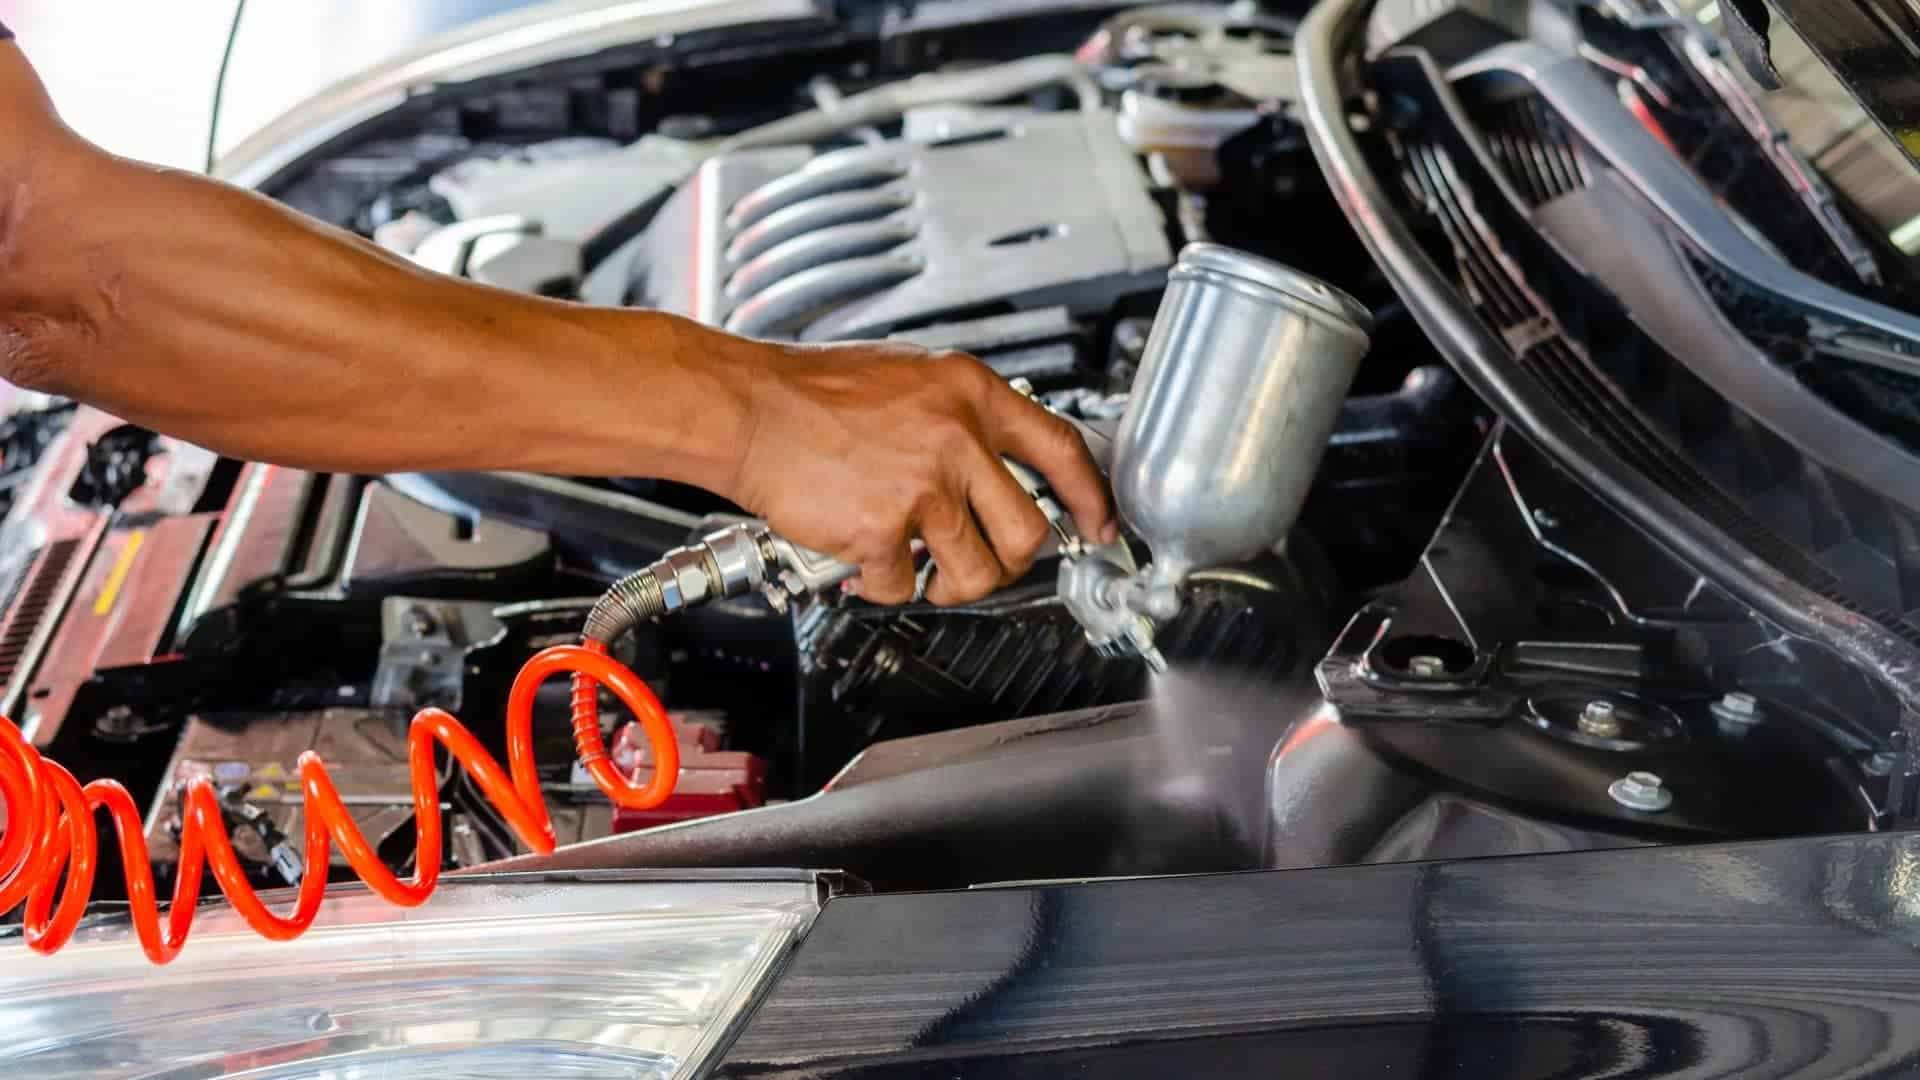
Approach 3: Actual Spraying Of Paint
Start by applying an appropriate primer on the surface of your engine bay.
After ensuring that the primer is fully dry, you can now go ahead and start painting. Be sure to shake the paint properly before spraying. Remember to buy paint with a good temperature rating meant for the surface around the engine bay.
Start by applying two thin coats of your paint on the surface of your engine bay and allow them to dry properly before adding subsequent layers. Note that you may have to spray up to 4 layers to bind your paint to the surface properly.
You will need to apply two thick layers of your paint at this stage, ensuring each coat dries properly before spraying another coat. You want to achieve a deep and consistent hue around the surface of your engine bay so
Let the two heavy coats of paint dry before you remove the masks you used in the initial stages of preparation. Ensure you remove the covers carefully to avoid damaging painted areas around your engine bay.
Give your paint a sufficient amount of drying time depending on the nature of your color. Twenty-four hours is the ideal drying time in this case.
Start fixing back the smaller components you removed in the initial stages; you can also hire a professional mechanic to help you fix the pieces.
Tips Worthy Noting to Paint Engine Bay
- Always consider removing your engine whenever you want to paint your engine bay.
- Give the sprayed layers sufficient amounts of drying time before spraying your surface bay with subsequent coats.
- The amount of drying time you will give your paint will be dependent upon the nature of the color used. Additionally, environmental conditions may also influence the amount of time needed for your surface bay to be completely dry.
- Care should be taken when fixing small components to the engine bay to avoid damaging your painted areas.
- Be sure to store your components in a safe environment where you can easily access them.
- Be sure not to apply a cleaning agent over a hot engine because it may reduce its efficacy.
- Be sure to let the engine cool down before starting your painting exercise to avoid any related injuries.
Enjoy your painting!
Common Mistakes to Avoid While Painting
One of the most common mistakes when painting, particularly in intricate spaces like an engine bay, is neglecting preparation. Skipping thorough cleaning can lead to dust and grime ruining that perfect finish. Before you even think about reaching for a brush or spray can, ensure every surface is clean and dry. Use a degreaser to remove any oil stains; this simple step makes your paint adhere better, enhancing durability and aesthetic appeal.
Another pitfall many hobbyists fall into is using the wrong type of paint for the job. Not all paints are created equal, especially when dealing with heat sources such as an engine bay. Opting for high-temperature paint not only ensures longevity but also prevents peeling or discoloration over time. Furthermore, it’s crucial to consider lighting conditions while painting; inadequate lighting can lead to missed spots or uneven coverage. A well-lit workspace helps you see the areas needing more attention, ensuring a smoother final product without any surprises after drying.
Conclusion: Benefits of a Freshly Painted Engine Bay
A freshly painted engine bay not only enhances the aesthetic appeal of your vehicle but also serves practical purposes that many car enthusiasts might overlook. A clean and vibrant engine compartment can make routine maintenance tasks easier, as a well-organized space allows for better visibility and access to components. Additionally, fresh paint often comes with protective qualities, guarding against rust and corrosion by sealing surfaces that are typically exposed to harsh conditions.
Furthermore, this seemingly small upgrade can significantly impact the overall value of your car. Potential buyers are more likely to appreciate a meticulously maintained engine bay; it demonstrates care and attention that may extend throughout the vehicle. As you explore how to paint your engine bay without removing the engine, consider this project an investment not just in aesthetics but in longevity, upkeep facilitation, and resale potential. Embracing these benefits delivers both immediate satisfaction and long-term rewards for any passionate car owner.