Painting ceramics is a fulfilling and cheap way to restore the vibrancy of your home. Let us look at how you can paint your already-fired ceramics. Won’t we?
Introduction: Painting on Fired Ceramics
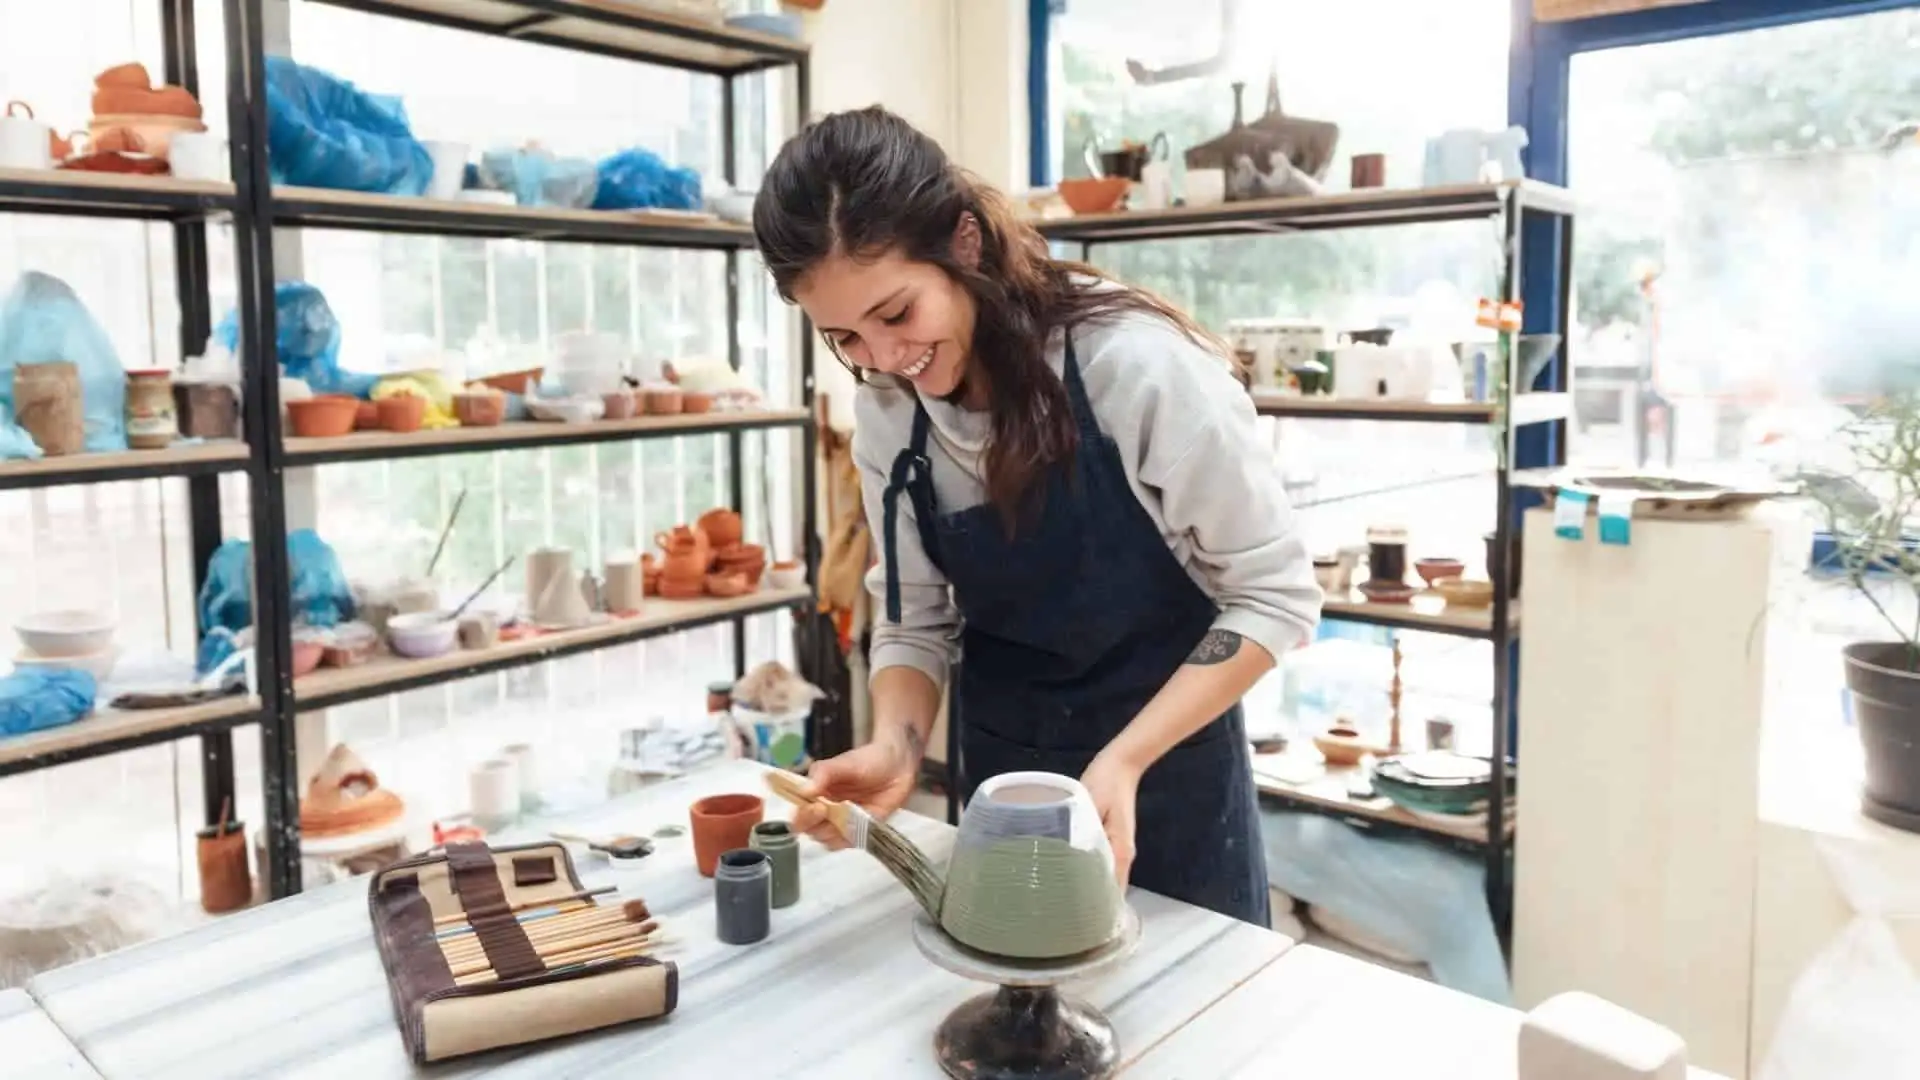
Painting on already-fired ceramics opens up a creative world that blends art and craftsmanship. Unlike painting on raw clay, which has a porous surface, bisque-fired pottery provides a smooth and durable canvas. This lets you focus on your artistic expression without worrying about material interactions. Whether you’re transforming thrift store finds or reviving family heirlooms, this process offers endless possibilities.
Supplies Needed
- Sandpaper
- A rag
- Suitable Brush
- Paintbrush
- Oil-based paint
The initial glaze on your items protects your ceramic items from wear and tear. However, just like any other item, ceramic items are prone to harsh surroundings like scratches and many other forms of wear and tear.
With that in mind, you might want to repaint your ceramics, but you will face one challenge since ceramics are extremely smooth, it is not easy to paint over them. The question to answer then is, how do you paint an already fired (glazed) ceramic? Continue reading to find out.
Steps To Paint Already Fired Ceramic
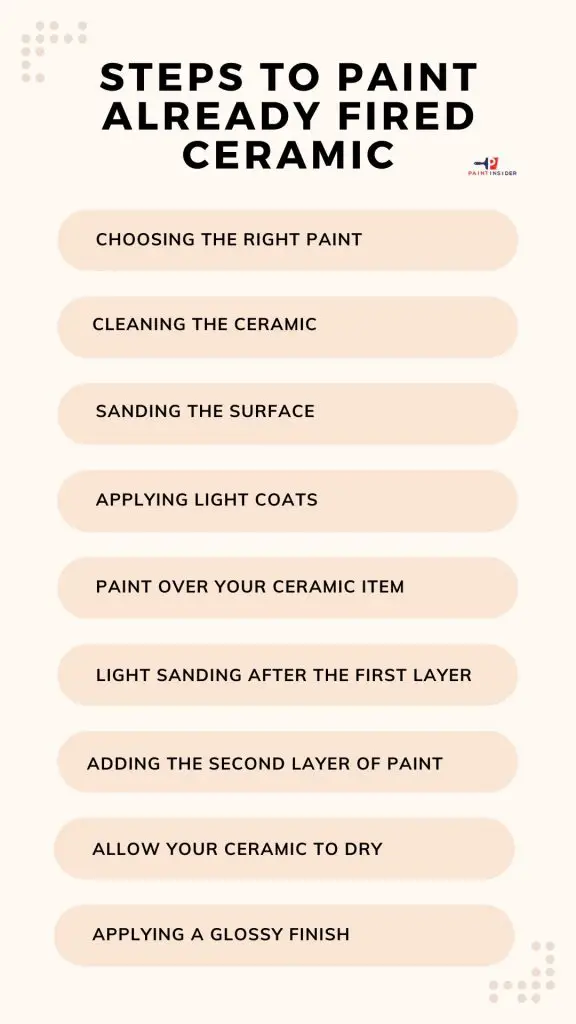
Step 1: Choosing The Right Paint
It is recommended to choose the most appropriate paint that will stick with much ease on your ceramic; acrylic paint works better if you are painting ceramic tiles or big ceramic items. You can use liquid paint if your ceramic item includes a surface like a wall.
Since ceramics are super shiny, you should consider using epoxy polish to give you a brilliant finish on your painting. On a positive note, both acrylic and epoxy are way cheaper than other paints, which is why you should use them. Note that if you use latex paint, it will imply no stepping on the painted surface.
Step 2: Cleaning The Ceramic
You want to restore your piece of ceramic to its original luster, so like any other form of painting, you must prepare the surface adequately for painting. Depending on the type of ceramic you are dealing with, you need to clean the surface thoroughly either by sanding or scrubbing to remove the original layer of glaze. It would be best to use a soft cloth or sponge on ceramic items like pots and dishes because you don’t want to deface them.
Step 3: Sanding The Surface Of The Ceramic
Sanding will remove unwanted bumps and particles on the surface of your ceramic; note that steel wool will work well on smaller ceramic items like dishes. After sanding, ensure you wipe the surface of your ceramics to get rid of dust particles that might interfere with your painting.
Step 4: Applying Light Coats Of Primer
You will apply two layers of a recommended primer to your ceramic item. It is advisable to opt for an oil-based adhesive primer in the case of ceramic tiles.2-3 coats should be enough. However, be sure to apply uniform coats of the primer and let them dry completely before painting another layer. If you are dealing with tiles in a shower room, consider using a primer made purposely for wet areas. A good pick, in this case, would be an epoxy primer or something similar.
Step 5: Paint Over Your Ceramic Item In Zigzag Patterns
Be sure to start your painting in smaller areas until you cover the whole surface. Applying your paint in a zigzag manner will ensure that paint is even applied to your ceramics item.
Step 6: Light Sanding After The First Layer Of Paint
You will need to do light sanding after applying the first coat to remove unwanted debris and ensure that you achieve a smooth finish on your final coat. Consider using the right sanding material on each of your ceramic items. Note that you need to allow adequate time for the first coat to dry before you do the sanding.
Step 7: Adding The Second Layer Of Paint
Apply a second coat on your ceramic item using a roller if you apply over a large surface. You will need to apply your paint in an up-and-down motion to achieve an even layer this time around.
Step 8: Allow Your Ceramic To Dry
You are now done with the painting, and you need to place your ceramic item in free space to dry. Allow up to a maximum of three days for your ceramic item to dry adequately. Apply a light finishing coat, preferably, a sealant to cure your ceramic item and make it more durable.
Step 9: Applying A Glossy Finish
You want your ceramic item to be as sparkly and as glossy as possible. To achieve this look, you need to apply a clear finish such as Urethane, and you will need not more than two coats to give you the final look you want. Such finishes, additionally, help strengthen your ceramic substances.
common mistake to avoid when painting
A common mistake when painting fired ceramic is not preparing the surface. Skipping this step can lead to paint that chips or peels. To get a lasting finish, make sure the surface is clean and free of dust or oils. A quick wipe with rubbing alcohol can help create a good base for your artwork.
Another mistake is choosing the wrong paint. Regular acrylics may fade or wash away easily on ceramics. Instead, use ceramic-specific paints or those marked as waterproof for glazed surfaces. Also, try different tools like sponges or brushes, as they can create unique textures and effects that enhance your work. Understanding these tips boosts your creativity and ensures a result you’ll be proud to show off!
Frequently Asked Questions (FAQs)
Is acrylic paint a suitable choice for use on glazed ceramic?
Although they are used to paint over already fired ceramics, acrylic paints have poor adhesive properties on smooth surfaces; they do not stick properly on already glazed ceramics. Since such paints are water-based, within a short while, they begin coming off the surface. Additionally, if exposed to water and high temperatures, acrylic paints may become pervious.
Can you polish over already-fired ceramic?
The initial glaze on your ceramics acts as a protective barrier against the harsh environmental conditions of wear and tear. However, with time, the ability of your ceramic to withstand such environmental effects is greatly reduced, which is why you should paint your ceramic
What is the most appropriate paint for ceramics?
There is no specific paint that can give you the results you want. However, latex, acrylic, and epoxy paint are the best paints you can use on your ceramics to achieve your painting goals.
Is there a Specific Paint you can use on already glazed ceramic?
Fusing paints are known to do the magic when painting over glazed ceramic. You can use Krylon Fusion paint since it has good bonding properties.
Painting over an already fired ceramic can pose a big problem which is why you need the right skills to paint your ceramics. Like any other piece of painting, ceramics age, and on that note, you should be able to restore and give them a new look. You need to keep in mind how to prepare your ceramics for painting and have the right supplies at your disposal. Hopefully, this article will be of great help.
Conclusion: Enjoying Your Custom Ceramic Creations
Enjoy the beauty of your custom ceramic pieces and think about the stories they tell. When you learn to paint fired ceramics, you aren’t just adding color; you’re giving each piece your personal touch and bringing it to life. Each brushstroke adds warmth and uniqueness, turning everyday items into beloved decor or meaningful gifts. The joy of customization lets you express your personality or celebrate special moments, making each piece truly unique.