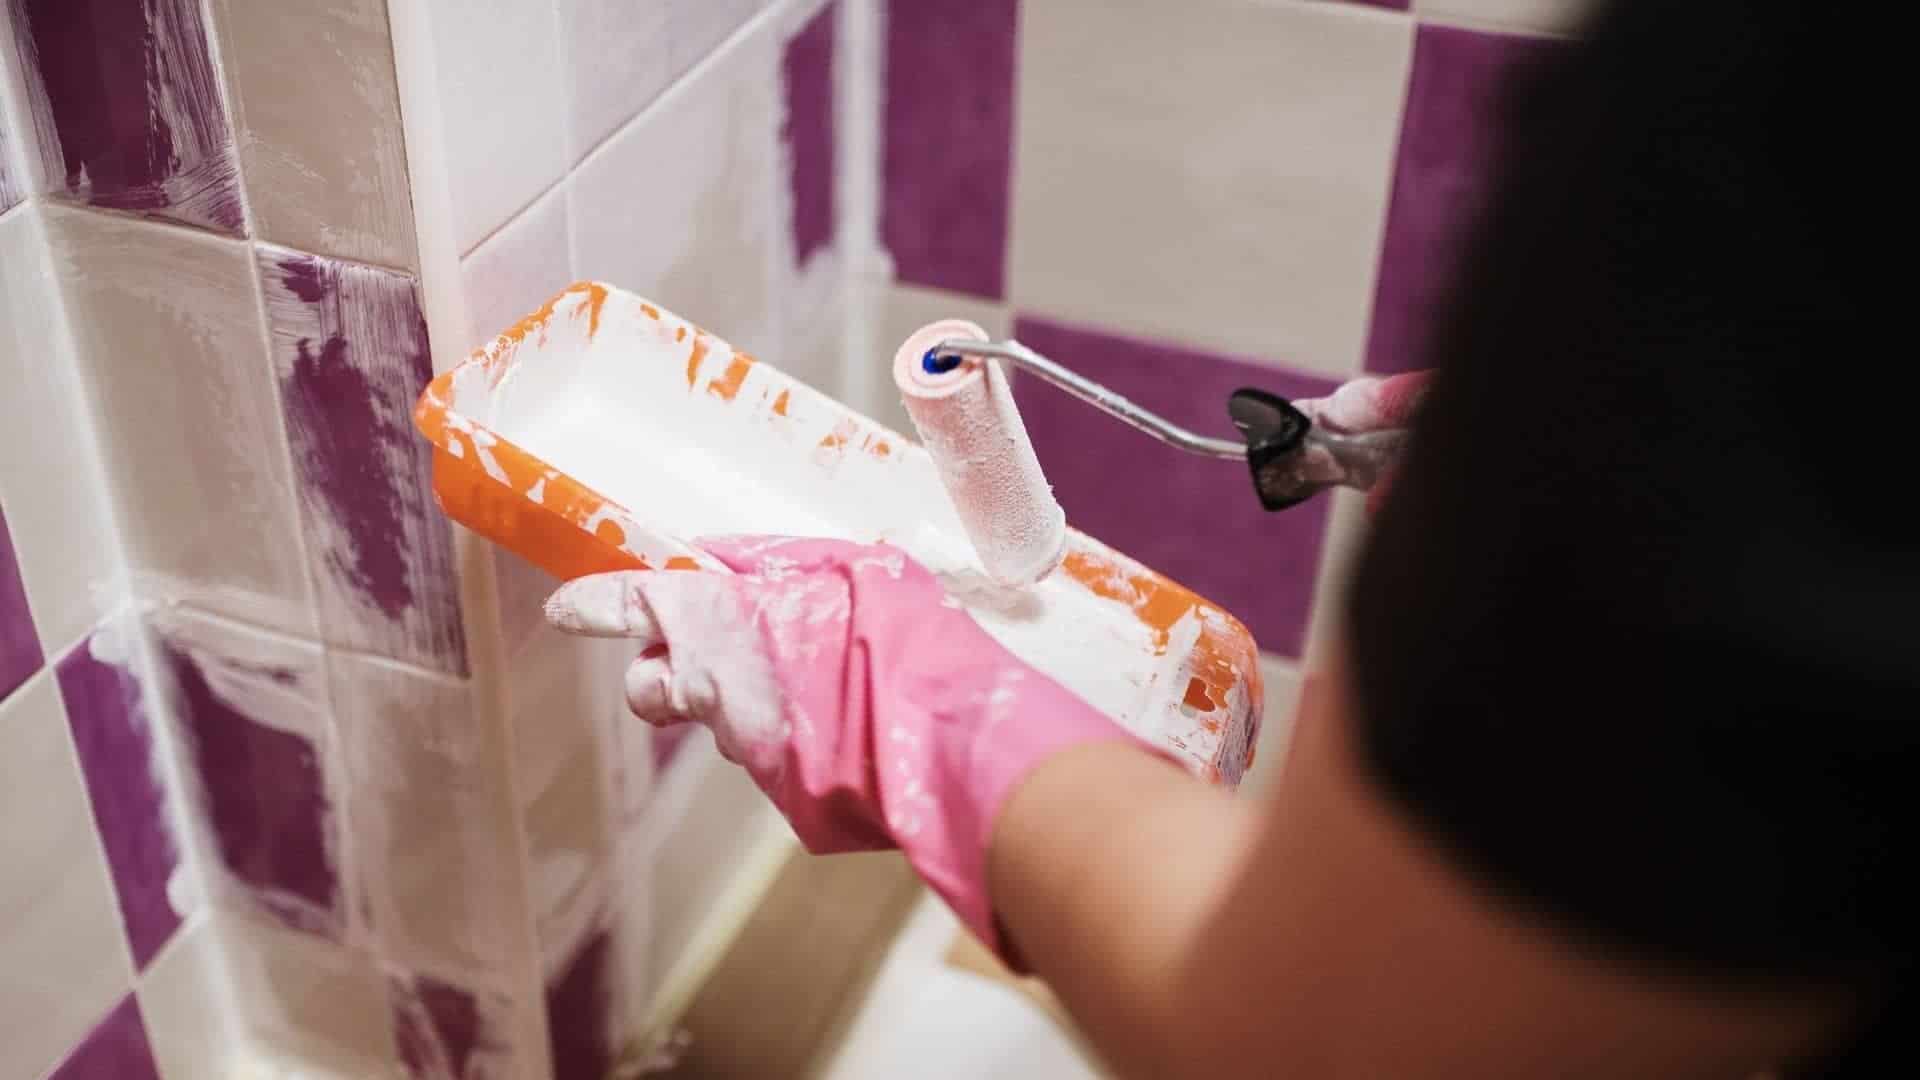
When it comes to your toilet, it’s all about being comfortable in your own space so in this segment we will list some steps on how you can make your toilet look great with paint.
Renovating your toilet can be budget-friendly and easy, you may want to try remodeling your toilet instead of replacing it which is considered a not-so-easy task for some. Toilets tend to last about 25 years before they need to replace which is a long time. But even though it takes this long, toilets tend to wear down over time, so it’s definitely a good idea to add some paint so that your toilet may look vibrant and modern instead of uninviting and old.
Introduction:
Transforming your toilet with a fresh coat of paint can breathe new life into an often-overlooked space. Unlike standard bathroom walls, painting a toilet requires a careful selection of materials and techniques to ensure durability and aesthetics. Most people might not think twice about a porcelain throne’s appearance, but customizing it can enhance your bathroom’s overall style think bold colors or unique stencils for a playful touch.
Before embarking on this creative journey, consider the functionality alongside the fun. Choosing the right type of paint is crucial; look for options specifically designed for ceramics or tiles that withstand moisture and regular use. Prep work is essential too: cleaning thoroughly, sanding lightly, and ensuring that surfaces are primed correctly will result in a smooth finish that’s both beautiful and lasting. With the right approach, your DIY project can turn an ordinary commode into a statement piece that sparks conversation every time someone steps into your bathroom!
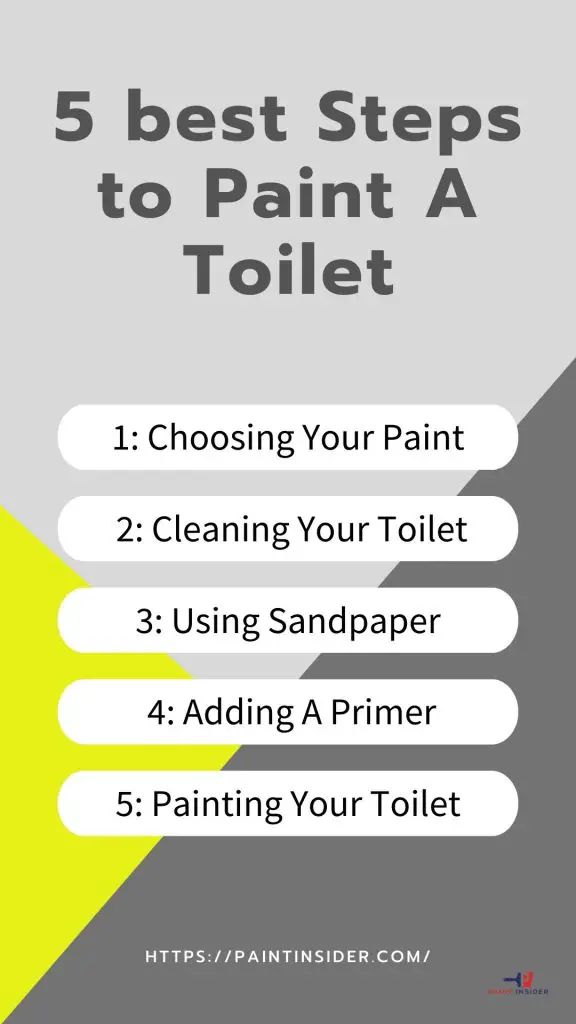
5 best Steps to Paint A Toilet
List of things you’ll need
- Safety goggles, masks, and gloves
- Electric screwdriver (optional)
- Primer and pain
- Newspaper or drop cloth
- 220 grit sandpaper or ESP
- All-purpose disinfectant
- Microfiber cloth

Step 1: Choosing Your Paint
In this case, you can choose a paint that is formulated for multiple surfaces as your toilet may be made of different materials such as porcelain, wood, and other types of materials. If you know the type of material your toilet is made of, then you can choose a paint specially designed for it. When it comes to toilet paintings, paints such as latex and epoxy are very much recommended, they are waterproof and durable, hold on to a variety of materials, and resist cleaners and stains. For this type of project, spray cans are considered the easiest method to use instead of the brush-on option, as you will be able to save lots of time when applying the paint and the paint will dry faster also.
Step 2: Cleaning Your Toilet
At this point, cleaning your toilet may be the longest task as it will require you to sanitize and remove the cover from the toilet. Some toilet seats are easy to remove, others may require a little more work, but it can be done. Once the seat is removed, remove the screws that attach the seat to the lid with a screwdriver or electric screwdriver so that cleaning and prepping the toilet is easier.
Next, sanitize and allow to dry. To clean your toilet, you can use any all-purpose disinfectant cleaner, use it to spray the exterior and interior of your toilet while optionally applying a toilet bowl cleaner starting from underneath the rim, make sure you’re also applying it to the seat and lid as well, and allow to sit for about 5 minutes for it to disinfect, then use a microfiber cloth to clean the exterior or base of your toilet and use a toilet brush to clean the interior of the toilet. Use gloves during this process.
Step 3: Using Sandpaper
Once the toilet is dry the next step will be to use sandpaper. Sanding the toilet will allow adhesion to the new paint and make it last longer. In this case, the sandpaper of 220 grit can be used to scuff the surface of the toilet and remove any old finishes, try not to apply much strength during this process, and sand until the surface is slightly roughened. Next, you can dust off the sandpaper using a rag or a microfiber cloth. You can also soak a cloth or paper towel with mineral spirit to wipe off dust excess.
If you actually don’t want to sand and prefer an easier method, ESP is always available, it can be used instead of sanding as it will remove old varnishes from most surfaces, help the new paint bond to the surface, and save you time. It can be easily wiped on and wiped off but may cost you a little bit more. The product is widely available and comes with instructions.
Step 4: Adding A Primer
Adding a primer is very important as it will also help the new paint adhere better and prevent it from peeling off. Some paints already include a primer which allows you to paint and prime a surface at the same time saving you lots of time. But if your paint does not include a primer, make sure you add one before you paint. Before adding your primer make sure the floors and walls are covered well to prevent paint from splattering over, you can use newspaper or an old cloth, use tape to hold up papers on the walls, and the cloth or newspaper to cover the floor.
Make sure you’re in a well-ventilated area, shake the primer well before use, and apply 2-3 evenly thin coats on the toilet and on the seat and lid as well at an appropriate distance, ensuring full coverage each time. Allow 10-20 minutes in between coats for the paint to dry and 1-2 hours for the paint to dry before adding the topcoat.
Step 5: Painting Your Toilet
Once you’ve added the primer and allowed it to dry for 1-2 hours, the next step is to add the paint you’ve chosen. It is recommended to test the paint on a separate surface to make sure it is the color you want. When it comes to painting toilet walls, appliance spray paints are very much recommended. Also, latex, epoxy, and glossy paints are considered the best options for toilet type of surfaces since they are water-resistant and last longer.
Once you’ve chosen your spray paint color, shake it well before using and apply 2-3 thin coats evenly onto the toilet, spraying the toilet seat and lid as well. You can actually add additional coats if needed. Allow 10-20 minutes in between for each coat to dry. If you’re planning to paint the inside of the bowl as well, make sure the toilet is sanitized before you turn off the water and allow it to dry, if not, you can cover the bowl with newspaper to prevent paint from splattering onto it.
Removing your toilet for an easier painting is optional but it is possible.
Tips for Maintaining Painted Toilets
To maintain the beauty of a painted toilet, start with gentle cleaning methods that won’t compromise the paint finish. Use a soft cloth or sponge along with a mild, non-abrasive cleaner to avoid scratching the surface. Avoid harsh chemicals and scrubbing pads that can lead to chipping or peeling over time; instead, consider using vinegar diluted in water for a natural solution that effectively removes stains without damaging your paint.
Additionally, regular touch-ups can save you from larger restoration tasks later on. Keep leftover paint handy for minor repairs just a small dab can refresh worn areas and keep your toilet looking vibrant. Finally, be mindful of extreme temperature changes and humidity in your bathroom, as they may affect the integrity of the paint; consider installing an exhaust fan if moisture is an ongoing issue. By taking these simple precautions, you’ll ensure that your painted toilet remains not just functional but also a unique centerpiece of your bathroom decor for years to come.
Conclusion
In conclusion, painting a toilet might seem unconventional, but it opens up a world of creative possibilities. By selecting the right materials and techniques, you can transform an often-overlooked bathroom fixture into a vibrant piece of art that reflects your personal style. Imagine stepping into your bathroom every day to be greeted by a brilliantly colored toilet that synchronizes with your decor it’s not just functional, it’s an expression.
Moreover, this project can serve as an excellent conversation starter for guests while also encouraging them to rethink how they perceive ordinary household items. As we challenge traditional designs and embrace creativity in our spaces, painting a toilet stands out as a bold statement of a movement toward personalization in home decor. So grab those brushes and unleash your imagination; the only limit is your willingness to think outside the box!

