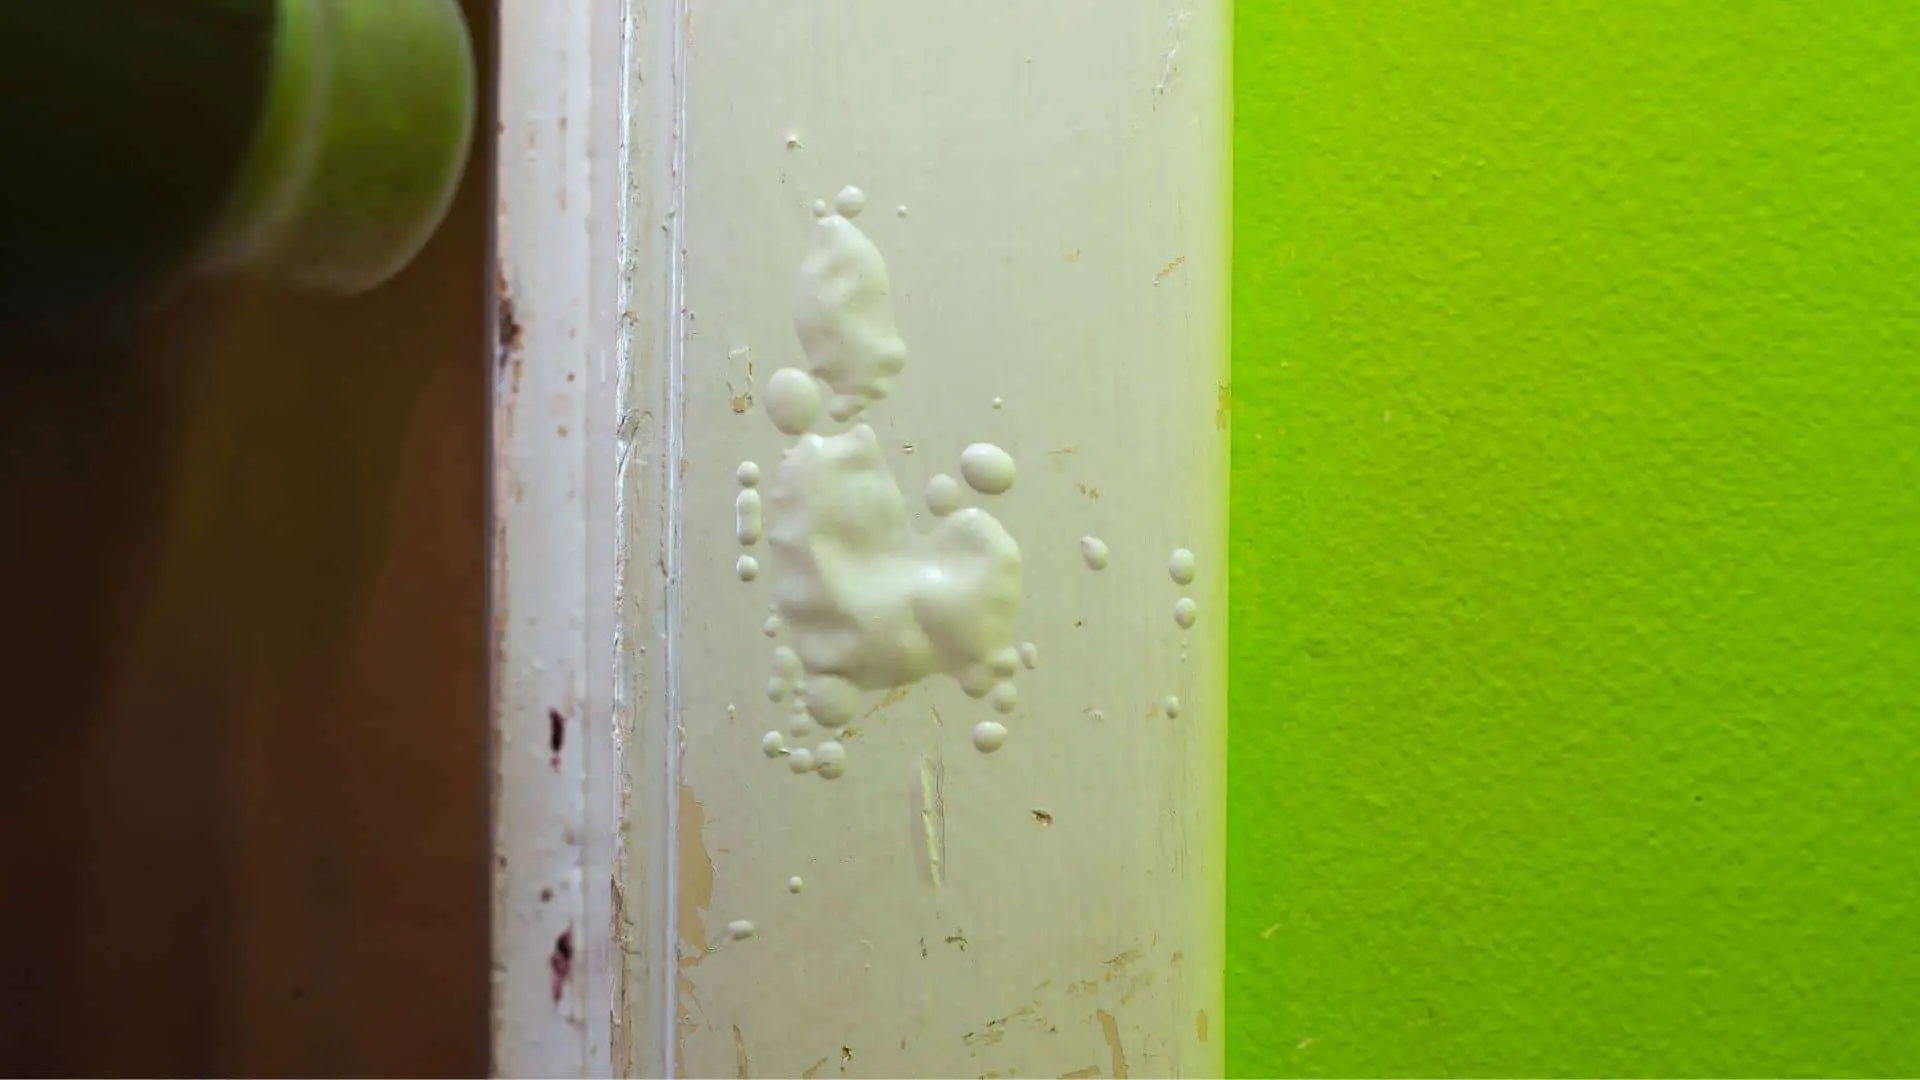
Sometimes bubbles may show up on a surface right after it is painted, which may affect the overall look of your paint. In this article, we will share some reasons why spray paint may bubble.
Paint bubbles are known as swollen bumps in your paint, and they happen mostly when the paint is overcoated. Some people may consider it normal but they are not, as they may affect the finished look of your paintings. Spray paint bubbling, also known as paint blistering is most of the time related to the conditions of the environment or the surface not being properly prepped. Some paint bubbles may be larger than others and may take longer to dry, the good news is that the air bubbles will dry on their own in most cases if allowed enough time to dry or cure which will cause those air bubbles to disappear.
Introduction: Understanding Spray Paint Bubbling
Spray paint bubbles can be frustrating in DIY projects. They happen when the paint doesn’t stick well to the surface, often due to trapped air or moisture. This can occur in humid or cold conditions, which can cause condensation before the paint dries.
Improper application techniques also contribute to bubbling. Spraying too close or not overlapping strokes enough can lead to uneven layers. Non-porous surfaces can make bubbling worse because they don’t allow for good adhesion. By adjusting your approach, like choosing the right weather and using proper techniques, you can reduce the chances of getting a bumpy finish on your projects.
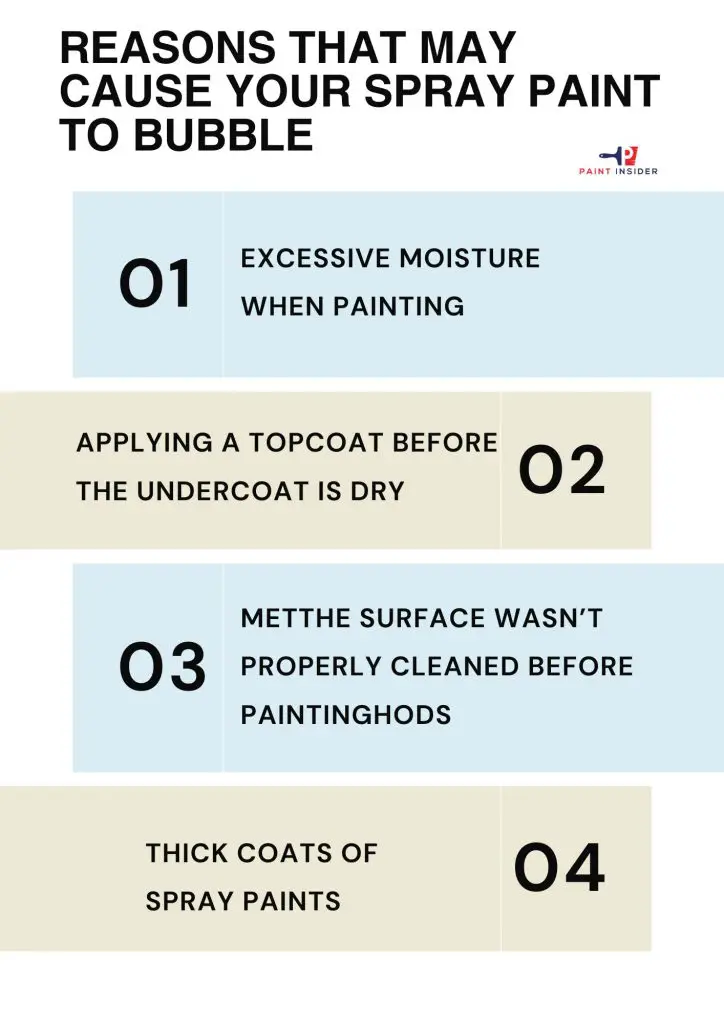
Reasons That May Cause Your Spray Paint To Bubble

Reason 1: Excessive Moisture When Painting
High humidity can cause paint to bubble which is a result of the paint not adhering properly or at all to the surface or basecoat. High humidity means the paint is exposed to water vapors which affect the drying time process as the paint takes longer to evaporate or dry, especially with oil-based or latex paints. Low and high temperatures can also affect the spray paint during the drying process and cause it to bubble.
Overall, a good ambient is required when using most paints, don’t apply spray paint if the surface is damp, too hot, or too cold and if you do, make sure you have a good ventilation method. Humidity is not completely unacceptable; some humidity is ok as long as the weather is fine to aid in the drying process although it may take a bit longer. Another solution is to modify the heat or use fans to aid each coat of paint to dry faster. Good ventilation is always useful and will prevent spray paint bubbles from happening.
Reason 2: Applying A Topcoat Before The Undercoat Is Dry
When using spray paints most experts recommend allowing each coat to dry before proceeding with additional coats, which provides great results, although some people may wonder about the proper timing of the drying process. If the undercoat hasn’t dried enough when the new coat is applied, this can cause the paint to bubble, since paint tends to evaporate into the air when drying, if there’s no place for it to evaporate, it will just cause the paint to bubble.
In this case, it is very important to read the instructions on spray paint cans to know exactly what the time frame allowed in between coats to prevent the paint from bubbling, which is normally 10-20 minutes. If there are some bubbles on your paint after a certain period of time or a couple of days, the most recommended solution is to use sandpaper to smoothen the area, clean the area well from the dust generated from sanding, then another coat of the spray paint and allow it to dry properly, but normally, waiting it out solves the issue in most cases.
Reason 3: The Surface Wasn’t Properly Cleaned Before Painting
This process is also known as the prepping period which includes cleaning and sanding the area from dust, dirt, and grime. Prepping happens when the surface of the object is cleaned off before applying the actual topcoat paint. This step is also very important as it will create a strong bond between the surface and the paint. You may have heard that not cleaning the surface properly before painting can cause peeling or chipping of the paint but it can also cause the paint to bubble which is normally known as blistering.
There are several procedures that the surface needs to undergo before it can be painted, such as using a solution of mild detergent with water to clean the surface or using a disinfectant or any other type of cleaning solution to make sure you properly clean the area, in this way you’ll be able to save a lot of time by preventing spray paint bubble and other issues.
The prepping process can also take some time, as you need to allow the surface to dry properly before applying the paint but it is necessary as it will provide you with a smooth finish in the end. Once you’re finished cleaning the area, you can use a fan or cleaning cloth to aid you with the drying timing.
Reason 4: Thick Coats Of Spray Paints
You may want to add thick coats of spray paint to the metal of another surface to speed up the process or maybe because thick coats of paint can provide a better-looking finish but it is not recommended. It is possible to use thick coats of paint when proper drying time is allowed. People who use thick coats of spray paint tend to let the paint dry overnight or for a day or two which is recommended otherwise if you don’t have that much time to spare, you’re better off with thin coats of paint.
Also, thick coats of paint tend to cause paint to drip which may affect the finished look of your paintings, and when added one after another can cause paint to bubble since the undercoats didn’t dry properly, especially if using latex paints. Blistering may happen as well, when different coats of paint are being applied at the same time, this happens because the paints are not adhering to each other. This is mostly seen when trying to add water-based paints over oil-based paints. The paint may contract and cause bubbles, especially since oil-based paints tend to dry less fast.
Overall, a spray paint bubble may happen and the ideal solution is to find out what caused the issue so that it may be avoided in the future. Most people don’t know the side effects of not properly painting a surface but it is good to know what can go wrong if you do things in a certain way and do some research. In most cases, when it comes to painting, it is always recommended that you have proper ventilation and use the right products to ensure a smooth surface finish. Hope you find these tips helpful.
Troubleshooting Bubbling Issues Effectively
Spray paint bubbling can be annoying, but knowing the causes helps fix it. One important factor is the painting conditions. High humidity or temperatures can trap moisture, causing bubbles when the paint dries. Check the weather and choose dry, mild days to avoid this issue.
Preparation is also key for a smooth finish. Uneven surfaces or leftover residue can affect adhesion and create problems. Make sure your surface is clean and sanded before painting. Shake the can well for proper mixing of solvents and pigments; this simple step can reduce bubbling. Don’t hesitate to try different techniques, like adjusting the spray angle or applying thinner coats; these changes can help you achieve a perfect finish!
Conclusion: Achieving a Flawless Spray Paint Job
To achieve a perfect spray paint job, it’s important to understand both the technique and the science behind it. One common issue is bubbling, which can happen due to poor surface preparation or bad conditions. Make sure your workspace and surfaces are clean and dust-free, as dirt can cause bubbles when it reacts with the paint. Choosing the right environment is also essential, high humidity or extreme temperatures can worsen bubbling.
Applying paint in thin, even layers instead of thick coats is key to a great finish. Allow enough drying time between layers to improve adhesion and reduce bubbles. By being patient and precise while considering environmental factors, you can make any project look smooth and professional. Remember, mastering spray painting involves knowing your materials and how they interact in your workspace.

