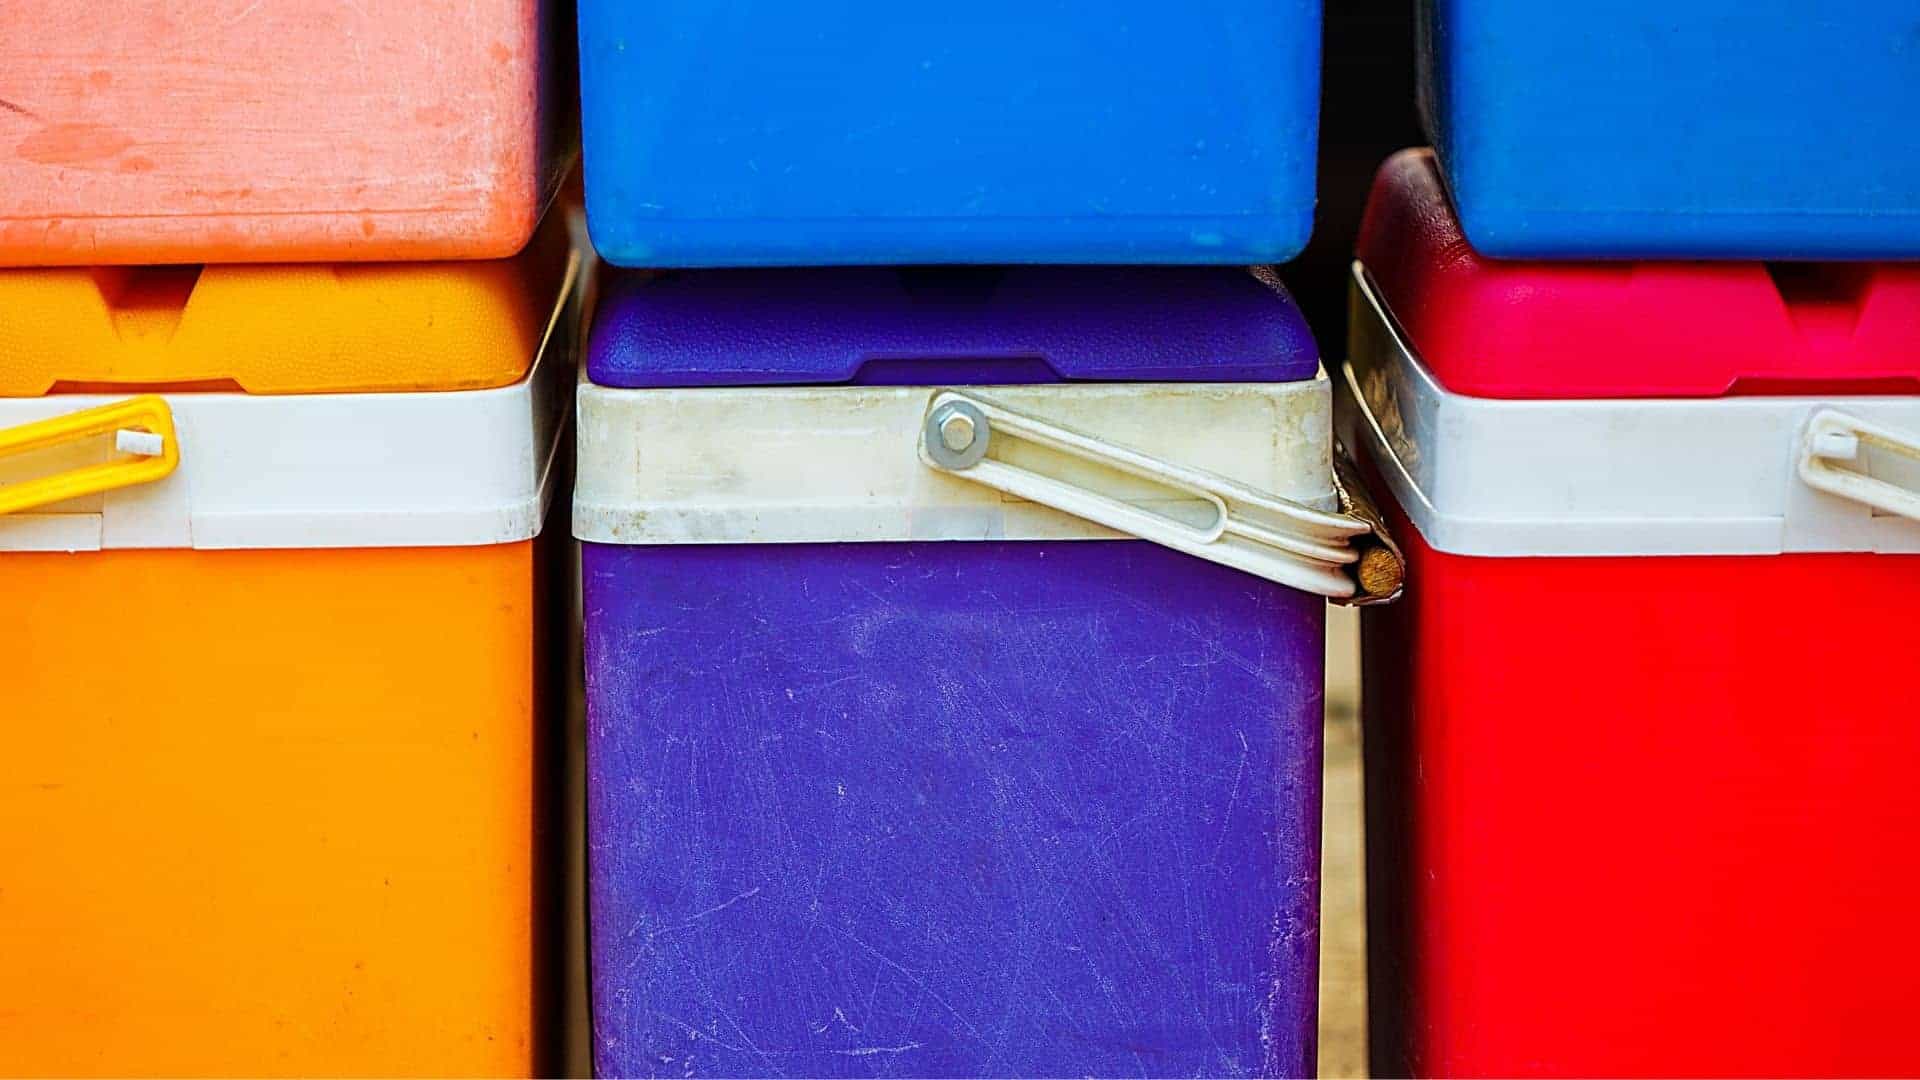
Coolers are known for their durability and the possibility of keeping items cool, they are hard, somewhat light, and a great item to have and carry around. Today, we’re going to explore how to paint a cooler.
Coolers are also known for their multiple uses, you can basically store anything in them, they are very handy and available in many shapes, brands, sizes, colors, and styles. They might make you nostalgic, or bring you to recall fun memories from the past. They have actually been around for a while and are a necessity.
Many make sure they always have one around in the home, you never know when you may need one, it’s also like a staple or a must-have in the household. It’s good to always have one around just in case, they can be used for the cookouts in the backyard or the front yard or for those parties you plan ahead for, they are on your checklist and you always make sure to have one available.
Why Paint Your Cooler?
Painting your cooler is a great idea if you’re bored of your old cooler and just want it to look new and vibrant instead of having to buy a new one. Also, if you’re into arts or just like to stand out from the rest, it’s a great opportunity to put your magic at work and make something that will make you and others happy with something like a joke or a trendy topic. Maybe you’re the creative type of person who likes to try fun and exciting things and will be able to display that awesome personality by adding some great designs to your cooler, plus kids love it.
This is definitely something anyone with a bit of spare time can try so let’s list some steps to get started.
Gather Necessary tools and materials for Painting.
To paint a cooler, whether it’s a plastic cooler or a metal one, you’ll need specific tools and materials to ensure a smooth finish and durability. Here’s a list of the necessary items:
Tools
- Sandpaper (220-400 grit)
- Painter’s Tape
- Drop Cloth or Old Newspapers
- Paintbrushes and Foam Brushes
Materials
- Cleaner/Degreaser
- Primer
- Acrylic Paint or Spray Paint
- Clear Sealant
- Paint Thinner (if using oil-based paints)
- Rags or Paper Towels
With these tools and materials, you’ll be ready to paint and customize your cooler for personal or decorative purposes!
Steps To Paint A Cooler
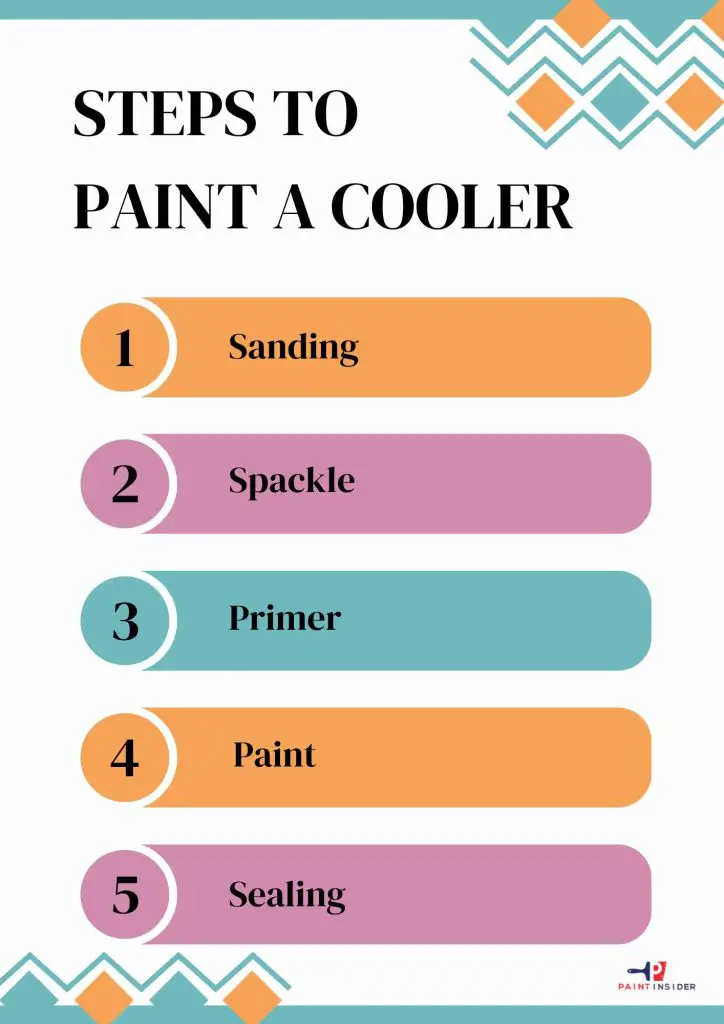
There are five simple steps to follow when painting your cooler: sanding, spackling, priming, painting, and sealing. These steps will guide you through the painting process, so let’s take a look at them.

1. Sanding
The sanding process of the cooler is not optional; sanding is necessary so that the paint you add to your cooler can adhere better. This process will remove the plastic that is already attached to the cooler and will allow the new paint the be added.
Sand the cooler until it’s left with a rough surface or until there’s no plastic left, the rougher the texture of the cooler the better the new paint will adhere. You can use 1 or 2 types of sandpaper to remove the plastic, coerce grit, and fine-grit sandpaper. Use the coerce grit sandpaper first then use the fine one to finish it off. You can also use a power sander if you have one available but most people prefer to sand by hand.
2. Spackle
Spackle is a putty with which you can fill any logos or indents on the cooler to get a smooth surface before painting. Once the spackle is dry, scrape any edges off or use sandpaper to smoothen the entire cooler out.
3. Primer
The process of adding a primer is important. A Primer is a flat coat of paint added to a surface before adding the actual intended paint. Its purpose is to increase better paint adhesion. It is recommended to add at least 2 coats of primer before painting for better results. Priming increases paint durability and blocks moisture and stains. Primer can be added either with a brush or with spray paint and takes around 24 hours to dry.
4. Paint
This is the designing process, what do you actually want to add to the cooler, as we mentioned before, you can get creative and wow everyone with a creative piece of art or you can choose to add a basic color paint of your choice to brighten the cooler. You can choose anything from a picture, flowers, sports, cities, or just anything you can think of to make your cooler look original and fun, especially during the summer. You can decide to paint one side of it or the entire cooler. It is recommended to wait for at least 24 hours for the paint to completely dry.
5. Sealing
What does the sealant do? Sealants are used to protect the entire painting process and you’ll be able to waterproof your cooler, so your hard work isn’t wasted. They provide paint durability and a beautiful shine, without it, the paint may crack or peel off. Apply a thin coat of sealer to the paint and once dry, repeat if necessary. It is recommended to wait for at least 24 hours for the seal to dry.
Once you’ve completed the painting, you’ll be able to fill it up with whatever your heart desires. You will also be able to gift this to someone or just make something enjoyable for the kids. If you’re on a budget and don’t want to spend too much on your cooler project then we recommend you to check and see if you already have some of these materials available, also check with friends, maybe someone you know may already have some of these items available.
Tips for Maintaining Your Painted Cooler
To keep your painted cooler looking fresh, apply a protective sealant after the paint dries completely. This helps enhance the colors and protects against scratches and moisture. Regularly check your cooler for wear; fixing small chips or faded spots with touch-ups can help maintain its appearance.
When cleaning, avoid abrasive cleaners that can dull the finish. Use a gentle soap solution and a soft cloth instead. For stubborn spots, use a toothbrush to clean crevices without harming the paint. Store your cooler in a cool, shaded area when not in use, as excessive sunlight can cause fading over time. Following these tips will help you maintain its look and prolong its life for many fun outings!
Conclusion: Enjoy Your Customized Cooler!
In conclusion, enjoying your custom cooler is more than just using a functional item; it’s a way to show your personality and interests. Imagine being at a picnic or beach party, pulling out a cooler that reflects your style. When it’s not just an ordinary container, it sparks conversations and shares stories that bring smiles and laughter among friends.
As you sip your favorite drink from your personalized cooler, feel proud that you made something special with your own hands. Painting a cooler encourages creativity and offers a chance for mindfulness and relaxation. Each brushstroke can bring joy as you turn an everyday object into a striking piece of art filled with memories. So grab your paints, let your imagination flow, and let your custom cooler remind you to enjoy life’s little pleasures!

