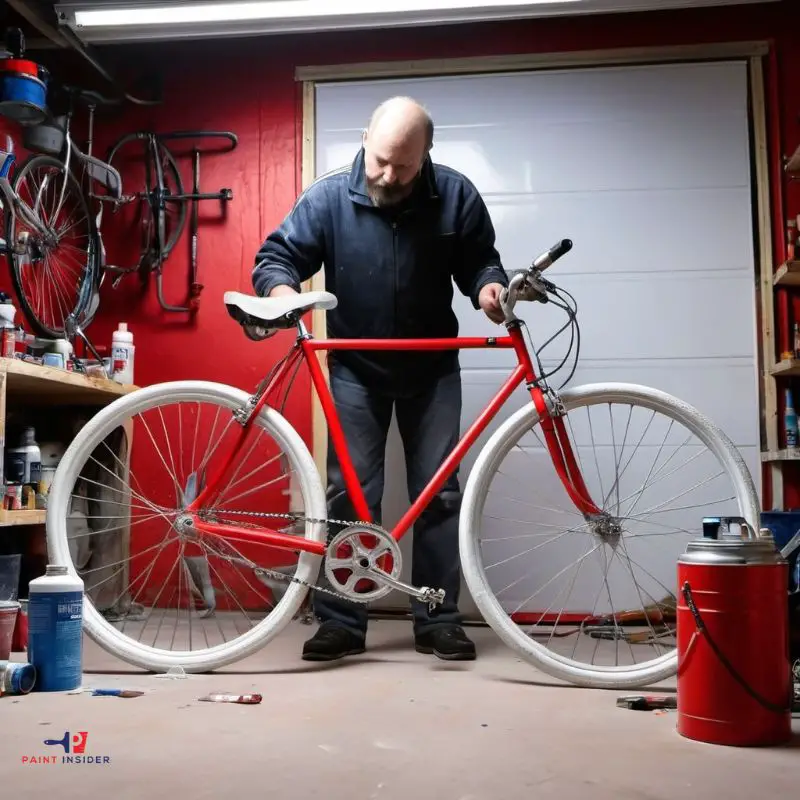
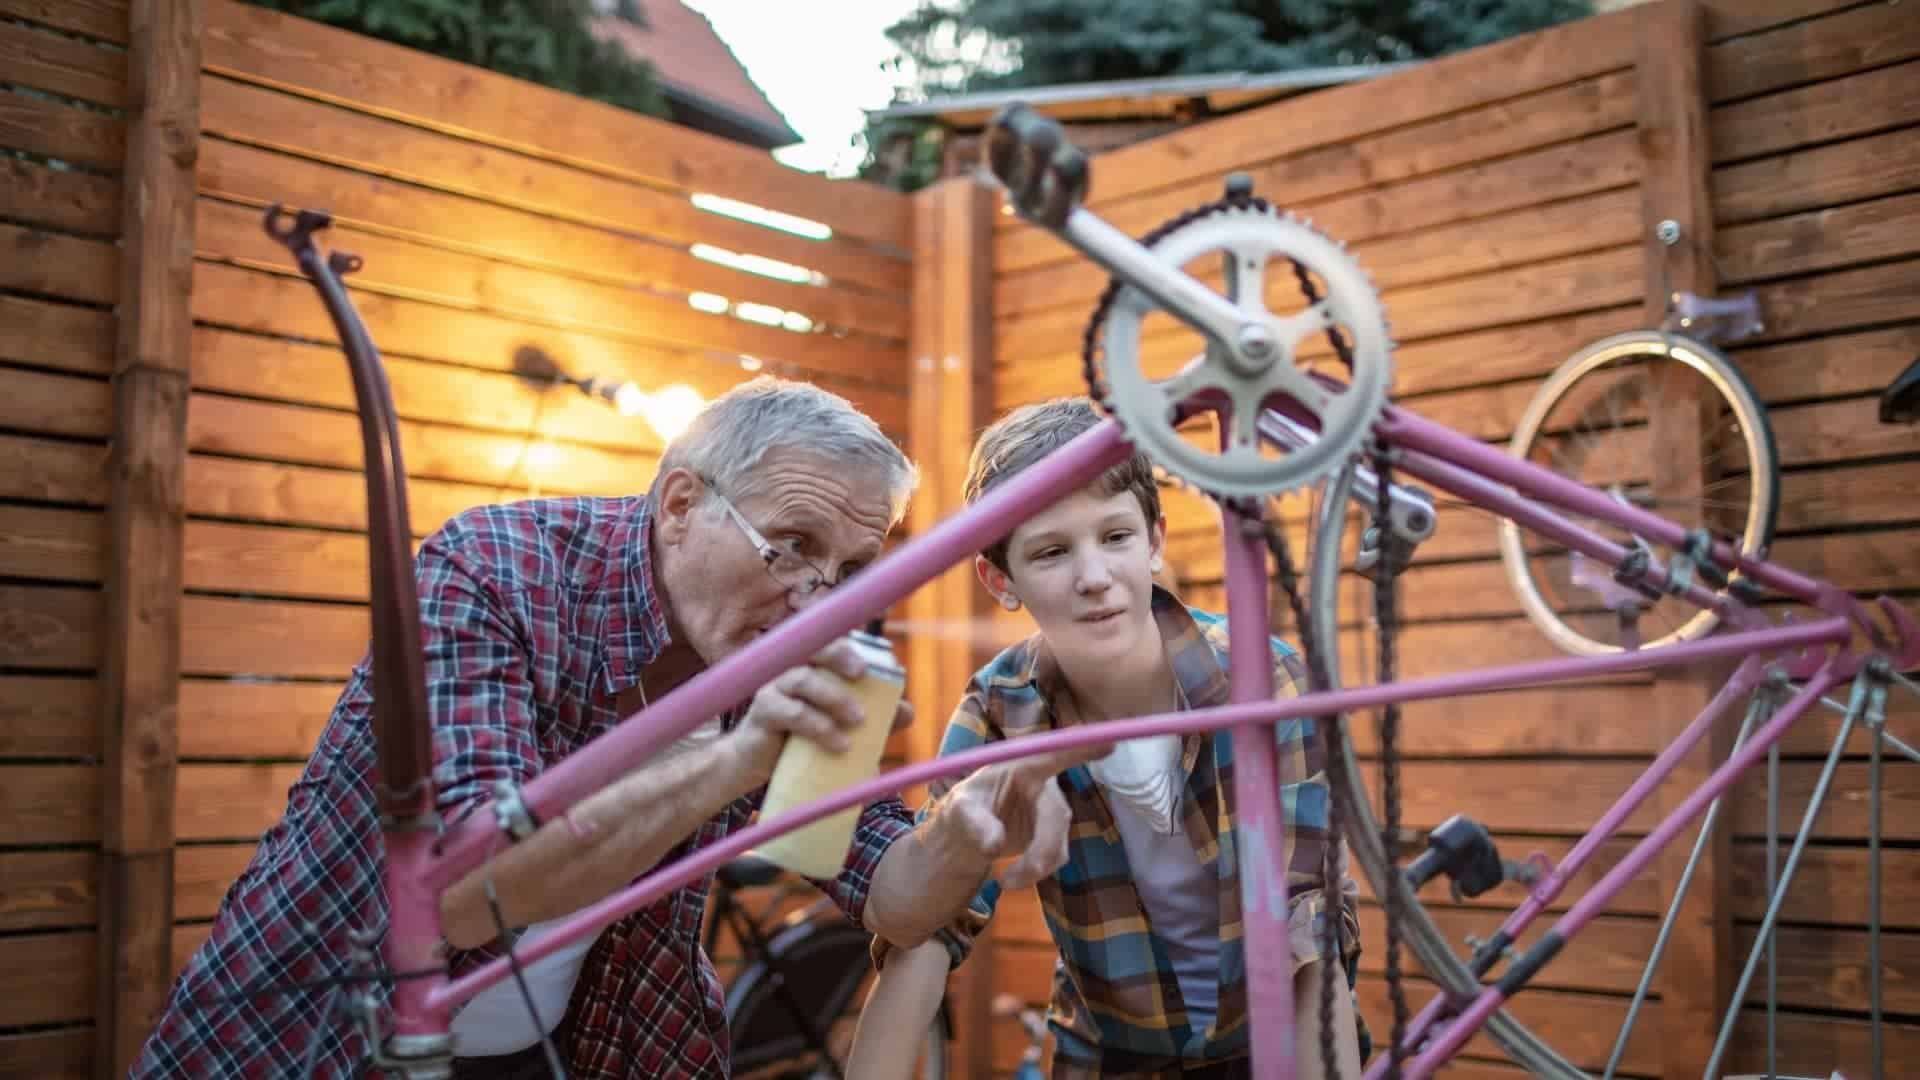
The rugged old look of your bicycle will be a thing of the past because, in this article, you will learn step-by-step tips on how to paint a bicycle.
Introduction: Why Paint Your Bicycle?
Painting your bicycle can transform it from a simple mode of transportation into a vibrant expression of your personality. Whether you’re looking to stand out in a crowd or simply enhance your enjoyment of riding, customizing the color and design can breathe new life into an old bike. Beyond aesthetics, painting also serves a practical purpose, it protects the frame from rust and wear, ensuring your bike remains in good condition for years to come.
Moreover, engaging in this creative process can be immensely rewarding. Painting is an excellent way to make use of eco-friendly materials and methods, think about using non-toxic paints or upcycling old bicycles that need a second life. So why not grab some paintbrushes and get started? Not only will you end up with a unique ride but you’ll also gain valuable skills along the way!
Choosing the Right Paint Type
When embarking on a bicycle painting adventure, the choice of paint can significantly affect not only the aesthetics but also the durability of your bike’s finish. Opt for spray paints designed specifically for metal surfaces, they provide a smooth application and robust coverage without clumping. Alternatively, if you’re looking for something more customizable, consider acrylic polyurethane paints. These offer superior resistance to chips and fading, making them ideal for enduring outdoor conditions while allowing vivid color options.
Another crucial factor is primer selection using a high-quality primer can enhance paint adhesion and longevity. For instance, etching primers help create a better bond with bare metal frames, ensuring your hard work doesn’t peel away after a few rides. Don’t forget about clear coats they act as armor against scratches and UV rays while adding depth to your paint job. By carefully selecting the right combination of basecoat, primer, and clear coat tailored to your specific needs, you set yourself up for an eye-catching bicycle that lasts through countless journeys.
Preparing Your Bicycle For Painting
- Separate the parts of your bicycle and remain with the frame. You will need to be careful while disassembling your bike to avoid damaging your parts because you will need them during assembly. Put screws and nuts in a place you can easily remember. Using a labeled container will help you in storing important tools like screws and nuts.
- Remove labels on the bicycle frame.
As part of preparing your bicycle frame for the painting, be sure to remove any stickers and labels on the bicycle frame. Blow warm air onto the surface of your bicycle frame to remove stubborn stickers. You can also use a knife to peel off the stickers.
- Clean the frame of your bicycle thoroughly before sanding it. After sanding, you may notice traces of sticky glue on your bicycle flame; use an appropriate remover and then wipe the surface with a damp cloth.
- Just like you would other forms of painting, ensure you and your bicycle frame to allow the paint to stick on the frame properly. Be sure to do a proper sanding on the frame; the initial paint applied on the frame will help you determine the nature of the sanding to perform on your frame.
- Clean your bike with a dumb cloth and let it dry before you start painting.
- Cover any area of the frame you don’t want to be polished. Areas you might exclude from painting include brakes, ball bearings, and any part used in joining the parts of your bicycle after painting.
Essential Tools and Materials Needed
Painting Tools:
- Spray Paint (or Airbrush)
- Primer Spray
- Clear Coat Spray
Finishing Materials:
- Clear Lacquer/Top Coat
- Polishing Compound (optional)
Safety Tools:
- Safety Goggles
- Dust Mask or Respirator
- Gloves
Position Your Bicycle Frame For Painting
- Set up a working site in an open area. However, you can work in an enclosed space to ensure the space is well suited for painting and open windows to allow free airflow in the room. Place waste paper or cloth on the ground to tap any paint drips while painting. You might consider having eye protection and an appropriate mask.
- Use a wire to suspend your bicycle frame. Suspending your frame is more appropriate when spraying the frames. Ensure the frames are dangling from a given point to allow for easy paint application.
- Alternatively, place your bicycle frames on a working table and ensure they are firmly fixed to the table to allow you to paint easily. If you are using a table, they are raised above the table, using appropriate mountings will do the trick.
- Use any other structure you can think of; you will need to be creative if you don’t have a table to mount your bicycle frames. The only consideration is to ensure the bicycle frame is freely suspended or raised above the ground for easy painting.
Step-by-Step Painting Process
The procedure discussed in this article involves disassembling your bicycle into constituent parts to allow you to paint much more efficiently. However, you may have no clue how to separate the parts of your bicycle and, on that note, can go ahead and paint the bicycle without disassembling it.
When painting your bicycle frames, the steps involved are pretty much like when you separate your bicycle parts (how to paint a bicycle without taking it apart).

- Consider using appropriate paint to get your job done. Painting your bicycle frame (how to paint a bicycle frame) requires you to prepare adequately for the exercise, and having the right paint is part of your preparation process.
- You might consider recommendations from dealers and professional painters on the type of paint to use. Note that not all paint brands will fit your bicycle frames. Always go for a brand of paint that will give you a uniform application.
- Use a sprayer to apply the first coat of paint. Ensure you maintain about 30 centimeters of distance between the paint sprayer and the bicycle frames. Work your way around the frames with continuous motions of the sprayer to achieve an even look.
- You don’t want to create bumps on your frames, so you should avoid emphasizing the spray on a single point. After applying the first coat, you might notice the initial color beginning to appear. Additional coats of paint will eventually clear away the original color on your frames.
- Allow the first coat up to a maximum of about 30 minutes before spraying a second coat. You will need to repeat the whole of step two to apply the second layer. Be sure to achieve a thin and even second coat.
- Note that you may need to apply several coats of paint to your bicycle frames to conceal the old paint completely. Be sure to allow a significant time interval between the coats to ensure the layers stick properly. After spraying your bicycle frames with a satisfying number of layers, you will have now concealed the old paint. Ensure the final coat is evenly distributed on the bicycle frames then allow it to dry.
- After painting your bicycle frames, you might want to protect the paint and ensure it lasts longer. Apply a transparent layer of an appropriate finish to keep away rust and corrosion on your frames.
- You should follow the process discussed above when applying a protective layer. However, ensure the paint is completely dry before applying a protective coat. In this case, be sure to apply at least three coats of protective paint to protect your frames and make them more durable.
- It would help if you Allowed your bike frames a maximum of one day drying time before assembling the parts. Monitor the prevailing weather conditions and relocate your bicycle frames to an appropriate point so they dry without disruption. At this point, remove the masks that you put on your frames during the preparation stage and avoid touching the painted parts.
- You are now painting your bicycle frames, and what is left is putting back the parts together. Put each part in its rightful place and fix it properly. Do a proper realignment of the wheels and fix any other parts you disassembled. Enjoy your new ride!
Maintenance Tips for Painted Bicycles
When it comes to maintaining a painted bicycle, regular upkeep is essential to preserving the vibrant colors and avoiding unsightly scratches. One of the simplest yet most effective tips is to wash your bike with a gentle soap and water solution after every few rides. This not only prevents dirt build-up that can dull the paint but also allows you to inspect for any chips or damage that may need attention. Using a soft sponge or cloth minimizes friction against the surface, ensuring your bike stays looking fresh.
Conclusion: Enjoy Your Custom Bike!
Customizing your bike isn’t just a technical endeavor, it’s an expression of your unique personality and style. Once you’ve navigated the intricacies of painting and personalizing your ride, you’ll find that every time you mount it, you carry a piece of yourself forward. The vibrant colors or intricate designs can make even the most mundane rides feel extraordinary, transforming regular errands into adventures dripping with character.
Beyond aesthetics, riding your custom-painted bike fosters a deeper connection between you and your machine. When you’ve poured time and creativity into crafting its look, you’ll notice that each journey becomes a celebration of craftsmanship and individuality. Embrace the compliments from fellow cyclists or passersby, they serve as reminders that cycling is about community as much as it is about personal expression. So gear up, hit the open road with confidence, and relish in every twist and turn on your uniquely crafted bicycle!

