Flat paints tend to have a matte finish and they are most popular for their non-reflective properties, they are also easier to apply and it’s the least expensive choice you can choose from when it comes to painting. Flat paints provide great pastry-looking finishes and are famous for their aesthetic appeal and practical application. Flat paints are also great for bringing out beautiful designs or details and can be used to light up certain dark areas or spaces. Many people prefer flat paints because of their translucent and opaque finish which diminishes glares on surfaces they are used on.
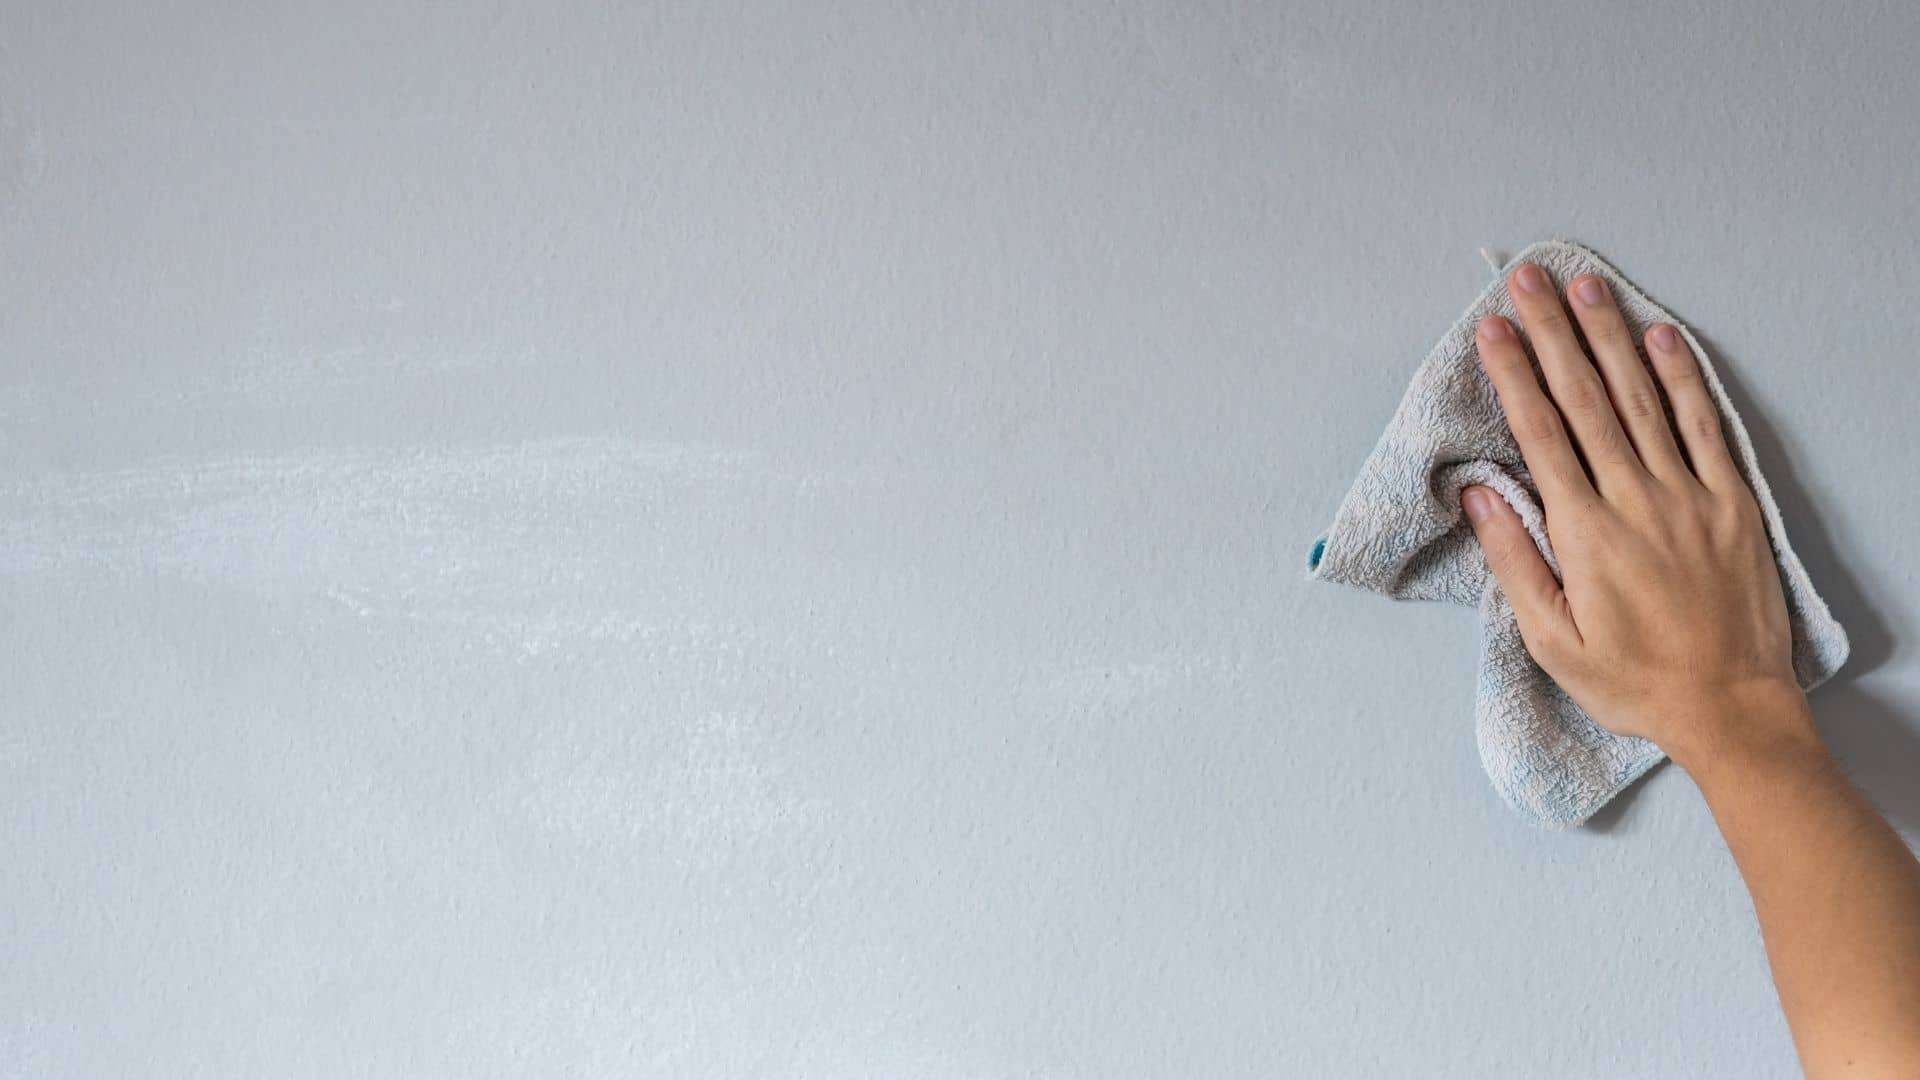
To some, cleaning off a flat painted wall from stubborn dirt can be tricky. Cleaning a flat paint from dirt, stains or fingerprints can be challenging especially when the paint starts to come off with the tool you’re using, a rag, for example, to remove the dirt leaving the wall with a botched look. In this case, the wall may need to be repainted to cover imperfections which is not good if you’re on a budget.
However, some techniques can be used to prevent the botched look and unnecessary spending, and below we list a few:
What you’ll need:
- Dish or laundry soap
- Cloth or rags
- 1 bucket
- White vinegar
- Eraser
- Gloves
- Water
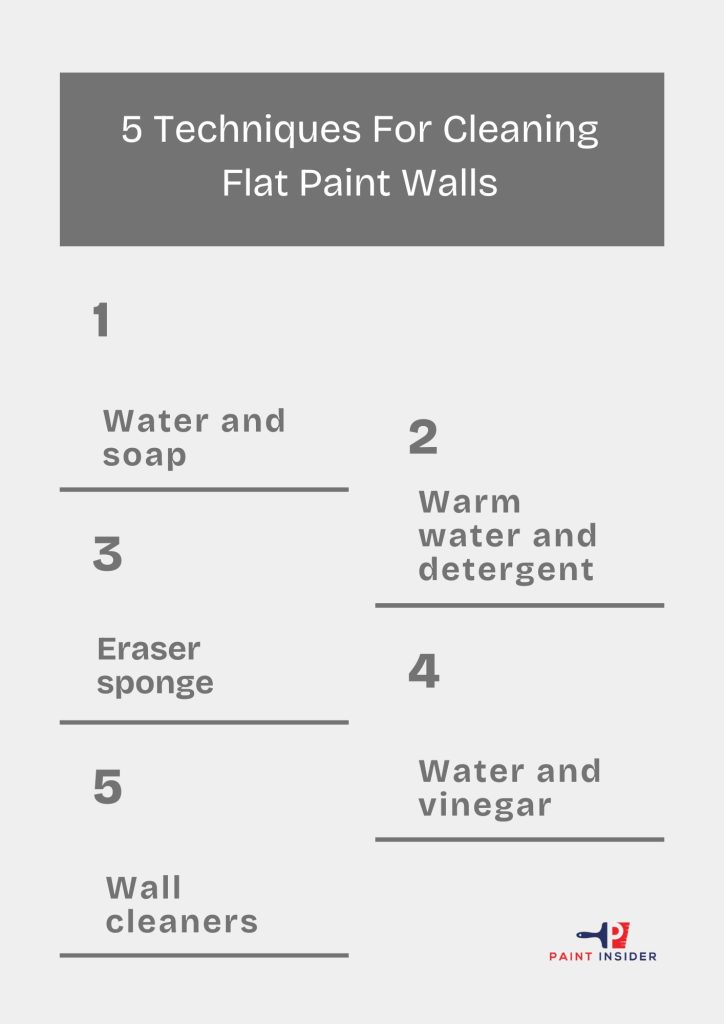
5 Techniques For Cleaning Flat Paint Walls

1. Water and soap:
Water and soap are great methods to clean dirty spots off your wall without damaging the flat paint on your wall. It is also recommended to clean the wall immediately after any spill is made. To clean flat paint walls from dirt, pour some water into a bucket then add a few drops of liquid soap and stir to make a cleaning solution. Soak a sponge into the solution, and once soaked, squeeze out the excess water and rub the area with the dirt without adding pressure, until the dirt is no longer visible. Rinse the spot with clean water then pat with a towel to dry it, allow about 15 minutes or more for the area to completely dry. Use a fan if needed. Once dry, check the area once again to make sure all dirt was removed and if still notice any additional dirt in the area, repeat the same process once again.
2. Warm water and detergent:
Sometimes all you need is water to remove stains but if it doesn’t work, warm water and detergent should help. To begin, add some water into a bucket then add a few drops of dishwasher detergent to create a gentle solution. Note that you can also use laundry detergent to make a solution, use one spoon of detergent to a gallon of warm water and mix well. Soak a sponge or a cloth into the warm solution and squeeze out excess water, then start by gently rubbing the dirty area with the damp sponge or cloth without adding much pressure until the dirt is no longer visible, then allow it to dry. Once dry, check to make sure the area is clean from the dirt and repeat the process if the area still has some dirt left. It is also recommended to pat the wet area with a towel so that it may dry faster but make sure not to rub the area to not rub off the paint.
3. Eraser sponge:
Another recommended method is the eraser sponge. Soak the eraser in water and then squeeze out excess water. Start by cleaning the area with the dirt with a downstroke motion and sometimes with an up-and-down motion while adding a bit of pressure. Whilst cleaning, notice if any paint is being removed from the area you’re cleaning, if so, you may be doing it too hard. With this technique, the paint should remain intact. Clean until the dirt is no longer visible and allow up to 15 minutes for the area to dry. It may take longer depending on the environmental conditions. After theropod check the area to make sure all stains are removed. If still notice any dirt, follow the same method to remove it. This technique is great for cleaning walls and doors.
4. Water and vinegar:
For a more substantial cleaning, vinegar is a great recommendation, it is considered a natural eco-friendly cleaner that will not damage the walls and you may have some handy. Take one cup of vinegar, usually white vinegar, and mix it into half a bucket of warm water. Soak a clean cloth or a sponge into the solution and gently wipe off the dirt on the wall with an up-and-down stroke motion. Allow to dry for about 15 minutes or more, then double-check to see if all dirt was removed, if not, repeat the same process a second time or until the dirt is completely removed.
5. Wall cleaners:
Foam wall cleaners are another way to clean flat paint walls if you prefer a more industrial approach to cleaning the dirt off your flat paint walls. They are somewhat inexpensive and can be used instead of the household items you may have available like dish soap and rags, although many people would rather choose household items if they are on a budget. They come in spray bottles or wipes. They offer easy-to-spray and wipe-off methods and save you some time. It is recommended to follow the safety instructions available on the product when using chemical products.
Although flat paints are considered to be a bit difficult to clean, they can be accomplished with a gentle cleaning approach. It is recommended to clean flat-painted walls regularly. Cleaning flat-painted walls routinely will keep it looking fresh and bright and it’s a great way to protect the paint too. Use products that are mild enough to use on the walls and won’t damage the paint. As a safety tip, make sure electrical outlets are covered for safety reasons. Do not use anything abrasive or harsh chemicals as this may damage the wall by rubbing off the paint. We hope you find these tips helpful.
Drying the Walls Properly
When tackling the question of how to wash walls with flat paint, understanding the drying process is crucial for achieving optimal results. Flat finishes are notorious for their susceptibility to moisture, which can leave unsightly streaks when not dried properly. To facilitate a cleaner finish, consider using a damp microfiber cloth instead of soaking your walls with water. This method minimizes excess moisture while effectively removing dust and smudges.
After washing, allow your freshly cleaned walls ample time to dry ideally 24 hours if possible. Ensure the room is well-ventilated by opening windows or utilizing fans; this not only expedites drying but helps prevent mold growth that can easily thrive in damp environments. Remember to check humidity levels; higher humidity might require additional drying time or dehumidifiers for optimal conditions. By adopting these careful practices in wall maintenance, you’ll elevate the beauty of your space while ensuring long-lasting results without compromise.
Common Mistakes to Avoid When Washing
One of the most common mistakes when washing walls with flat paint is using too much water. Flat finishes are particularly absorbent, and excessive moisture can lead to streaks or even damage to the paint. Instead, opt for a damp cloth and a gentle cleaning solution suitable for your wall’s finish. This will ensure you’re effectively removing dirt without compromising the integrity of the paint.
Another frequent pitfall lies in neglecting to spot-test before diving into a full wash. Different areas in your home may react differently depending on lighting and wear; what works in one section might not translate well elsewhere. Take a few minutes to test your chosen cleaner on an inconspicuous spot first it could save you from costly touch-ups later. Lastly, don’t overlook drying techniques; using dry microfiber cloths aids in swift absorption, preventing unsightly marks while preserving the appearance of your flat-painted surfaces.
Conclusion: Maintaining Your Flat Painted Walls
Maintaining flat-painted walls requires a gentle touch and a mindful approach to cleaning. To wash walls with flat paint effectively, start by dusting surfaces with a microfiber cloth to remove any loose debris, which is crucial in preventing scratches during the washing process. When it comes time for deeper cleaning, opt for a solution of warm water mixed with a mild detergent; this combination effectively lifts stains without compromising the finish. Use a soft sponge or cloth and work in circular motions of this method reduces streaks and allows you to target specific areas without soaking the paint.
It’s also wise to conduct regular spot checks for scuffs and fingerprints before they set into the paint, early intervention can keep your walls looking fresh and vibrant longer. Keep your tools on hand; using an extendable duster or even a soft-bristle broom can easily reach higher spots while avoiding unnecessary pressure that could mar your flat finish. Lastly, remember that preventive measures like being mindful of touches near door frames or furniture can significantly enhance durability, it’s all about embracing those small habits that make your living space shine effortlessly!

