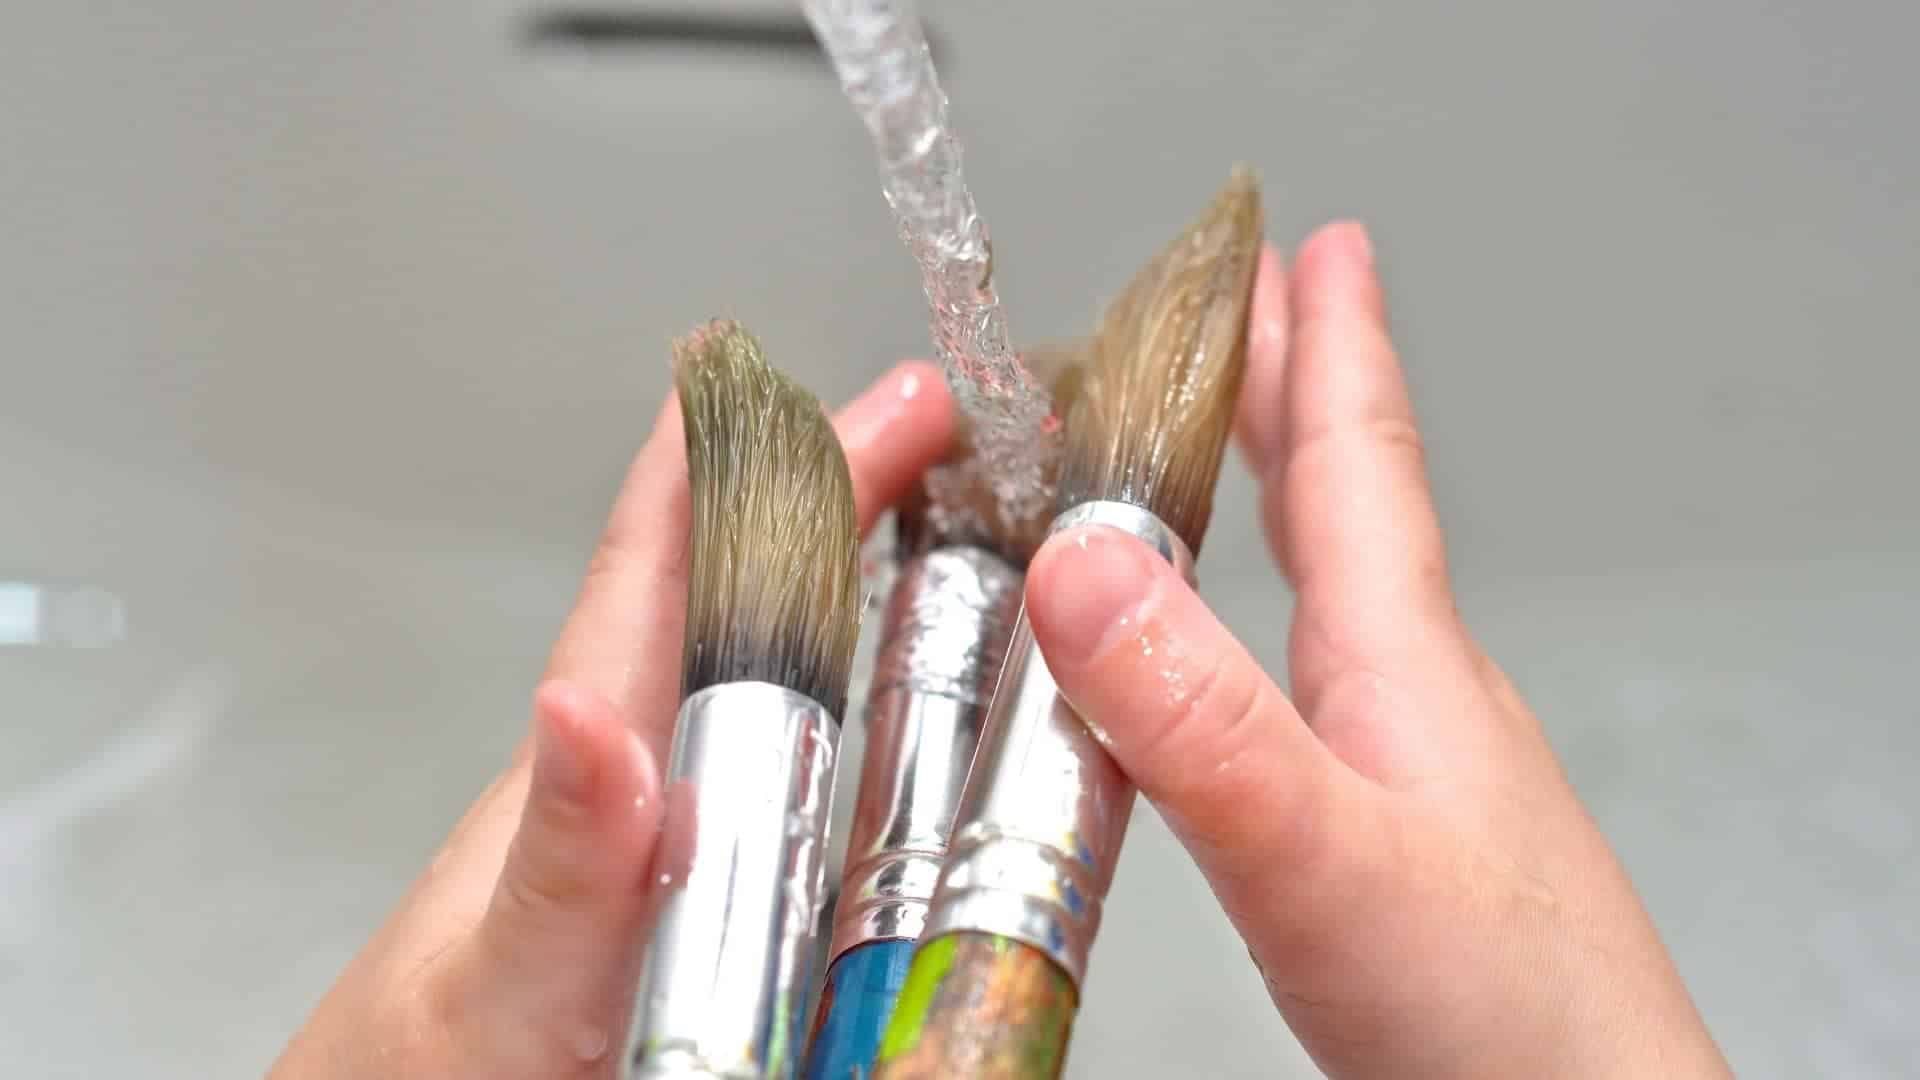
As a painter, learning how to clean oil paint from brushes will relieve you of the idea of regularly replacing your brushes. Keep on reading for more content.
We will show you 3 popular methods to clean oil paint from brushes.
- Using Baby Oil To Cleanse Paint From The Brushes
- Using Linseed Oil To Wash Paint From The Brushes
- Using Dish Soap To Sponge Your Brushes
Introduction: Importance of Cleaning Oil Paint Brushes
Cleaning oil paint brushes is not just a routine task; it is an essential practice that directly impacts the quality of your artwork. A well-maintained brush ensures precision in every stroke, allowing the artist to express their vision without compromise. When brushes are allowed to sit with paint residue, bristles become stiff and matted, leading to uneven application and ultimately hindering creative flow. Moreover, neglecting proper cleaning can shorten the lifespan of your tools, costing you more in replacements over time.
Understanding how to clean oil paint from brushes effectively also opens up new pathways for creativity. For instance, using eco-friendly solvents or natural oils not only enhances brush longevity but also aligns your artistic process with sustainable practices. Utilizing techniques like the brush soap method can further enrich your cleaning regimen by treating bristles with care while maintaining their flexibility and responsiveness. Embracing this aspect of brush maintenance fosters a professional mindset that resonates through every artwork you create.
Gather Necessary Cleaning Supplies
Before embarking on the task of cleaning oil paint from brushes, it’s crucial to have the right supplies at your disposal. A high-quality brush soap or cleaner specifically designed for oil paints is an indispensable item in your arsenal. These specialized cleaners not only break down oil-based residues but also condition the bristles, ensuring longevity and performance during future painting sessions. Alongside the cleaner, you’ll need a sturdy container preferably glass or metal to hold solvents without incurring damage.
Equally important is having clean rags or paper towels ready for wiping excess paint. These materials can effectively absorb leftover oils, reducing waste and making the process more efficient. Additionally, investing in a range of brushes with different stiffnesses can help when transitioning between types of paints; stiff-bristled brushes are excellent for scrubbing off stubborn residue while softer variants are perfect for delicate applications. Remember that gathering these supplies is not merely about cleaning; it’s about nurturing your tools to foster creativity and maintain artistic expression over time.
Guide To Clean Oil-Based Paint Brushes Without Paint Thinner
To maintain your paintbrushes and make them last longer, you will need to put in the necessary effort. You don’t want to replace your brushes after a short period of usage. This article will discuss three possible approaches on how to clean oil paint off brushes effortlessly.
Method 1 – Using Baby Oil To Cleanse Paint From The Brushes
The idea of cleaning your paintbrushes without using a suitable thinner may sound far-fetched. However, there are readily available products that you can use in place of your regular thinner to clean oil-based paints off your brushes. If you use baby oil properly, you will not have to worry about cleaning your oil-based paintbrushes.
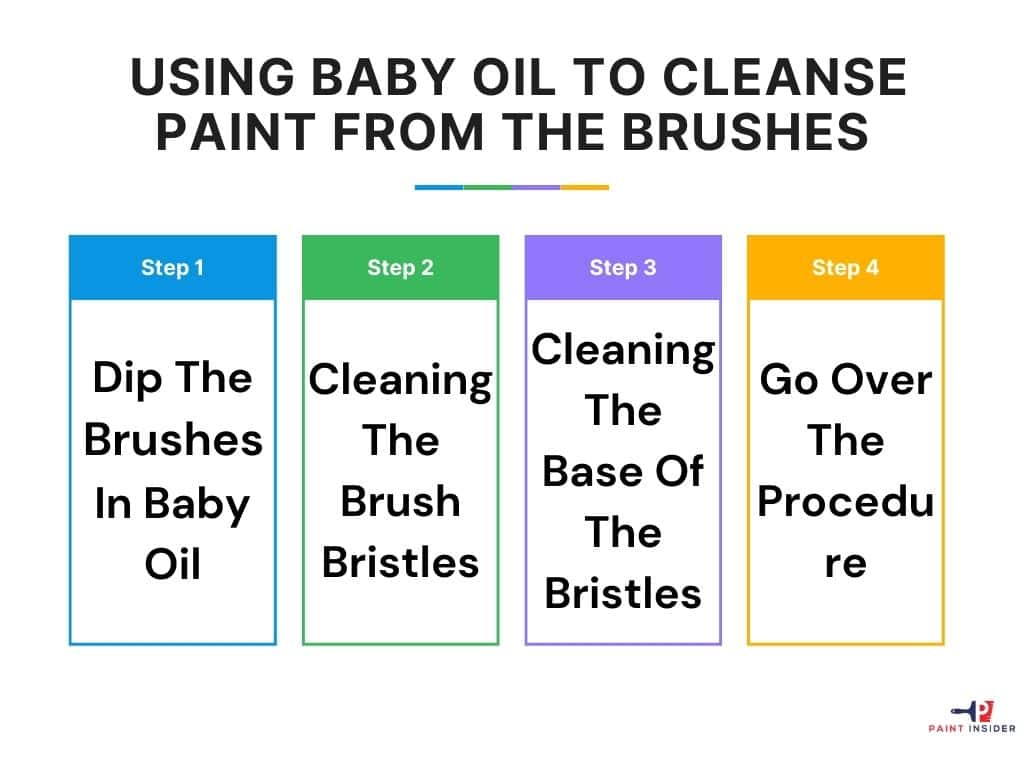
Step 1 – Dip The Brushes In Baby Oil
Immerse your brushes in baby oil and ensure the bristles are fully covered in baby oil. Allow the bristles of your paintbrushes to fully interact with the baby oil for easy removal of the oil-based paint.
Step 2 – Cleaning The Brush Bristles
Use your hands to work thoroughly on the bristles. It would also help to use a soft cloth to help you in cleaning the bristles. Remember that your aim here is to remove excess oil from the brushes.
Step 3 – Cleaning The Base Of The Bristles
As you work around the brush bristles, be cautious enough to avoid damaging the bristles. You might consider buying new paintbrushes if you break the bristles through careless handling. Start from the point where the metal band holds them in place.
Step 4 – Go Over The Procedure
If you want to do a clean job, it would be a good idea to repeat the steps highlighted above without skipping. Note that baby oil is a relatively cheaper option, so be sure to clean your oil-based paint brushes thoroughly.
Method 2 – Using Linseed Oil To Wash Paint From The Brushes
With the many approaches ways to washing oil paint from your brushes, you can never go wrong. Linseed oil works pretty much like baby oil to get rid of oil paint from your brushes. Not that linseed oil is an active ingredient in oil-based paints.
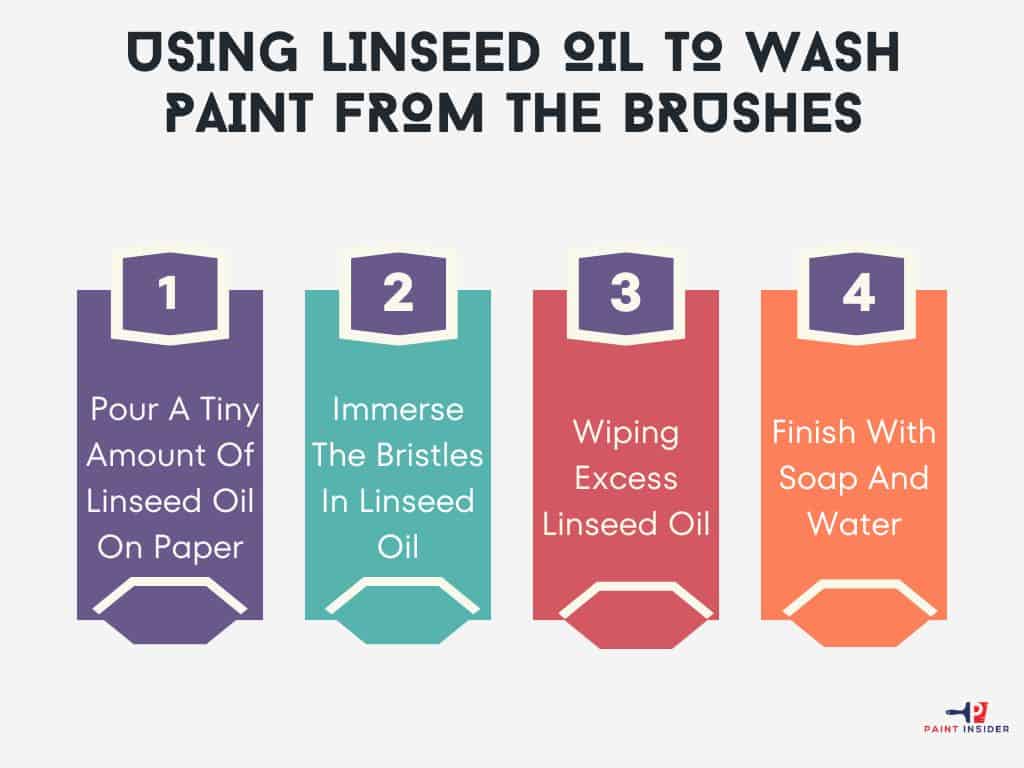
Step 1 – Pour A Tiny Amount Of Linseed Oil On Paper
Place a significant amount of your linseed oil on a flat surface, preferably on paper. You can choose to use other substances like traditional printing paper. However, in this case, you need a rough-grained paper to do the job.
Step 2 – Immerse The Bristles In Linseed Oil
Dip the brush bristles in the linseed oil just like you did with baby oil. Use your paintbrush to stir the linseed oil to ensure maximum contact between the oil and the bristles. Ensure the entire brush bristles are in complete contact with the linseed oil.
Step 3 – Wiping Excess Linseed Oil
As was the case with baby oil, use a clean towel to wipe excess linseed oil on the bristles. You might consider going over this stage several times and then move on to the next level.
An alternative, in this case, would be dipping your paintbrushes in the linseed oil and painting on a given surface. Note that the more you paint with linseed oil, the cleaner your paintbrush becomes.
Consider repeating the above procedure several times for a clean and spot-free paintbrush. Ensure what comes out as a rinsing substance is clear to ensure you have done a clean job.
Step 4 – Finish With Soap And Water
The final stage will incorporate the use of warm water and soap. Rinse your paintbrush thoroughly in a soapy solution to get rid of paint stains.
Method 3 – Using Dish Soap To Sponge Your Brushes
You can never go wrong if you use dish soap not to get hold of baby oil and linseed oil. Dish soap works the same way as both baby oil and linseed oil to eliminate oil paint from your brushes. Check out the following steps:
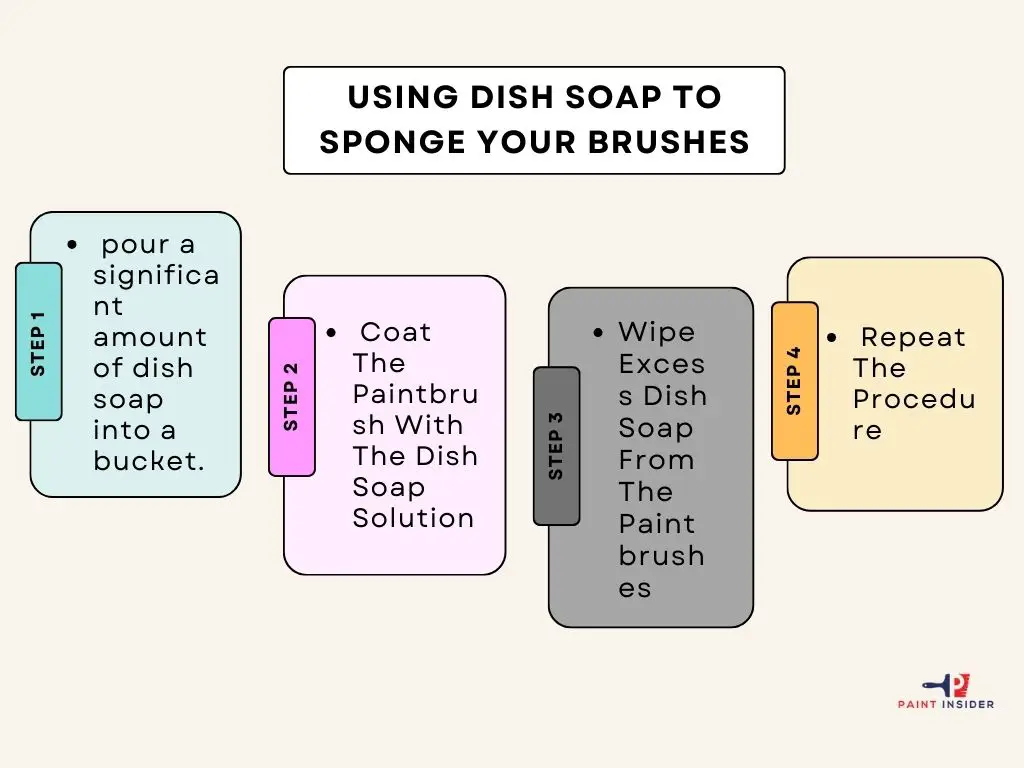
Step 1 – pour a significant amount of dish soap into a bucket.
Place a well-measured amount of your dish soap solution into a bucket. Be sure the amount of dish soap you are preparing is sufficient for the whole exercise. The amount of dish soap should be able to reach the metal band holding the bristles of your brush together.
Step 2 – Coat The Paintbrush With The Dish Soap Solution
Immerse your paintbrush into the dish soap solution; Be sure the solution entirely covers the bristles before moving on to the next step. Use your paintbrush to stir the dish soap solution for proper cleaning.
Step 3 – Wipe Excess Dish Soap From The Paintbrushes
Go over the last two steps a couple of times to ensure the paint on your brush bristles interacts fully with the cleaning agent. Use a clean towel or paper to wipe the tip of your brush gently. Be sure to achieve a clean look on your paintbrushes because if you leave traces of oil-based paint, the bristles might break after a short while.
Step 4 – Repeat The Procedure
Consider repeating the whole exercise to achieve the desired results. To be sure the brush is clean, consider rinsing your paintbrushes with warm water and soap to remove any traces of oil-based paint.
If you want your paintbrushes to be free of paint stains, use enough warm water and soap to scour the bristles. However, be sure to scrub the bristles gently to avoid damaging them. Allow the brushes to dry properly before storing them.
Note that any traces of oil-based paint, left on may cause the bristles might cramp together and break after a short while.
Since painting comes with many advantages, it is also essential to understand some of the best practices that are about your painting projects. Make an effort to understand all the essential tips regarding the cleaning of paintbrushes. Hopefully, the approaches discussed in this article will help you a great deal. Enjoy your painting!
Common Mistakes to Avoid
When tackling the task of cleaning oil paint from brushes, one of the most common mistakes is using hot water. Opting for hot water can actually warp and damage natural bristles, leading to frayed edges that compromise your brush’s performance. Instead, stick to lukewarm or even cold water when rinsing your brushes; this preserves their shape and extends their life significantly.
Another frequent error is neglecting to use a dedicated brush cleaner or solvent designed specifically for oil paints. While it might be tempting to grab whatever dish soap you have on hand, standard soaps often leave behind residues that interfere with future paint applications. A quality cleaner not only removes stubborn paint residue but also conditions the bristles for optimal performance in subsequent artworks. Keeping these tips in mind will elevate your cleaning routine and enhance your painting process immensely!
Tips for Storing Clean Brushes
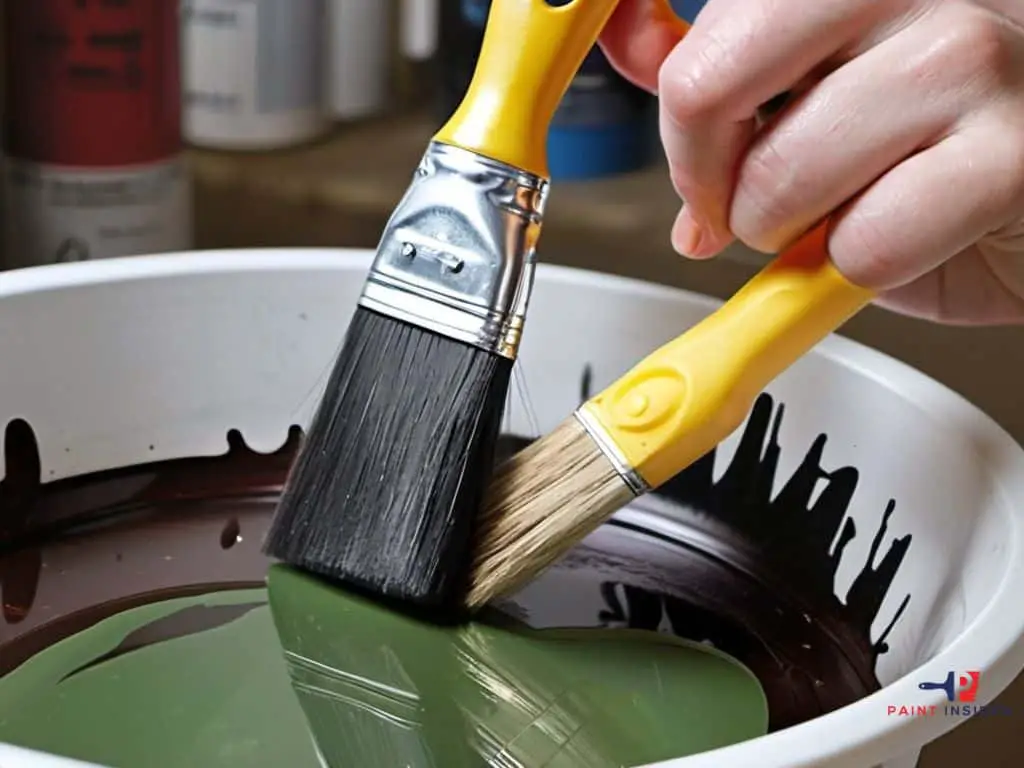
After learning how to clean oil paint from brushes effectively, storing them correctly is vital for their longevity. One innovative method is to repurpose old glass jars or containers as brush holders. By filling the bottom with a small amount of mineral spirits or linseed oil, you can keep the bristles moist without compromising their shape. This prevents them from becoming brittle and ensures they’re always ready for your next artistic endeavor.
Another tip is to store your brushes in an upright position, preferably bristle side up. Placing them this way helps maintain their shape, while also allowing air circulation to prevent any residual moisture buildup that could lead to mildew growth. If space allows, consider creating a dedicated brush holder using foam inserts or craft supplies it’s not only practical but can also be a fun DIY project that adds personality to your workspace. Prioritizing how you store your brushes will not only enhance their performance but also deepen your connection with each tool as you prepare for your next masterpiece.
Conclusion: Keeping Your Brushes in Top Shape
Maintaining the health of your brushes goes beyond just cleaning; it’s an ongoing commitment that can profoundly influence your art. After mastering how to clean oil paint from brushes, consider incorporating regular conditioning into your routine. A simple regimen using a few drops of brush soap or a gentle conditioner after deep cleaning can rejuvenate bristles and retain their shape. This extra care not only enhances performance but also extends the life of each tool, making it a worthy investment in both time and materials.
Moreover, storing your brushes properly is paramount. Rather than toss them haphazardly in a jar, try hanging them upside down or laying them flat to prevent splaying and bending. Additionally, being mindful of the environment you store them in free from extreme temperatures and humidity will protect their integrity over time. By treating your brushes with respect and understanding their unique needs, you’ll create a symbiotic relationship where both artist and tool thrive together on every creative journey.

