Painting cardboard will be difficult if you don’t understand how to do it. Many people have resorted to cardboard as an alternative to paint on, especially since it is considered a great low-budget canvas for learning to paint or simply experimenting.
Introduction: Importance of Painting Cardboard
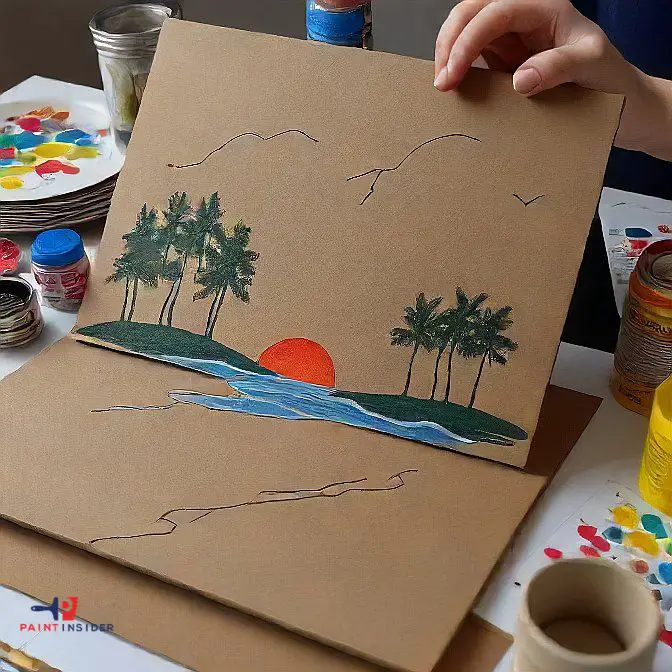
Painting cardboard is often overlooked, but it offers many creative possibilities. With the right techniques, cardboard can become an artistic canvas that sparks innovation. The appeal of painting on cardboard lies in its accessibility and eco-friendliness; reusing this everyday item reduces waste and allows artists to explore ideas without the limits of traditional materials.
Painting on cardboard also encourages experimentation. Whether making bright art pieces or decorative items, different painting methods can create unique textures and effects. Techniques like sponging or splattering can add depth, revealing new layers with each stroke. Overall, using cardboard as a medium opens up opportunities for art projects and promotes sustainable practices in creativity.
Preparing the Cardboard Surface Properly
Preparing a cardboard surface is important for a smooth paint finish. First, make sure the cardboard is clean and dry since dirt or moisture can cause paint to stick poorly, leading to streaks or peeling. Lightly sand the surface with fine-grit sandpaper to create a texture that helps the paint adhere better.
Next, use a primer made for porous surfaces like cardboard. This improves adhesion and seals the fibers, reducing warping when the paint is applied. If you want bright colors, tinted primers can give your shades a more even base and enhance their depth. Finally, don’t rush the process; allow enough drying time between layers to ensure a professional look and increased durability.

tools and Materials Needed for Painting Cardboard
To paint cardboard well, you need the right tools and materials. Here’s what you might need:
Tools
- Paintbrushes
- Painter’s Tape
- Drop Cloth or Old Newspaper
- Utility Knife or Scissors
Materials
- Acrylic Paints
- Cardboard Sheets or Boxes
Choosing the Right Type of Paint
When choosing paint, think about the surface and the effect you want. For cardboard projects, acrylic paints are a good option because they dry quickly and are versatile. Unlike oil-based paints, which can soak into cardboard and cause damage, acrylics stick well without weighing it down. They also come in many colors and finishes, turning plain cardboard into attractive art.
For those looking for a more playful approach, washable markers or craft spray paints offer bright colors without damaging the material. These options make it easy to fix or change designs, perfect for new artists learning to paint cardboard. Remember to put down protective layers under your project to avoid messes and see how different paints work on various textures. Choosing paint is about balancing durability and creativity; think about mixing textures or layering techniques to enhance your cardboard art!
painting on cardboard step by step
To paint on cardboard effectively, begin by carefully selecting a sturdy piece of cardboard that is appropriate for your project. It’s essential to choose a type of cardboard that will hold up well under paint and not warp or bend easily.

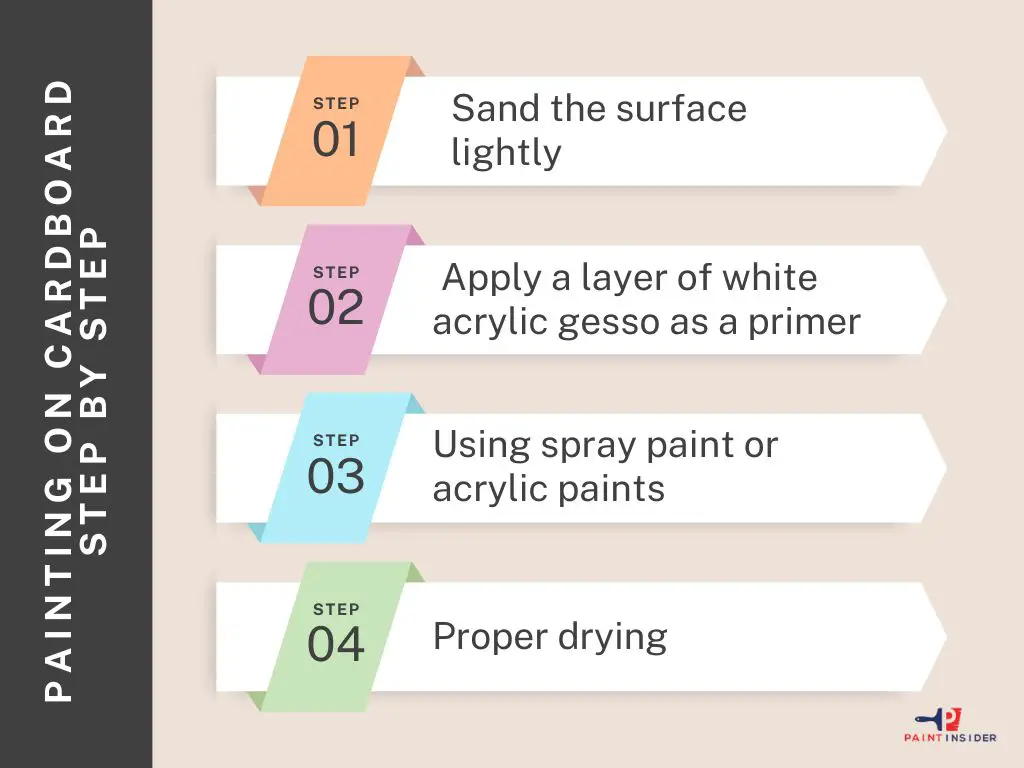
Step 1: Sand the surface lightly
When preparing cardboard for painting, one often overlooks the importance of surface smoothing. Sanding the surface lightly can be a game changer, transforming rough and fibrous textures into a canvas that welcomes paint beautifully. Use fine-grit sandpaper, preferably around 220 grit that allows you to gently buff away imperfections without compromising the integrity of the cardboard. This simple step not only enhances adhesion but also minimizes the risk of unsightly warping.
Step 2: Apply a layer of white acrylic gesso as a primer
Applying a layer of white acrylic gesso as a primer is an essential step in painting cardboard. This versatile medium not only helps to seal the porous surface of the cardboard but also provides a smooth, uniform base for your paints, allowing colors to pop and reducing the risk of absorption. Imagine transforming that reclaimed box into a vibrant canvas; gesso acts like a magic gateway, enhancing both texture and vibrancy.
Step 3: Using spray paint or acrylic paints
Painting cardboard can be easy and transformative with spray paint or acrylic paints. Spray paint gives a smooth finish and covers large areas quickly, making it great for big projects or outdoor use. Just be sure to work in a well-ventilated area to avoid fumes and use a primer designed for cardboard to prevent warping or absorbency issues.
On the other hand, Acrylic paints offer versatility and bright colors. They are water-based and dry quickly, allowing you to layer colors without long waits. You can mix gloss or matte varnish into acrylics for unique textures and finishes. Acrylics can also be diluted with water for softer washes or richer tones, making them adaptable to your creative ideas while learning to paint cardboard effectively!
Step 4: Proper drying
Properly drying your painted cardboard is crucial for achieving a professional finish that not only looks great but also lasts. One common mistake many make is rushing the drying process. Instead of placing your cardboard in a too-warm environment like direct sunlight or near heaters, consider air drying in a well-ventilated area. This allows moisture to escape naturally and prevents warping or bubbling, which can occur when heat is applied too hastily.
Fixing Common Painting Problems
When tackling the challenge of painting cardboard, many beginners encounter issues like uneven surfaces and warped structures. To fix these common problems, start by ensuring your cardboard is clean and dry; a thorough dusting can work wonders in helping paint adhere. For warped pieces, consider applying a light coat of primer or gesso to even out the surface before adding color this not only helps with adhesion but also creates a smoother finish.
Another frequent issue arises when using acrylics that tend to bleed through. A valuable tip is to use spray sealants on your base coats, allowing them to dry fully before you add additional layers. This not only prevents bleeding but also enhances the vibrancy of colors applied afterward. Finally, patience is key: allow adequate drying time between layers as rushing can lead to unsightly drips or cracks, a simple reminder that good things come to those who wait in the creative process!
Conclusion: Enjoying Your Finished Artwork
After carefully painting your cardboard masterpiece, stepping back to admire it brings great joy. It’s not just the colors or techniques that satisfy you; it’s the story behind each brushstroke, reflecting many choices made during your creative journey. This moment turns your artwork into a true expression of your thoughts and feelings.
Displaying your finished piece is also rewarding. Whether it’s hung on a wall or set on a table, sharing your art with others sparks conversations about its meaning and process. Take time to see how your artistic choices resonate with viewers; their interpretations might reveal new aspects of your creation. Remember, enjoyment doesn’t end with display. Think about how you can include friends or family in activities around your art, turning appreciation into shared creativity. Ultimately, enjoy the process as much as the final result; both are important in making art truly fulfilling.

